The pickleball game you’re watching on the PPA Tour in 2025 looks nothing like what Joel Pritchard invented on that rainy Bainbridge Island afternoon in 1965. Today’s advanced pickleball is faster, more tactical, and demands a level of precision that separates recreational players from those competing at 4.0+ levels. At advanced levels, success on the pickleball court requires strategic court positioning, movement, and shot control to gain a tactical edge.
Last Updated: May 2026
If you already understand the rules, can execute a basic drop shot, and know your way around the kitchen line, this guide is for you—as an advanced pickleball player looking to elevate your skills and strategy.
We’re moving past fundamentals and into the patterns, decisions, and preparation habits that define truly advanced players.
Here’s the reality: advanced play isn’t about mastering trick shots or hitting harder than everyone else. It’s about repeatable patterns—deep serves and returns, early line control, and knowing when to neutralize versus when to attack. It’s also about showing up prepared, with your paddles, balls, grips, and recovery tools organized in a quality FORWRD pickleball bag so you can focus entirely on execution.
What this guide covers:
-
Serve strategies that build points from the first ball
-
Return tactics that own the kitchen line immediately
-
Transition zone decisions that turn neutral balls into winning positions
-
Dinking patterns that move, stress, and expose opponents
-
Attack selection and counterattack mechanics
-
Mental game, practice structure, and gear organization for tournament readiness
Serve Strategy: Building Points with Depth, Placement, and Variety
In 2024-2025 advanced pickleball, the serve has evolved from a formality into a genuine weapon. Advanced players treat every serve as an opportunity to apply more pressure on the returning team before the rally even begins.
This section breaks down serve strategy into actionable components: depth control, placement patterns, pace mixing, and pre-serve routines. Each subsection includes concrete drills and examples you can implement immediately.
To improve serve accuracy, focus on consistently hitting the ball at the same spot on your paddle. When executing a deep, reliable serve, make contact with the sweet spot of the paddle to maximize control and consistency.
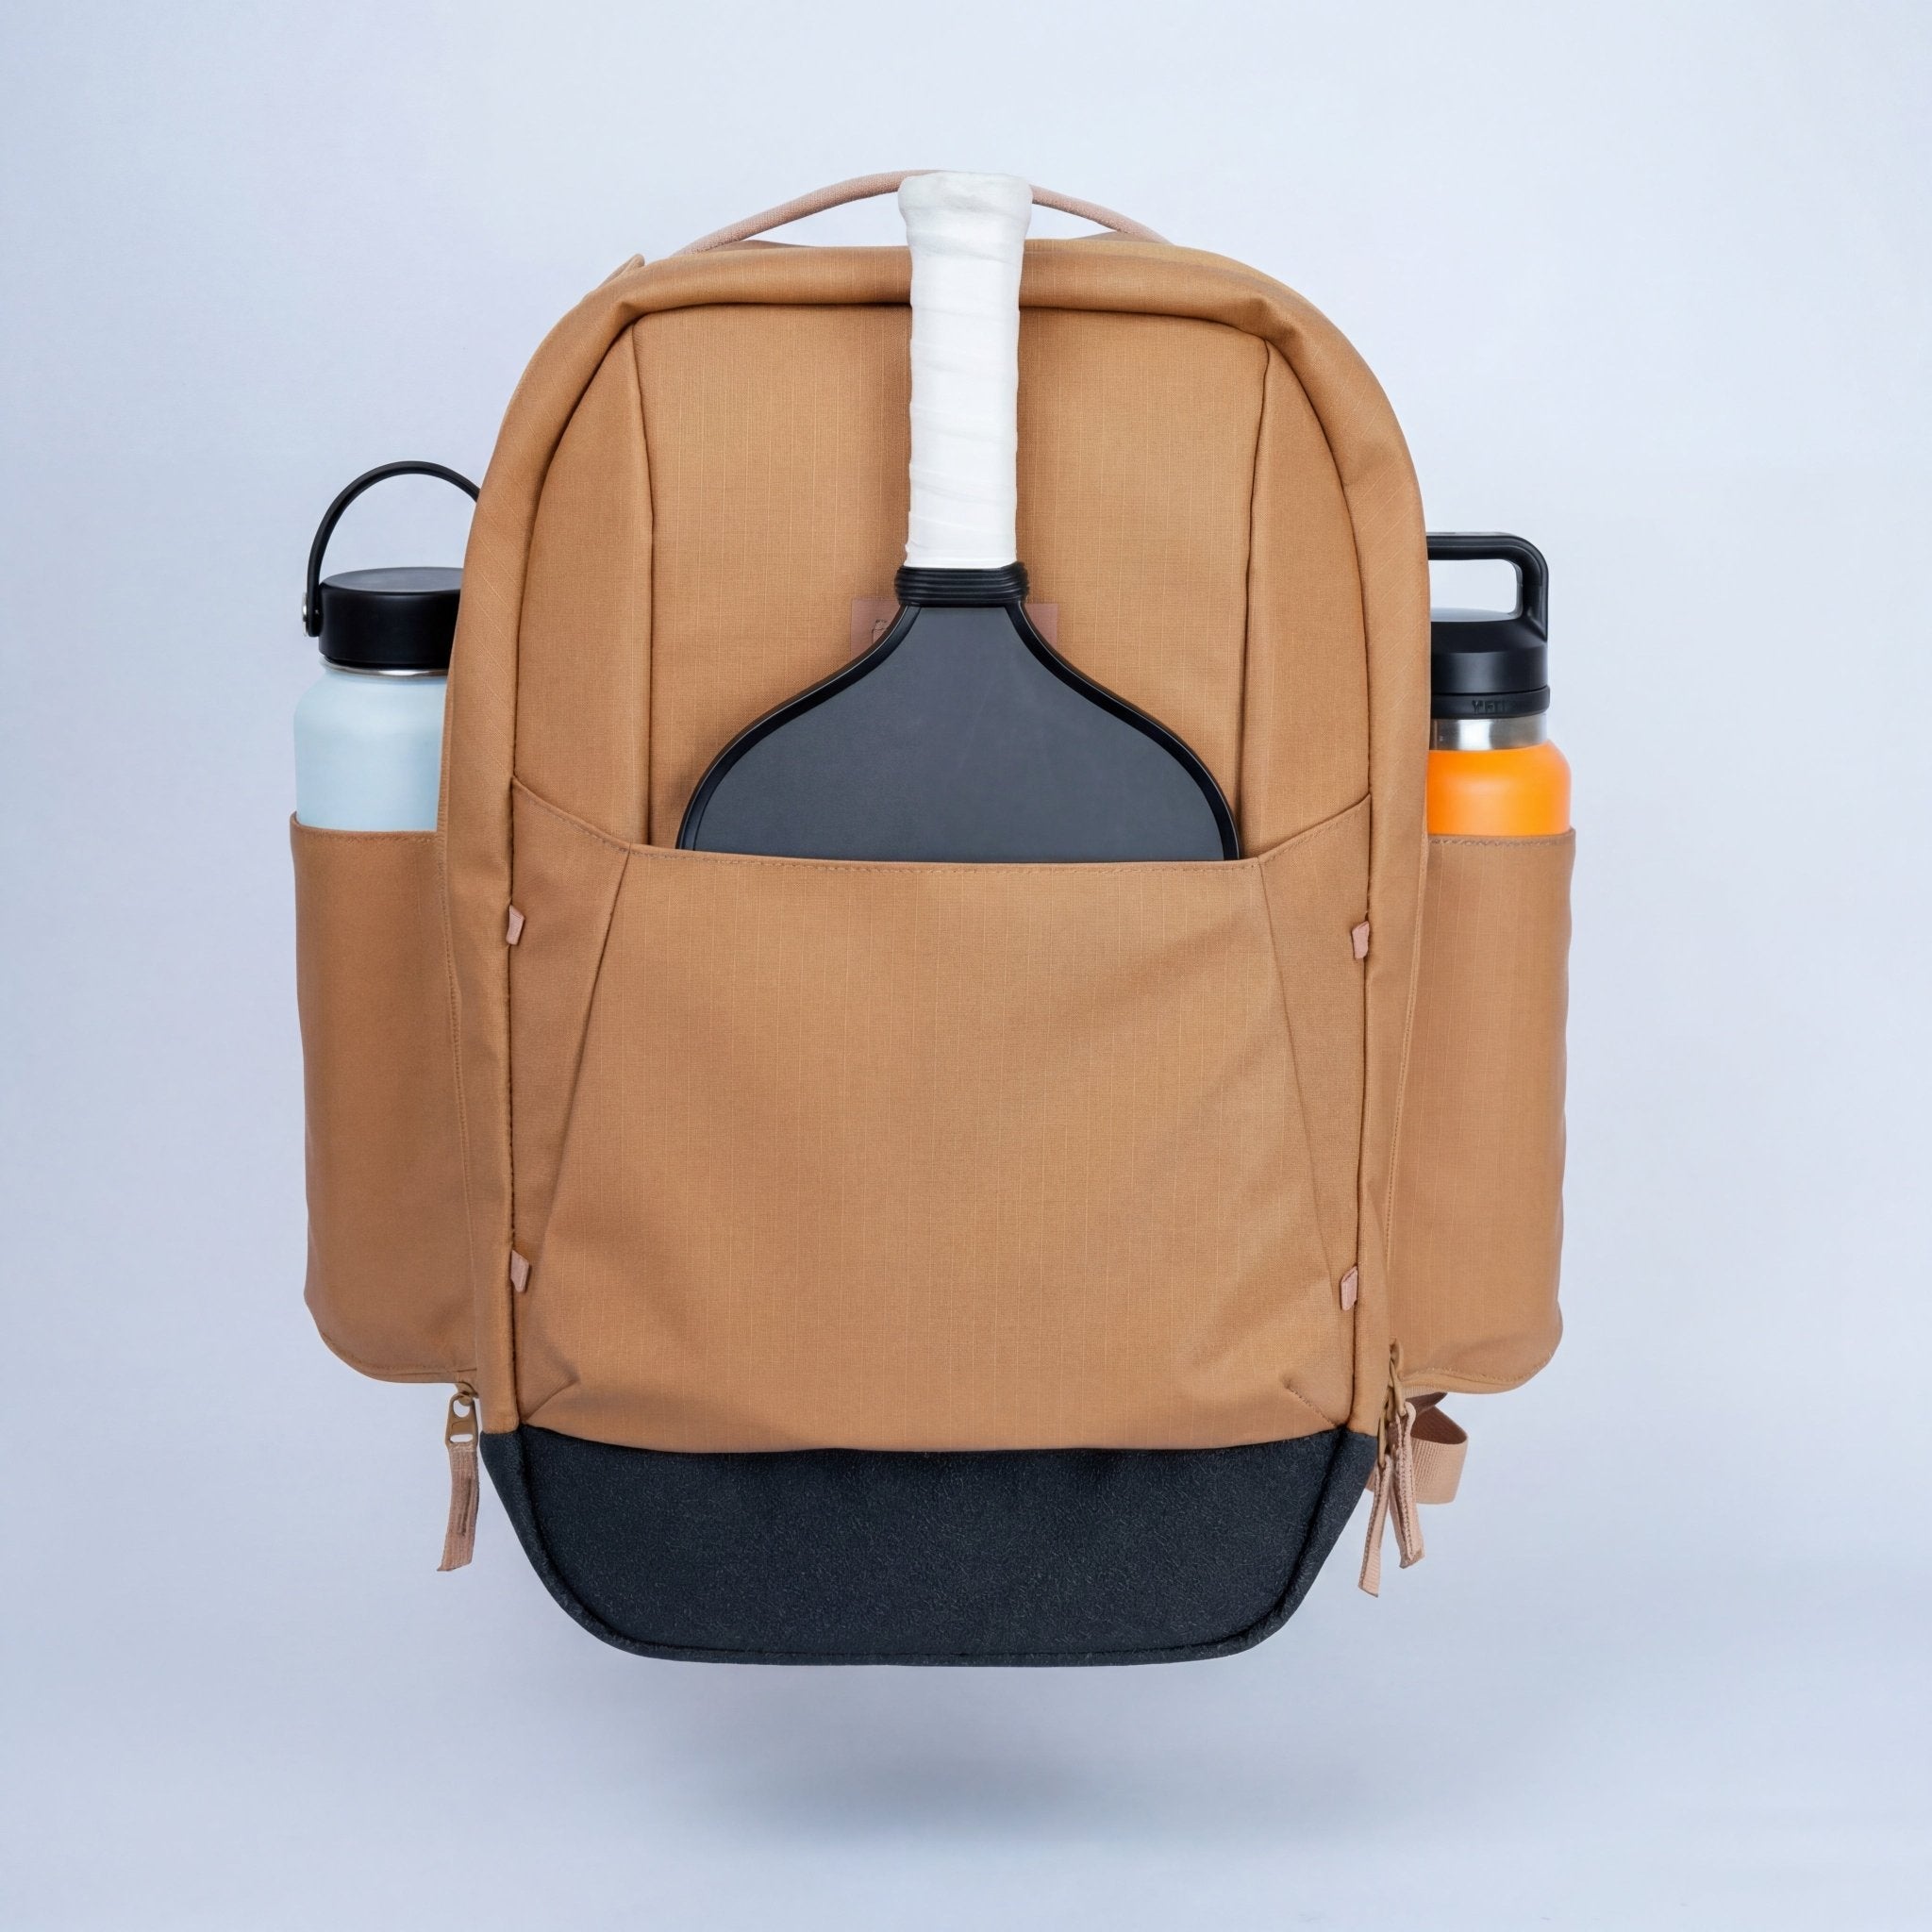
One often-overlooked element of consistent serving: your gear accessibility. Having balls, a towel, and spare grips easily accessible from the FORWRD Court Caddy ($325) — a 4-paddle, laptop-capable bag with a modular paddle sleeve, 15” padded compartment, and YKK AquaGuard zippers — keeps your serve rhythm smooth during tournaments. You never want to break concentration searching for a backup ball at 10-9.
Maximizing Serve Depth Without Over-Hitting
Advanced players don’t aim for the baseline—they aim 2-3 feet inside it. This balance between aggression and consistency is where control meets pressure. Even making a small bit of adjustment in your toss or swing can improve serve reliability and help you consistently hit your target zone.
The mechanics of a deep, reliable serve:
-
Clear the net by 18-24 inches to create margin for error
-
Use moderate topspin to generate a heavy bounce near the receiver’s feet
-
Focus on placement over power—a controlled deep serve beats a wild fast one every time
Practice drill: The Depth Box
Tape a 3-foot by 4-foot rectangle on both the deuce and ad sides, positioned 2-3 feet from the baseline. Serve 50 balls to each target zone, tracking your percentage. Advanced players should hit this zone 70%+ of the time.
Deep serves matter most on big points. At 10-9 or 9-9, a serve that lands deep forces the receiver into a defensive return, which makes your third shot drop or drive significantly easier to execute.
Serve Placement: Targeting Weaknesses and Creating Patterns
Raw depth isn’t enough. Placement determines whether your opponent can attack your third shot or barely get the ball back.
Three core placement patterns:
|
Pattern |
Target |
Effect |
|---|---|---|
|
Wide serve |
Pull receiver off the court |
Opens cross-court angle for third shot |
|
Body serve |
Jam receiver’s hips |
Forces awkward, late contact |
|
T-serve |
Center line |
Steals reaction time, limits angles |
|
Building patterns across a match: |
|
|
In a best-of-3 match, use the first game to scout. Hit wide serves early and watch the return quality. If they scramble, keep going wide. If they handle it, switch to body serves that jam their swing. By game two, you’ve identified their weakness.
Advanced players scout during warmup, noting which side breaks down under pace or spin. The opponent’s non-paddle side (backhand for most right-handers) typically produces weaker returns and more hitting errors.
Mixing Pace and Spin: Keeping Receivers Guessing
Your stock serve should be “heavy but safe”—a reliable serve you can hit at 80% power with consistent depth. From that foundation, you add occasional surprises.
Serve variations to develop:
-
Topspin serve: Forward rotation creates a kicking bounce that pushes receivers back
-
Slice serve: Sidespin pulls the ball wide after the bounce, especially effective outdoors
-
Flat power serve: Occasional 95% power serve when opponent sits back expecting spin
-
Fusion shot: This is basically a hybrid between a drop and a drive, blending the soft placement of a drop with the pace of a drive to keep opponents guessing
Data from pro matches shows that varying spin and pace disrupts return accuracy by up to 30%. But the key word is “varying”—surprises only work when your base serve is predictable enough to lull opponents into patterns.
When to use each:
-
Windy outdoor days: slice serves that stay low
-
Slower indoor courts: topspin serves that bite and kick
-
Against aggressive returners: occasional flat power serves to disrupt timing
Pre-Serve Routine and Match-Day Preparation
Nerves destroy serves. A consistent 5-7 second pre-serve routine anchors your mechanics under pressure.
Sample pre-serve routine:
-
Bounce the ball twice (rhythm)
-
Deep breath (calm)
-
Pick your target (commit)
-
Serve (execute)
Practice this routine in drilling sessions, not just matches. When the score is 10-9 in a tournament, you want muscle memory running the show.
What to keep accessible in your pickleball backpack:
-
2-3 backup balls (identical to match balls)
-
Sweatband and towel
-
Extra grip tape
-
Hydration within arm’s reach
FORWRD pickleball bags are designed with compartments specifically for this quick access. You shouldn’t be digging through your gear between serves—swapping a damp grip should take seconds, not minutes.
Return Strategy: Owning the Kitchen Line from the First Ball
At advanced levels, the returning team holds a significant edge: you get to move toward the net first. Advanced players who play pickleball at a high level focus on teamwork and court positioning to maximize their advantage on returns. Your job is to exploit that advantage with returns that push the serving team deep while you and your partner close to the NVZ.
This section covers three critical return skills: depth control, timing your forward movement, and directional returns that create tactical pressure.
Deep, High-Percentage Returns to Pressure the Third Shot
Forget hitting returns hard. Advanced players prioritize depth over pace, aiming 2-4 feet from the baseline.
Why depth beats speed:
-
Deep returns force opponents to hit third shots from behind the baseline
-
Third shot drops from deep positions must travel further, increasing error rates
-
Deep returns give you more time to advance and establish position
Two return types to master:
-
Topspin return: Forward spin creates a diving bounce that pushes back, ideal against drop-heavy teams
-
Float return: Higher arc, less pace, but extremely deep—forces the other team into awkward third shots
Practice drill: The Depth Strip
Create a 4-foot alley strip near the baseline using tape or cones. Have your partner serve while you return 50 balls targeting this zone. Your goal: 80%+ of returns landing in the strip.
Clear the net by at least 24-30 inches to cut down on unforced net errors. That extra height matters more than extra pace.
Return-and-Close: Timing Your Move to the Kitchen
The return itself is only half the battle. Your movement pattern determines whether you win points from the kitchen line or get stuck in the transition zone.
The return-split-advance pattern:
-
Hit your return with a balanced stance
-
Split-step as the ball crosses the net (feet shoulder-width, knees bent)
-
Advance forward as soon as the ball passes the net on the way to opponent
The critical timing cue:
Stop your forward momentum just before the opponent contacts their third shot. If you’re still moving during their contact, you’re unable to react to drives or drops effectively.
If you’re still in no-man’s-land after opponent’s third shot, you’re late.
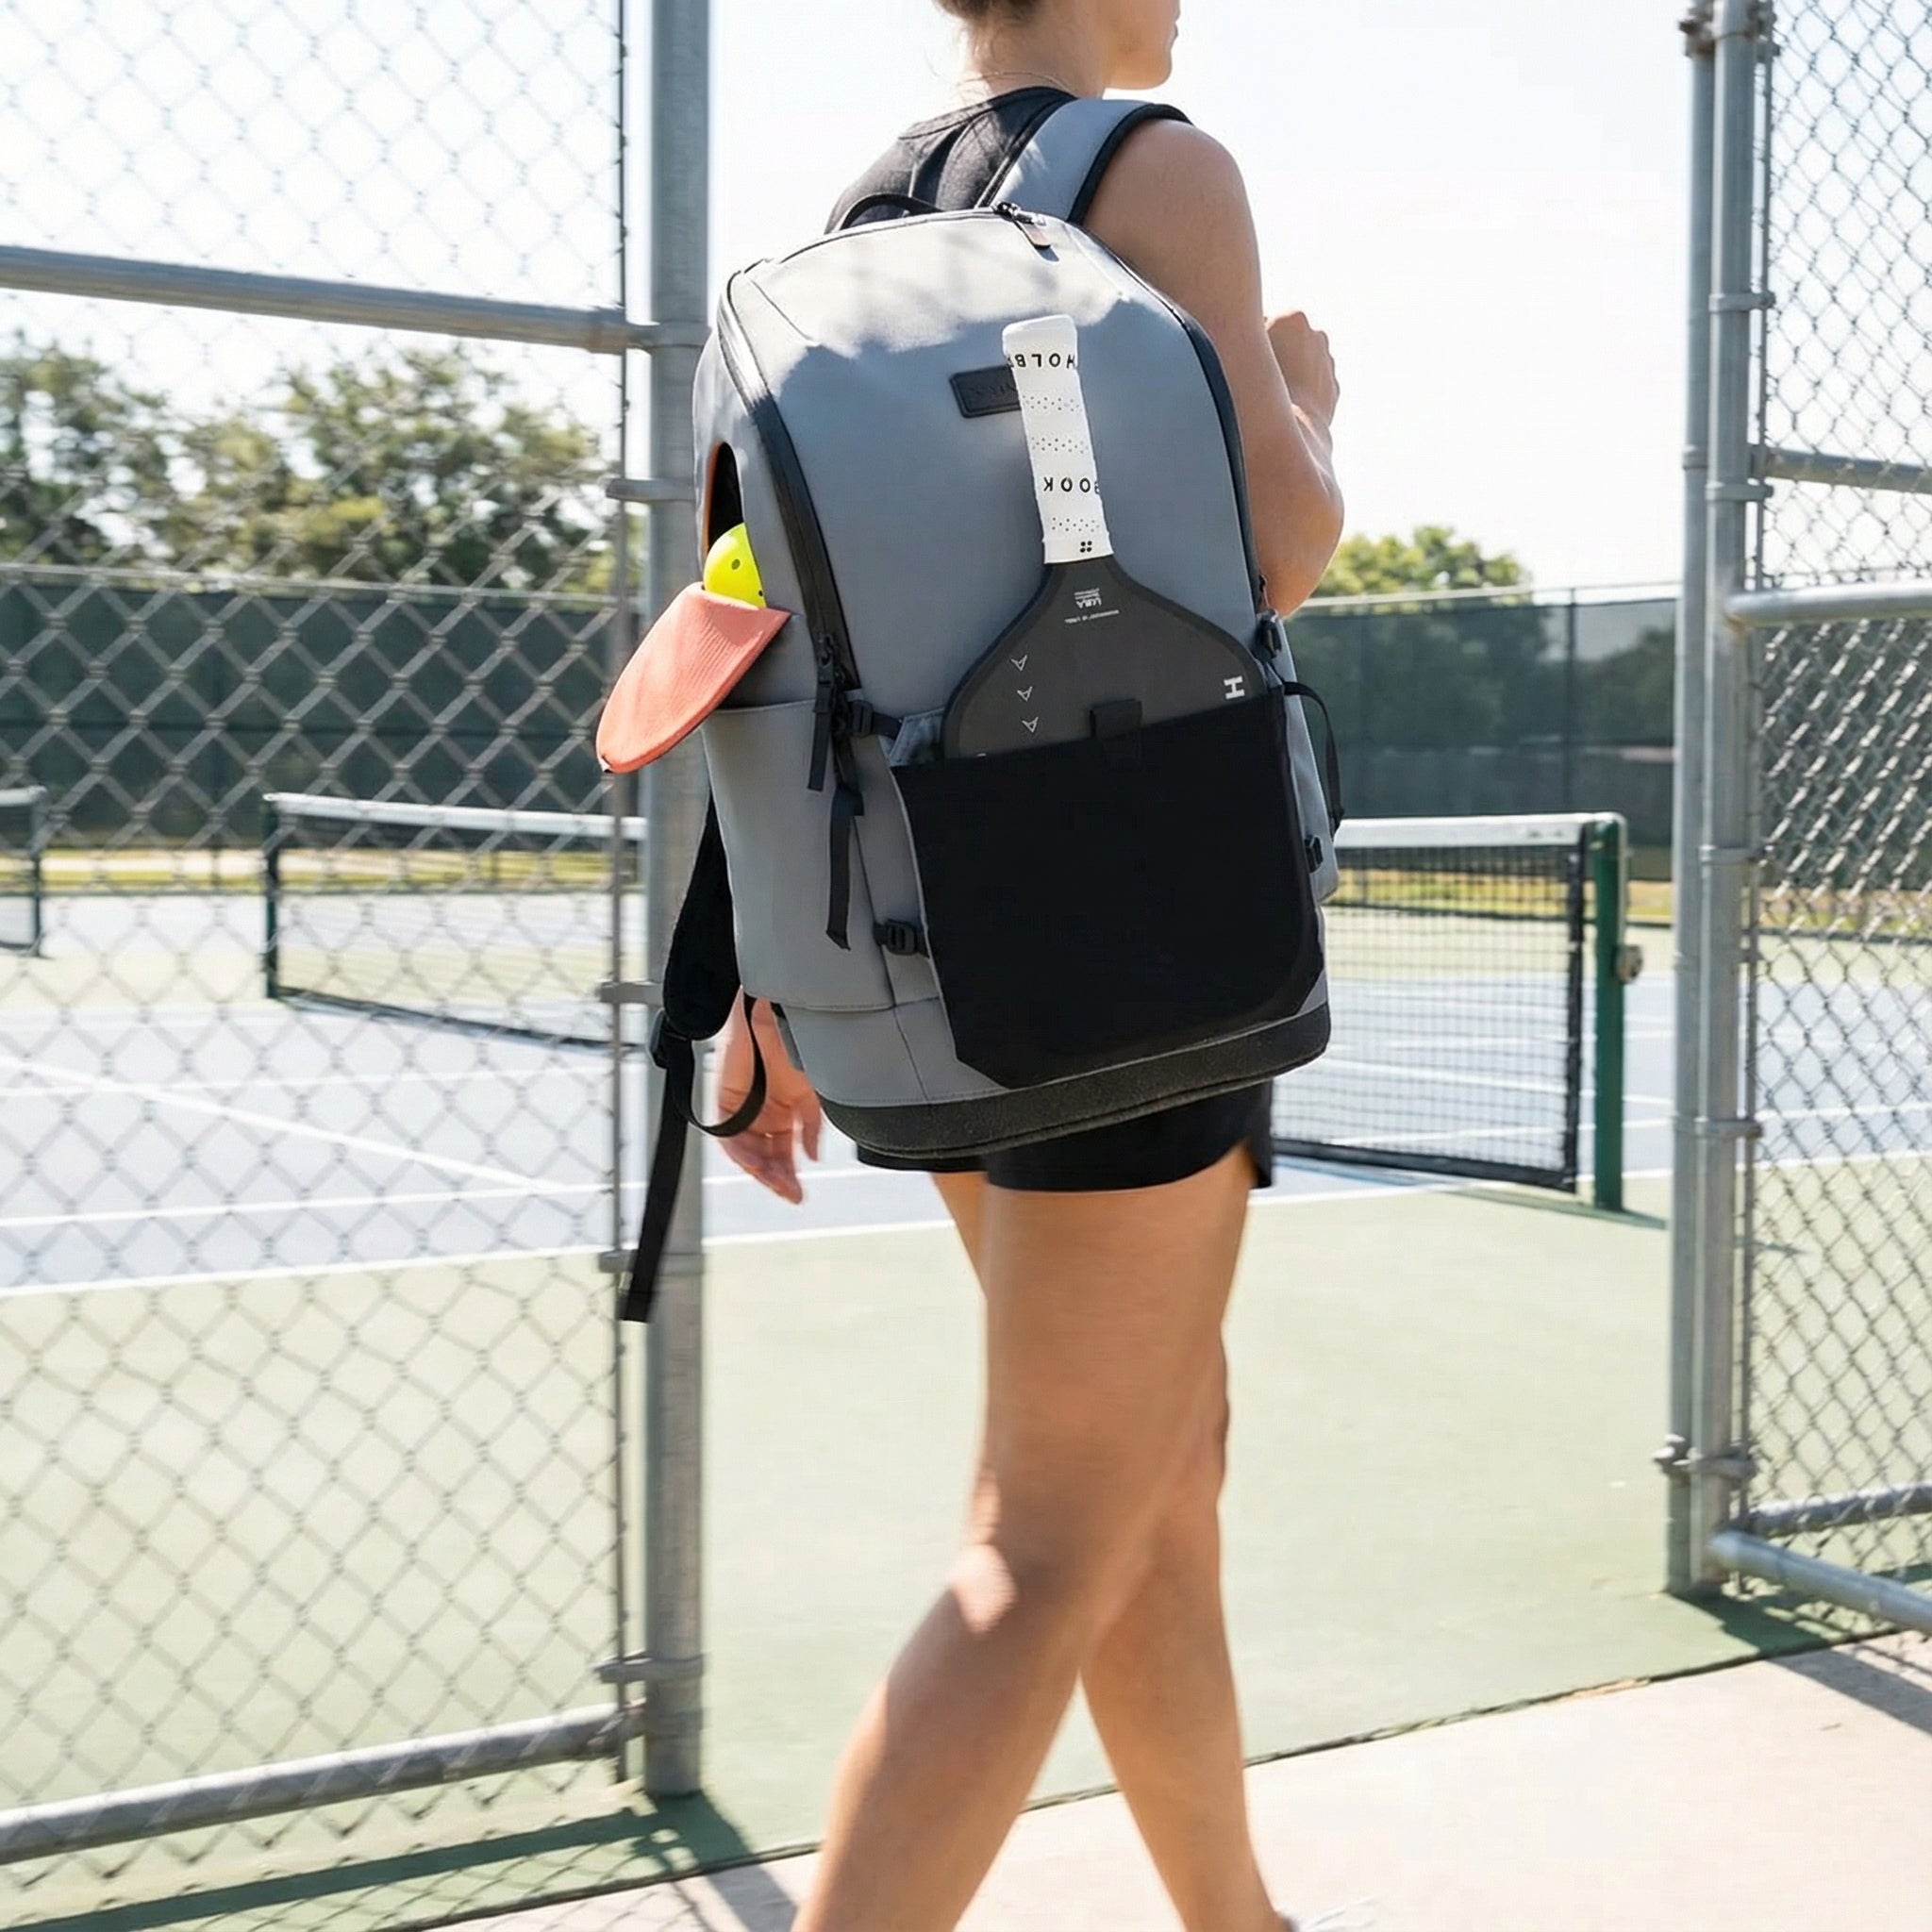
This footwork pattern demands reliable court shoes. Many advanced players keep multiple pairs in their bag—one for outdoor gritty surfaces, one for indoor courts. A FORWRD Court Ranger V2 ($195) — the everyday backpack with a 16” laptop compartment that serious players carry court-to-work with ventilated shoe pockets makes rotating footwear between matches seamless.
Directional Returns: Targeting the Weak Link and Creating Lanes
Where you return matters as much as how deep you hit it.
Cross-court vs. down the line:
High-level players choose cross-court returns roughly 70% of the time. The math is simple: cross-court travels over the lowest part of the net and covers more distance, giving you more margin.
Strategic return targets:
|
Target |
When to use |
Effect |
|---|---|---|
|
Opponent’s backhand |
Default choice |
Forces weaker third shots |
|
Middle of court |
Against partners with unclear roles |
Creates confusion, ball falls between them |
|
More attack-prone player |
When one opponent overhits |
Generates short balls and errors |
|
Scouting tip: |
|
|
During rec games, note which opponent struggles with third shot drops under pressure. In competitive play, return consistently at that player and watch the errors pile up.
Keep a small notebook or use your phone to log these observations. A dedicated pocket in your FORWRD bag keeps these notes accessible for pre-match review.
Transition and Kitchen Control: Turning Neutral Balls into Winning Positions
The battle between baseline and kitchen line is where advanced matches are won. Mastering the transition zone—that dangerous middle ground—separates 4.0 players from 4.5+ players.
This section blends the mechanics of drives, drops, and fusion shots with tactical decision-making frameworks that tell you when to reset versus when to attack. Using a defensive shot in the transition zone can buy time, reset the rally, and is especially effective when under pressure, allowing you to target your opponent's weak spots such as their backhand.
Choosing Between Drive, Drop, and Fusion Third Shots
The third shot drop gets all the attention, but advanced pickleball requires a more diverse toolkit.
Three third shot options:
|
Shot |
Description |
Best against |
|---|---|---|
|
Drive |
Full-power attack at opponent’s body |
Short, weak returns; opponents still moving |
|
Drop |
Soft arc into kitchen; lands near NVZ line |
Deep returns; well-positioned opponents |
|
Fusion |
60-70% power roll drive with topspin |
Mid-court opponents; to force block errors |
|
Tournament data shows successful third shot drops increase winning percentages by up to 30% in baseline-to-net transitions. But predictable drops create equally predictable problems—advanced players mix drops with drives and fusion shots to keep opponents guessing. |
|
|
Practice structure:
From each side of the court, hit 10 drives, 10 drops, and 10 fusion shots. Rotate targets (cross-court, middle, line) and have your partner vary their positioning.
Advancing Through the Transition Zone Safely
The transition zone is called “no-man’s-land” for a reason. You can’t win points from there—you can only survive until you reach the kitchen.
Movement principles:
-
Stay low throughout (bend knees, not waist)
-
Move in “stop-hit-move” phases rather than walking continuously
-
Never be caught moving when opponent contacts the ball
The reset volley:
When opponents drive at you in the transition zone, your goal isn’t to attack—it’s to neutralize. A soft reset volley lands in their kitchen, forcing them to hit up, which lets you continue forward.
Drill: Block-Reset Progression
Partner stands at NVZ hitting controlled drives. You start at baseline, hit a third shot, then advance through transition using block-resets until you reach the kitchen. Track how many resets it takes to get in safely.
Your footwear matters here. Quick lateral movements on variable surfaces demand reliable traction. Keep extra socks and court-specific shoes in your gear bag so wet or worn shoes never cost you a point.
Red, Yellow, and Green Light Contact Zones for Attacking
Not every ball should be attacked. The traffic light framework simplifies decision-making in the heat of a rally.
Contact zone guidelines:
|
Zone |
Ball height |
Action |
|---|---|---|
|
Red |
Below knee |
Reset; don’t attack |
|
Yellow |
Knee to chest |
Attack with control; target body |
|
Green |
Chest and above |
Full attack; target open court |
|
Advanced players rarely try to win points from red zone contacts. They block, reset, and fight to the next ball until a yellow or green opportunity appears. When in doubt about which shot to play, choose a safer, lower contact shot to maintain control and reduce risk. |
|
|
Example rally sequence:
-
Opponent hits hard drive at your feet (red) → you block-reset into kitchen
-
They dink back low (red) → you dink cross-court
-
They pop one up to chest height (green) → you attack at hip pocket
This patience separates advanced players from those who force attacks and lose points on low-percentage shots.
Film yourself from the side during practice to see how often you violate your own red/yellow/green rules.
Dinking and NVZ Tactics: Winning the Soft Game So You Can Win the Fast Game
At 4.0+ levels, dink rallies are no longer passive exchanges waiting for someone to make a mistake. They’re tactical battles designed to move opponents, create stress, and expose weaknesses. Maintaining control and precise placement during a dink rally is crucial, as it pressures opponents and creates attacking opportunities.
Advanced players keep a dedicated supply of practice balls in their FORWRD court bag specifically for drilling dinks. The soft game requires as much deliberate practice as power shots.
Directional Dinking: Moving Opponents and Targeting Weak Spots
Constant variation is the key to winning dink battles. Cross-court, middle, and sideline dinks keep opponents from settling into comfortable patterns.
Cross-court advantage:
Cross-court dinks offer 15-20% greater margin of error due to court geometry. The net is lower in the middle, and the diagonal path gives you more room to work with.
Pattern to exploit:
Work your opponent’s outside foot (the foot closest to the sideline). This opens the middle of the court for an attack or forces them to scramble wide, leaving their partner covering too much space.
Backhand dinks as a weapon:
Most pickleball players have weaker backhands than forehands. Target the backhand side consistently, then surprise them with a wide forehand dink when they overcommit.
Drill: The 5-5-5 Dink Rotation
-
5 minutes cross-court dinks only
-
5 minutes alternating middle and angle dinks
-
5 minutes freestyle with specific point goals (first to 7)
Data shows varying dink depth by 2-3 feet forces 35% more lifting errors from opponents, opening windows for attacks. These advanced dinking strategies not only force errors but also create opportunities to execute offensive plays that can lead to winning points.
Taking Dinks Out of the Air and Maintaining Line Dominance
Volley dinks—taking the ball before the bounce—offer three critical advantages:
-
Steal time from opponents
-
Keep you closer to the NVZ line
-
Prevent opponents from pushing you back with deep dinks
Technique cues for volley dinks:
-
Short backswing (paddle moves inches, not feet)
-
Stable wrist (no flipping or rolling)
-
Contact point in front of body
-
Soft knees absorbing incoming pace
Drill: Volley-Only Dinking
One player must volley every dink out of the air. The other player can let balls bounce. Switch roles every 3-4 minutes. This builds the reflexes and control needed for aggressive line play.
Keep your paddle at chest height in ready position. This allows quick transitions from dink to counterattack without repositioning your hands.
Kitchen Line Positioning with Your Partner
Think of an invisible 6-foot rope connecting you and your partner. You move laterally together, closing angles and avoiding open gaps.
When to adjust positioning:
|
Situation |
Positioning |
|---|---|
|
Against bangers |
Hug the middle together |
|
Mixed doubles (one attacked more) |
Protect the targeted player |
|
Against sharp angle players |
Protect the lines |
|
Communication cues to establish: |
|
-
“Switch” – we’re crossing positions
-
“Mine” – I’m taking this ball
-
“Yours” – you take it
-
Pre-agreed role: who takes middle balls, who slides further
Good defense at the kitchen starts with synchronized movement. Teams that move together defend together.
Attacking, Countering, and Advanced Shot Selection
Advanced success isn’t about hitting hard—it’s about choosing the right ball to accelerate, then being able to counter equally fast attacks. Incorporating specific pickleball drills into your training can help develop the advanced shot selection and execution skills needed to excel at this level.
This section covers when to speed up, how to win hands battles, specialty shots like the ATP and Erne, and finishing points with overheads.
When and Where to Speed Up the Ball
The first rule of attacking: don’t speed up red balls. Attack from yellow and green zones when opponents are off-balance or leaning the wrong direction.
Ideal attack targets:
-
Dominant shoulder (limits swing options)
-
Hip pocket (jams the paddle)
-
Paddle-side armpit (creates pop-ups)
Attack pattern to practice:
Hit slow cross-court dinks to pull opponent wide, then fastball at their inside shoulder when they’re stretched. The ball catches them in recovery mode with a limited ability to block effectively.
Drill: Slow-Fast Alternation
With your partner at the kitchen, alternate one slow dink followed by one controlled speed-up. Focus entirely on clean, controlled attacks rather than maximum power. The goal is placement under control.
Counterattacks and Hands Battles at the NVZ
When both teams are at the kitchen and someone speeds up the ball, you’ve entered a hands battle. These rapid exchanges reward compact mechanics and calm nerves.
The golden rule: Paddle up, compact swing.
Blocking vs. countering:
|
Situation |
Response |
|---|---|
|
Hard shot at body |
Block softly into kitchen |
|
Off-speed attack with time |
Redirect with pace into open space |
|
Backhand flick opportunity |
Punch volley to opposite shoulder |
|
Drill: 7-Foot Rapid Fire |
|
Stand 7-8 feet apart from your partner. Begin rapid-fire volley exchanges, gradually increasing speed. Focus on paddle stability and absorbing pace rather than adding to it.
Grip comfort matters in extended hands battles. Keep multiple overgrips and tape in easily accessed pockets of your FORWRD bag. Blisters and slipping grips cost points at the worst moments.
Using Specialty Shots: ATPs, Ernes, and Surprise Lobs
Specialty shots like the ATP and Erne can score direct winners, but they’re high-risk tools that should be used sparingly.
ATP (Around The Post):
When a wide cross-court dink bounces outside the sideline and stays low, you can hit around the net post rather than over it. Tournament data shows ATPs score winners 70% of the time against off-balance opponents—but success rates drop below 50% for sub-4.5 players.
Erne execution:
The Erne involves jumping or stepping outside the NVZ line to volley a cross-court dink aggressively. Named after techniques used by top players like Tyson McGuffin, it requires precise timing. Drill data indicates 2-3 weeks of focused practice boosts execution from 20% to 65% reliability.
Offensive and defensive lobs:
-
From tight dinks when opponent leans in: surprise lob over their backhand shoulder
-
From baseline when jammed: high defensive lob to reset and recover position
Ben Johns and other top players use lobs sparingly—under 10% of shots—but perfectly timed lobs keep opponents honest and prevent them from crowding the net excessively.
Finishing Points with Overheads and High Balls
When you get a green-light ball above your head, it’s time to win the point.
Overhead mechanics:
-
Read the ball early and adjust with short footwork steps
-
Strike slightly in front of your body (1-2 feet)
-
Rotate sideways rather than backpedaling
-
Continental grip with wrist snap at contact
Smart targeting:
|
Target |
When to use |
|---|---|
|
Deep middle |
Safe percentage play |
|
Behind moving opponent |
Catches them off-balance |
Frequently Asked Questions: Advanced Pickleball Strategies
What separates a 4.0 player from a 4.5 player in singles and doubles?
It’s rarely shot mechanics — it’s pattern recognition and decision speed. A 4.5 player knows before they strike the ball where the next two balls are going. They serve with a specific pattern in mind, return with an arrival position in their head, and recognize the attacking window 0.5 seconds faster than the 4.0 player. Drilling specific sequences (serve → drop → attack) builds this faster than recreational play alone.
How do I develop a more consistent third shot drop?
Start close — practice drops from the transition zone, not the baseline. Once you’re landing 8/10 in the kitchen from 10 feet past the kitchen line, back up 5 feet. Progressive distance is how advanced players build drop reliability under pressure. The mistake most 3.5–4.0 players make is practicing exclusively from the baseline before they’ve built the touch needed at that distance.
What’s the best way to add spin to my serve at the 4.0+ level?
Add topspin first — it’s the most forgiving because it pulls the ball down into the court. Brush up on the ball at contact rather than hitting through it. A 15-degree wrist snap forward at contact, combined with a contact point slightly lower than eye level, creates reliable topspin without the control tradeoff of heavy slice. Once topspin is consistent at 70%+, add slice as a changeup, not a primary serve.
How should I structure my practice sessions to reach advanced level faster?
Follow the 70/20/10 rule: 70% drilling specific patterns (serve-return-third shot sequences, dink exchanges, reset drills), 20% competitive points or games to apply patterns under pressure, 10% match play. Most recreational players flip this — they play 80% match play and wonder why they plateau. Patterns learned in drills transfer to matches; habits formed only in matches are hard to change.
Is there a specific dinking pattern that creates the most opportunities to attack?
The cross-court body dink — aimed at the opponent’s hip on their backhand side — creates the most consistent attack opportunities because it forces a difficult backhand reset from an awkward position. String together 3–5 cross-court body dinks, then redirect sharply down the line or through the middle. The direction change from a telegraphed cross-court pattern is where most dinking errors occur at the advanced level.
“At the advanced level, gear organization isn’t a nicety — it’s a mental performance factor. When everything has a place, you show up without the cognitive noise of ‘where’s my extra grip’ or ‘did I remember my backup paddle.’ That’s what we built FORWRD around — removing friction so the player can stay fully present.”
— Grub, FORWRD Co-Founder & 4.5-rated tournament player

Complete Your Setup
Advanced players need gear that keeps pace. The FORWRD Court Caddy ($325) — 4 paddles, laptop, towel, extra balls — organized in one bag designed with 500+ real players. No digging, no fumbling, no broken-zipper emergencies on match day.
Leave a comment
This site is protected by hCaptcha and the hCaptcha Privacy Policy and Terms of Service apply.