Pickleball’s explosive growth—over 36.5 million players expected by 2025—has created a familiar problem: more people want to play than courts can handle. If you’ve ever shown up to your local recreation center only to find a 45-minute wait, you understand the frustration. Court shortages persist even as the sport grows 20% annually, leaving dedicated players searching for ways to keep their skills sharp between sessions.
FORWRD may earn a commission on purchases made through links to Pickleball Central. We only link to products we'd recommend regardless.
Last updated: July 2026
The good news? You don’t need a dedicated court or a $2,000 ball machine to improve. With some basic materials from your local hardware store, a driveway or garage, and a few hours of simple construction, you can build effective practice equipment that rivals commercial training ball machine training aids. DIY pickleball practice equipment is especially accessible and beneficial for beginners, allowing them to build confidence and fundamental skills at home. DIY pickleball practice equipment lets you log hundreds of reps on dinks, volleys, and serves—right at home, on your own schedule.
At FORWRD, we design premium pickleball bags and accessories because we’re players first. We know that great gear isn’t just about what you carry to the court—it’s about supporting your entire training life. Practicing pickleball at home can be a lot of fun, and many players fall in love with the game through regular practice. Most DIY setups can be built for under $200, making them affordable for most players. The effectiveness of these DIY training tools means you can improve your skills even in limited spaces. This guide walks you through building simple, low-cost practice tools that pair perfectly with well-organized gear. We’ll cover DIY nets, rebounders, ball pickup hacks, temporary court markings, spin trainers, and smart storage solutions that keep everything in tip top shape for your next session.
DIY Short Practice Net for Driveway or Backyard
You don’t need a regulation 44’ x 20’ court to practice dinking and get meaningful reps. A compact 10–14 foot wide net is enough to work on soft game shots, controlled drives, and third-shot drops. This portable setup fits most driveways and folds away when you’re done.
If you don’t have net material, you can use a rope or string stretched between two points to create a makeshift net. This simple DIY solution helps simulate net play during home practice.
Materials List
Head to any hardware store for these items:
|
Item |
Quantity |
Approximate Cost |
|---|---|---|
|
1” PVC pipe (10’ lengths) |
4 |
$15–20 |
|
1” PVC T-joints |
4 |
$4 |
|
1” PVC elbow joints |
4 |
$4 |
|
Nylon mesh or landscaping fabric |
1 roll (cut to 34” height) |
$10–15 |
|
Heavy-duty zip ties |
1 pack |
$5 |
|
Sandbag weights or concrete-filled buckets |
2 |
$10–15 |
|
Rope or string (as a net alternative) |
Optional |
$3–5 |
Total cost: roughly $50–60 for a durable, reusable practice net.
Assembly Steps
-
Cut PVC pipes to size: two 5’ sections for the horizontal top bar (or one 10’ piece), two 34” uprights for net height, and four 18” base pieces for stability feet.
-
Connect the uprights to T-joints at the bottom, then attach base feet extending outward in a T shape.
-
Add elbow joints at the top of each upright, then connect the horizontal bar across.
-
Attach your net material using zip ties every 6–8 inches along the frame. Velcro strips work too if you want easy removal.
Note: If you don’t have a net, you can use a rope or strong string as a simple alternative. Tie the rope tightly between the two uprights at the correct net height to create a visual barrier for practice drills.
-
Place sandbags or weighted buckets on each base foot to prevent tipping.
Marking the Kitchen
Use painter’s tape or sidewalk chalk to mark a 7-foot zone on each side of your net. This represents the non-volley zone—the kitchen line where you’ll practice dinking without stepping in. The visual reference keeps your footwork honest.
Practice Ideas
-
Cross-court dinks: Stand at opposite kitchen corners and hit 20 consecutive dinks that bounce inside the taped zone.
-
Third-shot drops: Start at your baseline mark (about 15’ back) and practice soft arcing shots that land in the kitchen.
-
Mini-games: First player to land 10 shots in the marked zone wins. Add variety by requiring alternating forehand and backhand.
DIY Rebound Wall and Portable Rebounder Frames
Solo practice becomes dramatically more effective when every shot comes back to you. The effectiveness of solo practice with a rebounder lies in its ability to help you maintain control, improve consistency, and develop game-winning skills even in limited spaces. A rebounder eliminates ball chasing and lets you focus on consistency, reflexes, and stroke mechanics.
Repurposing an old table or mounting a smooth piece of plywood at net height can serve as an effective rebounder wall for solo practice.
Commercial options like the Dink Master Pro run $150–250, but you can build comparable tools for a fraction of the cost.
Permanent Garage Wall Rebounder
A smooth plywood sheet mounted on your garage wall provides a consistent, quiet practice surface. Here’s the setup:
-
Purchase a 4’ x 8’ sanded plywood board (about $25–30 at Home Depot or Lowe’s).
-
Mount it securely to wall studs using lag screws.
-
Paint a bold horizontal line at 34” from the floor to simulate net height.
-
Add 2–3 target squares using painter’s tape or contrasting paint for accuracy drills.
The plywood surface offers roughly 70–80% energy return—similar to regulation walls—while being quieter than hitting bare concrete or metal. Seal the surface with polyurethane for weather resistance if your garage isn’t climate-controlled.
Optimal Distances for Drills
-
7 feet: Practice dinking—soft, controlled shots that stay below the painted net line.
-
3–4 feet: Rapid-fire volleys for hand eye coordination and quick reactions.
-
10–12 feet: Drive and drop shot practice, working on power control.
Portable Rebounder Frame
If you can’t modify your garage or need something you can bring to different locations, build a standalone frame:
-
Construct a 4’ x 4’ frame from 1” PVC pipe or lightweight aluminum tubing.
-
Stretch rebound netting or create a bungee cord lattice across the frame—spacing cords 3–4 inches apart.
-
Add an adjustable hinged support leg to change the rebound angle (steeper = faster returns).
-
Weight the base with sandbags for stability.
Solo Drill Ideas
-
No-miss dinks: Hit 50 consecutive soft shots below the net line. Start over if you miss. Great for developing touch.
-
30-second volley blitz: Count how many clean volleys you can hit in 30 seconds. Track your progress weekly.
-
Target squares: Chalk 12” x 12” targets on your rebounder and alternate hitting each one. This builds the placement precision that separates levels.
Homemade Ball Machines and Ball-Return Hacks
Let’s be clear: building a true motorized ball machine with oscillation and speed control is complex, expensive, and potentially frustrating. Commercial machines like the Franklin ProShot or Pickleball Tutor deliver consistent feeds but cost $200–500+. Instead, this section focuses on simple, safe, low-tech solutions that give you controlled practice reps without the engineering headache.
Gravity-Fed Ball Dropper
This simple training tool uses gravity to feed balls into your contact zone, letting you focus purely on stroke mechanics:
Materials:
-
3–4” diameter PVC pipe, 3 feet long
-
Step ladder or wall-mounting bracket
-
Spring clothespin or simple pull-cord release gate
-
Funnel or angled entry piece
Setup:
-
Mount the pipe vertically, angled slightly (about 10 degrees) so balls naturally roll toward the bottom.
-
Create a gate at the bottom using a hinged flap or spring clothespin that releases one ball when triggered.
-
Load 10–15 balls into the top.
-
Stand in your ready position, pull the release, and hit each ball as it drops.
This works especially well for serve practice—the ball drops into a consistent position so you can groove your toss and contact point. It’s also excellent for third-shot drops where you want to develop feel without chasing balls across your driveway.
Elastic Tether Trainer
The ball-on-string concept mirrors commercial products like the Onix Pickleball Trainer at a fraction of the cost—roughly $6 total:
Materials:
-
36 inches of 50 lb fishing line
-
Size 3 swivel barrel (allows natural spin)
-
Paracord and cord lock
-
One hollow pickleball (pierce with scissors, seal edges with a lighter)
-
Weighted base or ground stake
Assembly: Thread the fishing line through the ball, attach the swivel, then connect to your anchor. The ball returns after each hit, allowing 100+ reps per minute without retrieval. This setup excels at building muscle memory for consistent contact points.
Safety Notes
-
Secure all frames and mounts before hard hitting—a loose rebounder or dropper becomes a hazard.
-
Position equipment away from windows, cars, and property lines.
-
Wear protective eyewear during close-range volley drills.
-
Check fishing line and bungee cords monthly for wear—they degrade and can snap unexpectedly.
DIY Targets, Spin Trainers, and Accuracy Games
Here’s what separates a 3.5 player from a 4.0+: the ability to hit specific windows, not just keep the ball in play. Precision comes from deliberate practice with clear targets, and the effectiveness of using structured drills and visible targets is key for skill improvement. Commercial target systems cost $50–100, but you can build effective alternatives for almost nothing.
To create targeting practice, use masking tape to form boxes on a wall for controlled hitting. You can also create numbered targets on practice boards using aluminum pie plates or tape to structure your drills.
Hanging Targets
Create suspended targets that swing when hit, providing instant visual feedback:
-
Plastic plates: Dollar store plates hung from your DIY net with string at varying heights. Aim for the satisfying “thwack.”
-
Foam rings: Pool noodles cut into 6” sections and strung together. Hit through the center.
-
Old Frisbees: Hung at kitchen height for dink accuracy.
Vary target positions—some at net height, others lower in the kitchen zone, some at the sideline corners.
Floor Targets
Mark specific landing zones for drop shots and serves:
-
Painter’s tape rectangles (2’ x 2’) near the kitchen line for dink placement
-
Yoga blocks at deep serve corners—hit the block and you’ve nailed the target
-
Cut cardboard boxes laid flat for drop shot landing zones
DIY Spin Training Ball
Understanding spin visually accelerates learning. Create your own two-tone training ball:
-
Take a standard outdoor pickleball
-
Tape or paint one half a contrasting color (bright orange on yellow works well)
-
Practice serves and dinks while watching the spin rotation
When you can see topspin pulling the colored half forward or backspin rotating it back, you’ll understand how paddle angle affects the ball. This simple visual feedback tool costs nothing but teaches spin mechanics faster than words ever could.
Accuracy Mini-Games
-
10 in a row: Hit a hanging plate 10 consecutive times. Miss and start over.
-
Serve corner only: 20 serves that must land in the back corner. Track your success rate.
-
No-net-touch dinks: Hit into a taped 2’ x 2’ box without the ball touching the net. Count consecutive successes.
-
Alternating targets: Number 4 targets and hit them in sequence. Builds court awareness and placement control.
Marking a Temporary Court in Your Driveway or Street
A regulation pickleball court measures 44 feet long by 20 feet wide—about the size of a doubles badminton court. Most driveways can’t accommodate full dimensions, but you can scale down effectively for practice.
Scaling Your Space
|
Available Length |
Recommended Setup |
|---|---|
|
44+ feet |
Full court |
|
30–40 feet |
3/4 court (focus on kitchen and mid-court) |
|
20–30 feet |
Half court (kitchen to centerline) |
|
Under 20 feet |
Mini court (dinks and volleys only) |
Even limited space works. A 15’ x 10’ area is enough to practice dinking, volleys, and footwork fundamentals.
Marking Materials
Choose based on your surface:
-
Smooth concrete: Painter’s tape (removes cleanly, lasts several sessions)
-
Rough asphalt: Removable field marking paint or sidewalk chalk
-
Any surface: Reusable rubber throw-down lines cut from old yoga mats
Step-by-Step Court Marking
-
Baseline: Mark the back line first. Standard width is 20’, but adjust to your space.
-
Sidelines: Extend perpendicular lines 44’ (or your scaled length) from each end of the baseline.
-
Centerline: Split the court down the middle from baseline to the 7’ kitchen line.
-
Non-volley zone (kitchen): Mark a line 7 feet from the net on each side. This is the most critical line for practice—it’s where dinks live.
-
Net placement: Center your DIY net at the halfway point.
Urban Player Tips
Playing in a cul-de-sac or quiet street? Keep these tips in mind:
-
Choose low-traffic hours (early morning, mid-afternoon)
-
Use chalk or removable tape that won’t leave permanent marks
-
Keep sessions to 45–60 minutes to avoid wear on neighbor patience
-
Store equipment completely off the road when finished
If tape isn’t practical, use simple cones, water bottles, or garden stakes at corners and critical lines. You’ll quickly memorize positions and can adjust drills for whatever space you have.
DIY Ball Pickup, Storage, and Transport Solutions
Chasing balls wastes time and breaks your rhythm. Efficient pickup and organization means more quality reps per session—critical when you’re practicing alone.
DIY Pickup Tube
Commercial pickup tubes cost $30–40. Build your own for under $10:
Materials:
-
2.5–3” diameter clear acrylic or PVC pipe, 3 feet long
-
Rubber stopper or cap for one end
-
Flexible rubber flange at the open end (allows balls in, prevents them falling out)
How it works: Press the open end over a ball on the ground. The rubber flange bends inward, the ball pops inside, and the flange snaps back. Repeat until you’ve collected 15–17 balls without bending over once. Studies show this approach cuts retrieval time by 70% compared to hand-picking.
Rolling Storage Crate
For larger collections, build a mobile storage solution:
-
Collapsible milk crate style bin (available at hardware stores for $10–15)
-
Add small caster wheels to the bottom ($8 for a set of four)
-
Attach a telescoping handle from an old luggage bag
This setup holds 50+ balls, cones, tape, and small training tools. Roll it from your garage to your driveway court in seconds.
Home Practice Station Setup
Create a dedicated storage area in your garage:
-
Wall-mounted hooks for paddles (prevents warping and damage)
-
Labeled bins for balls (separate indoor practice balls from outdoor game balls)
-
Small parts container for zip ties, tape, chalk, and tools
-
Designated spot for your FORWRD bag
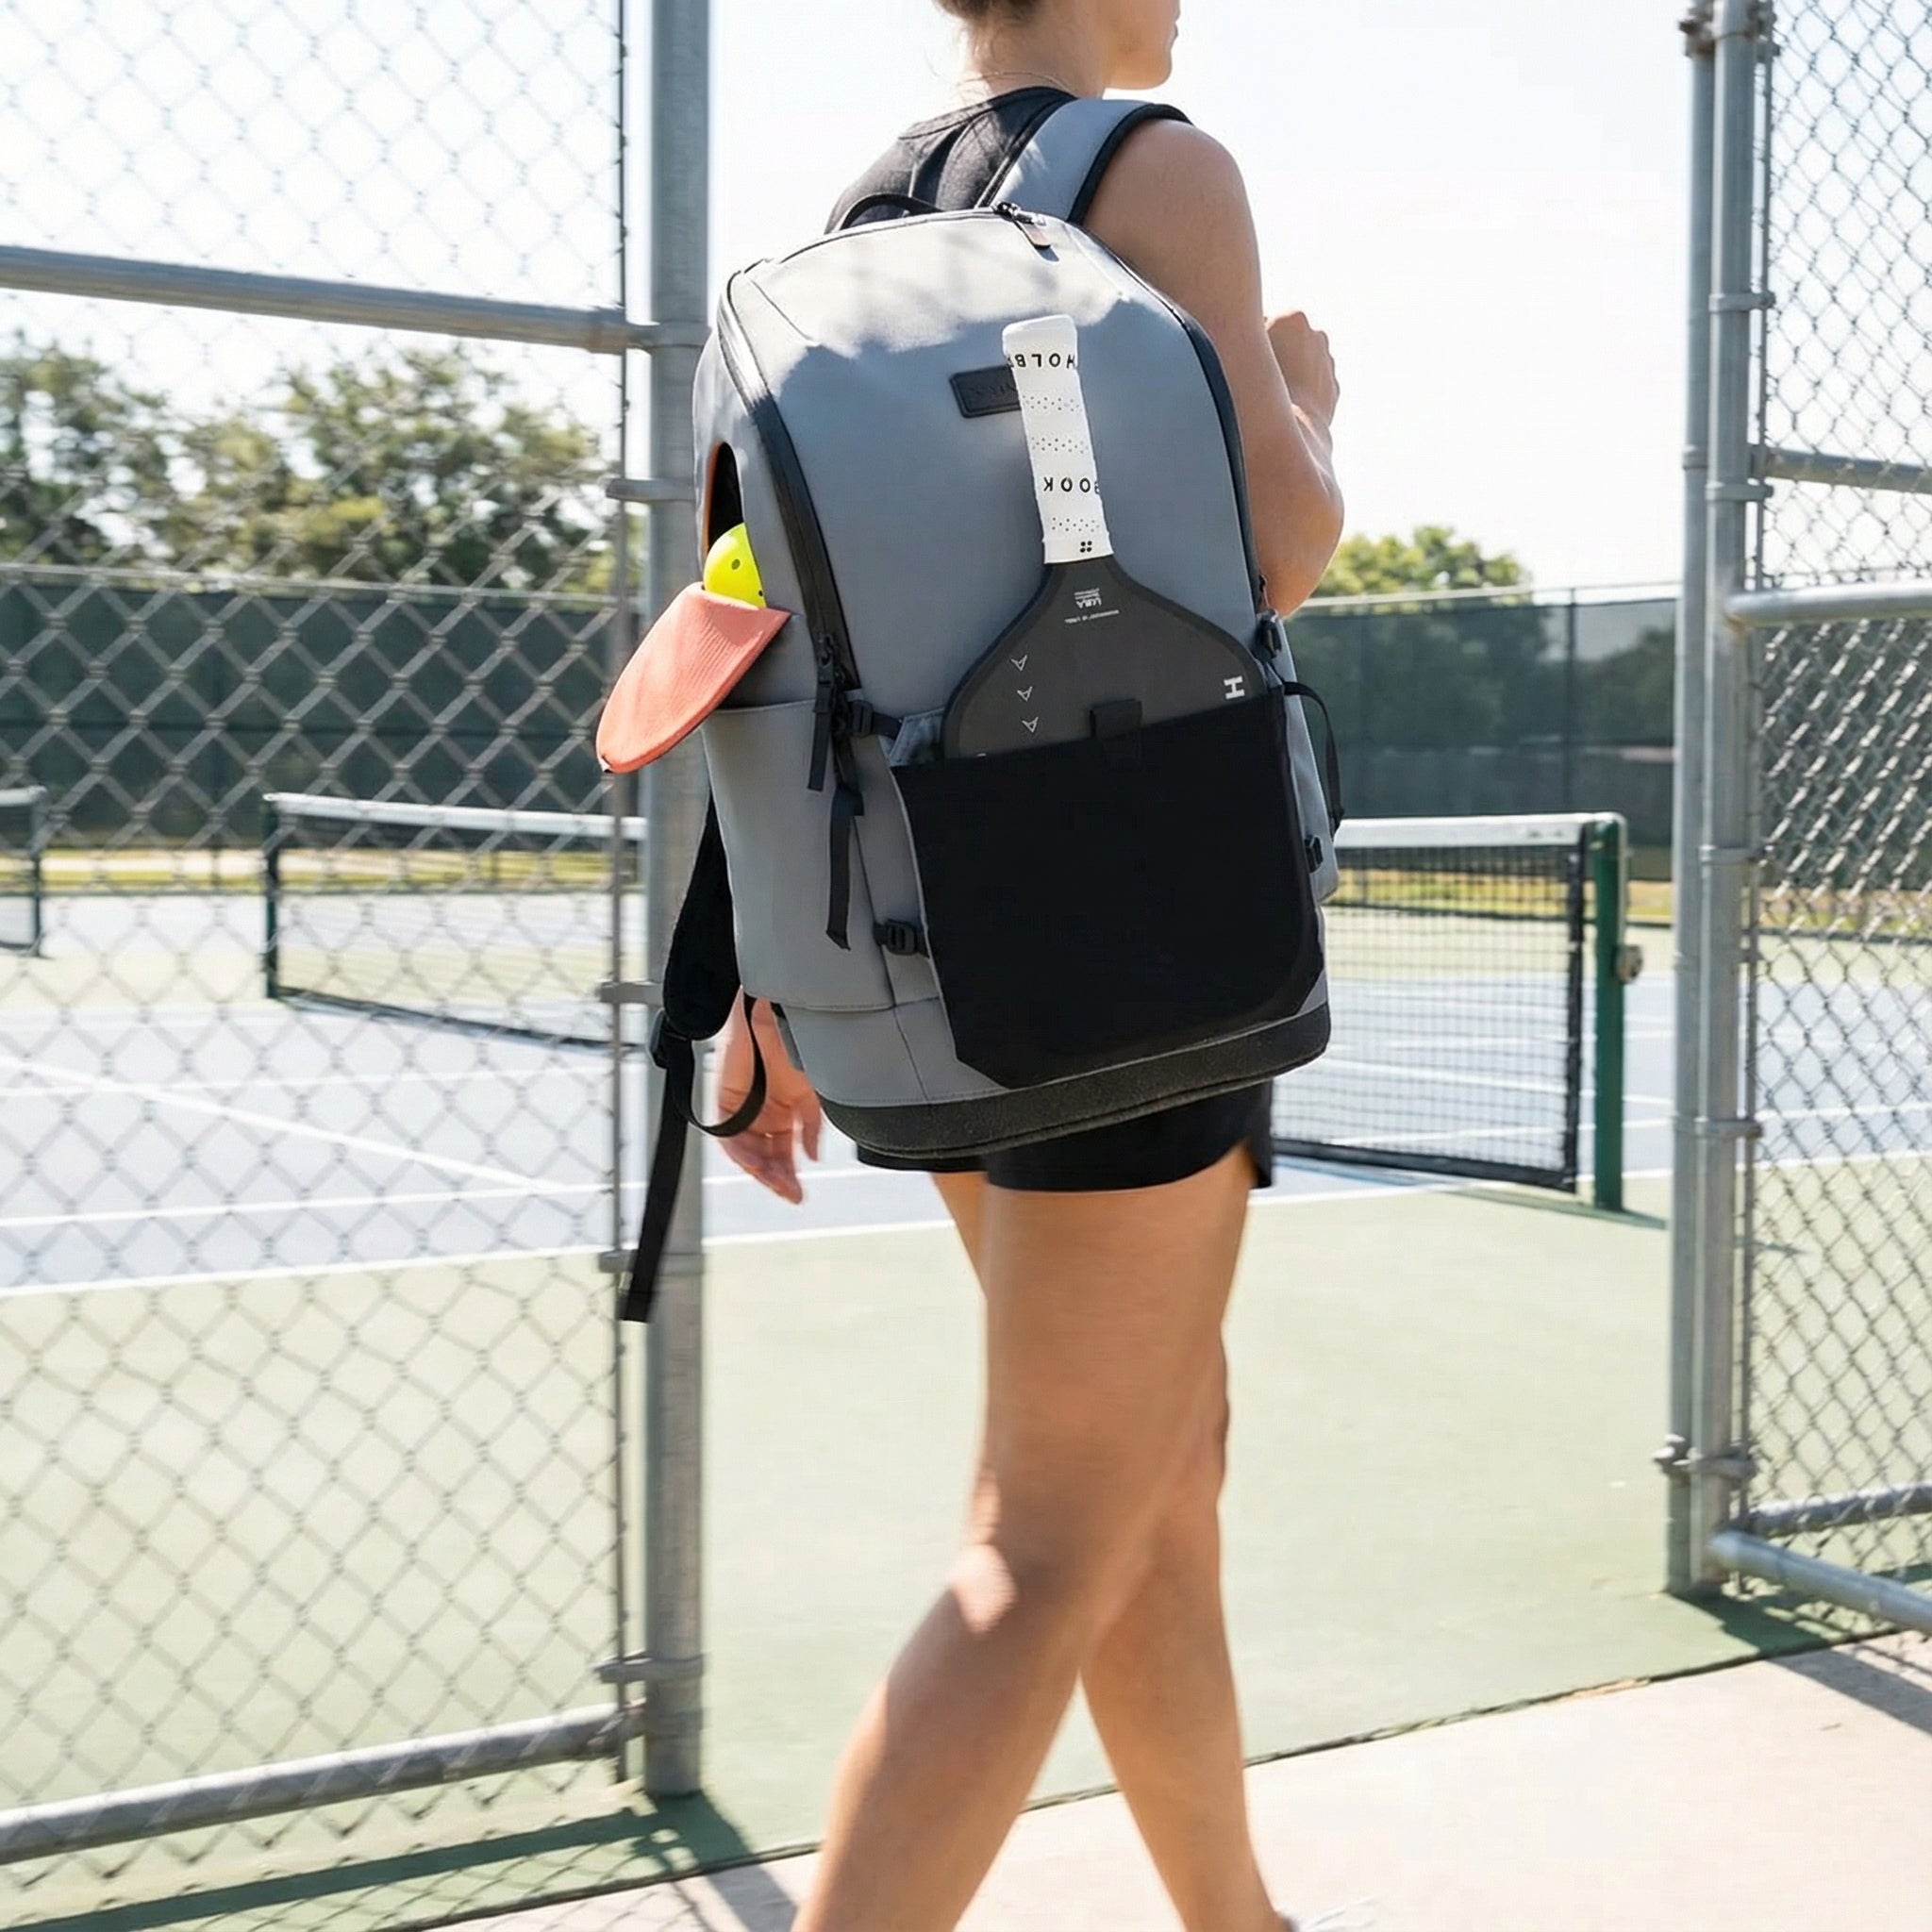
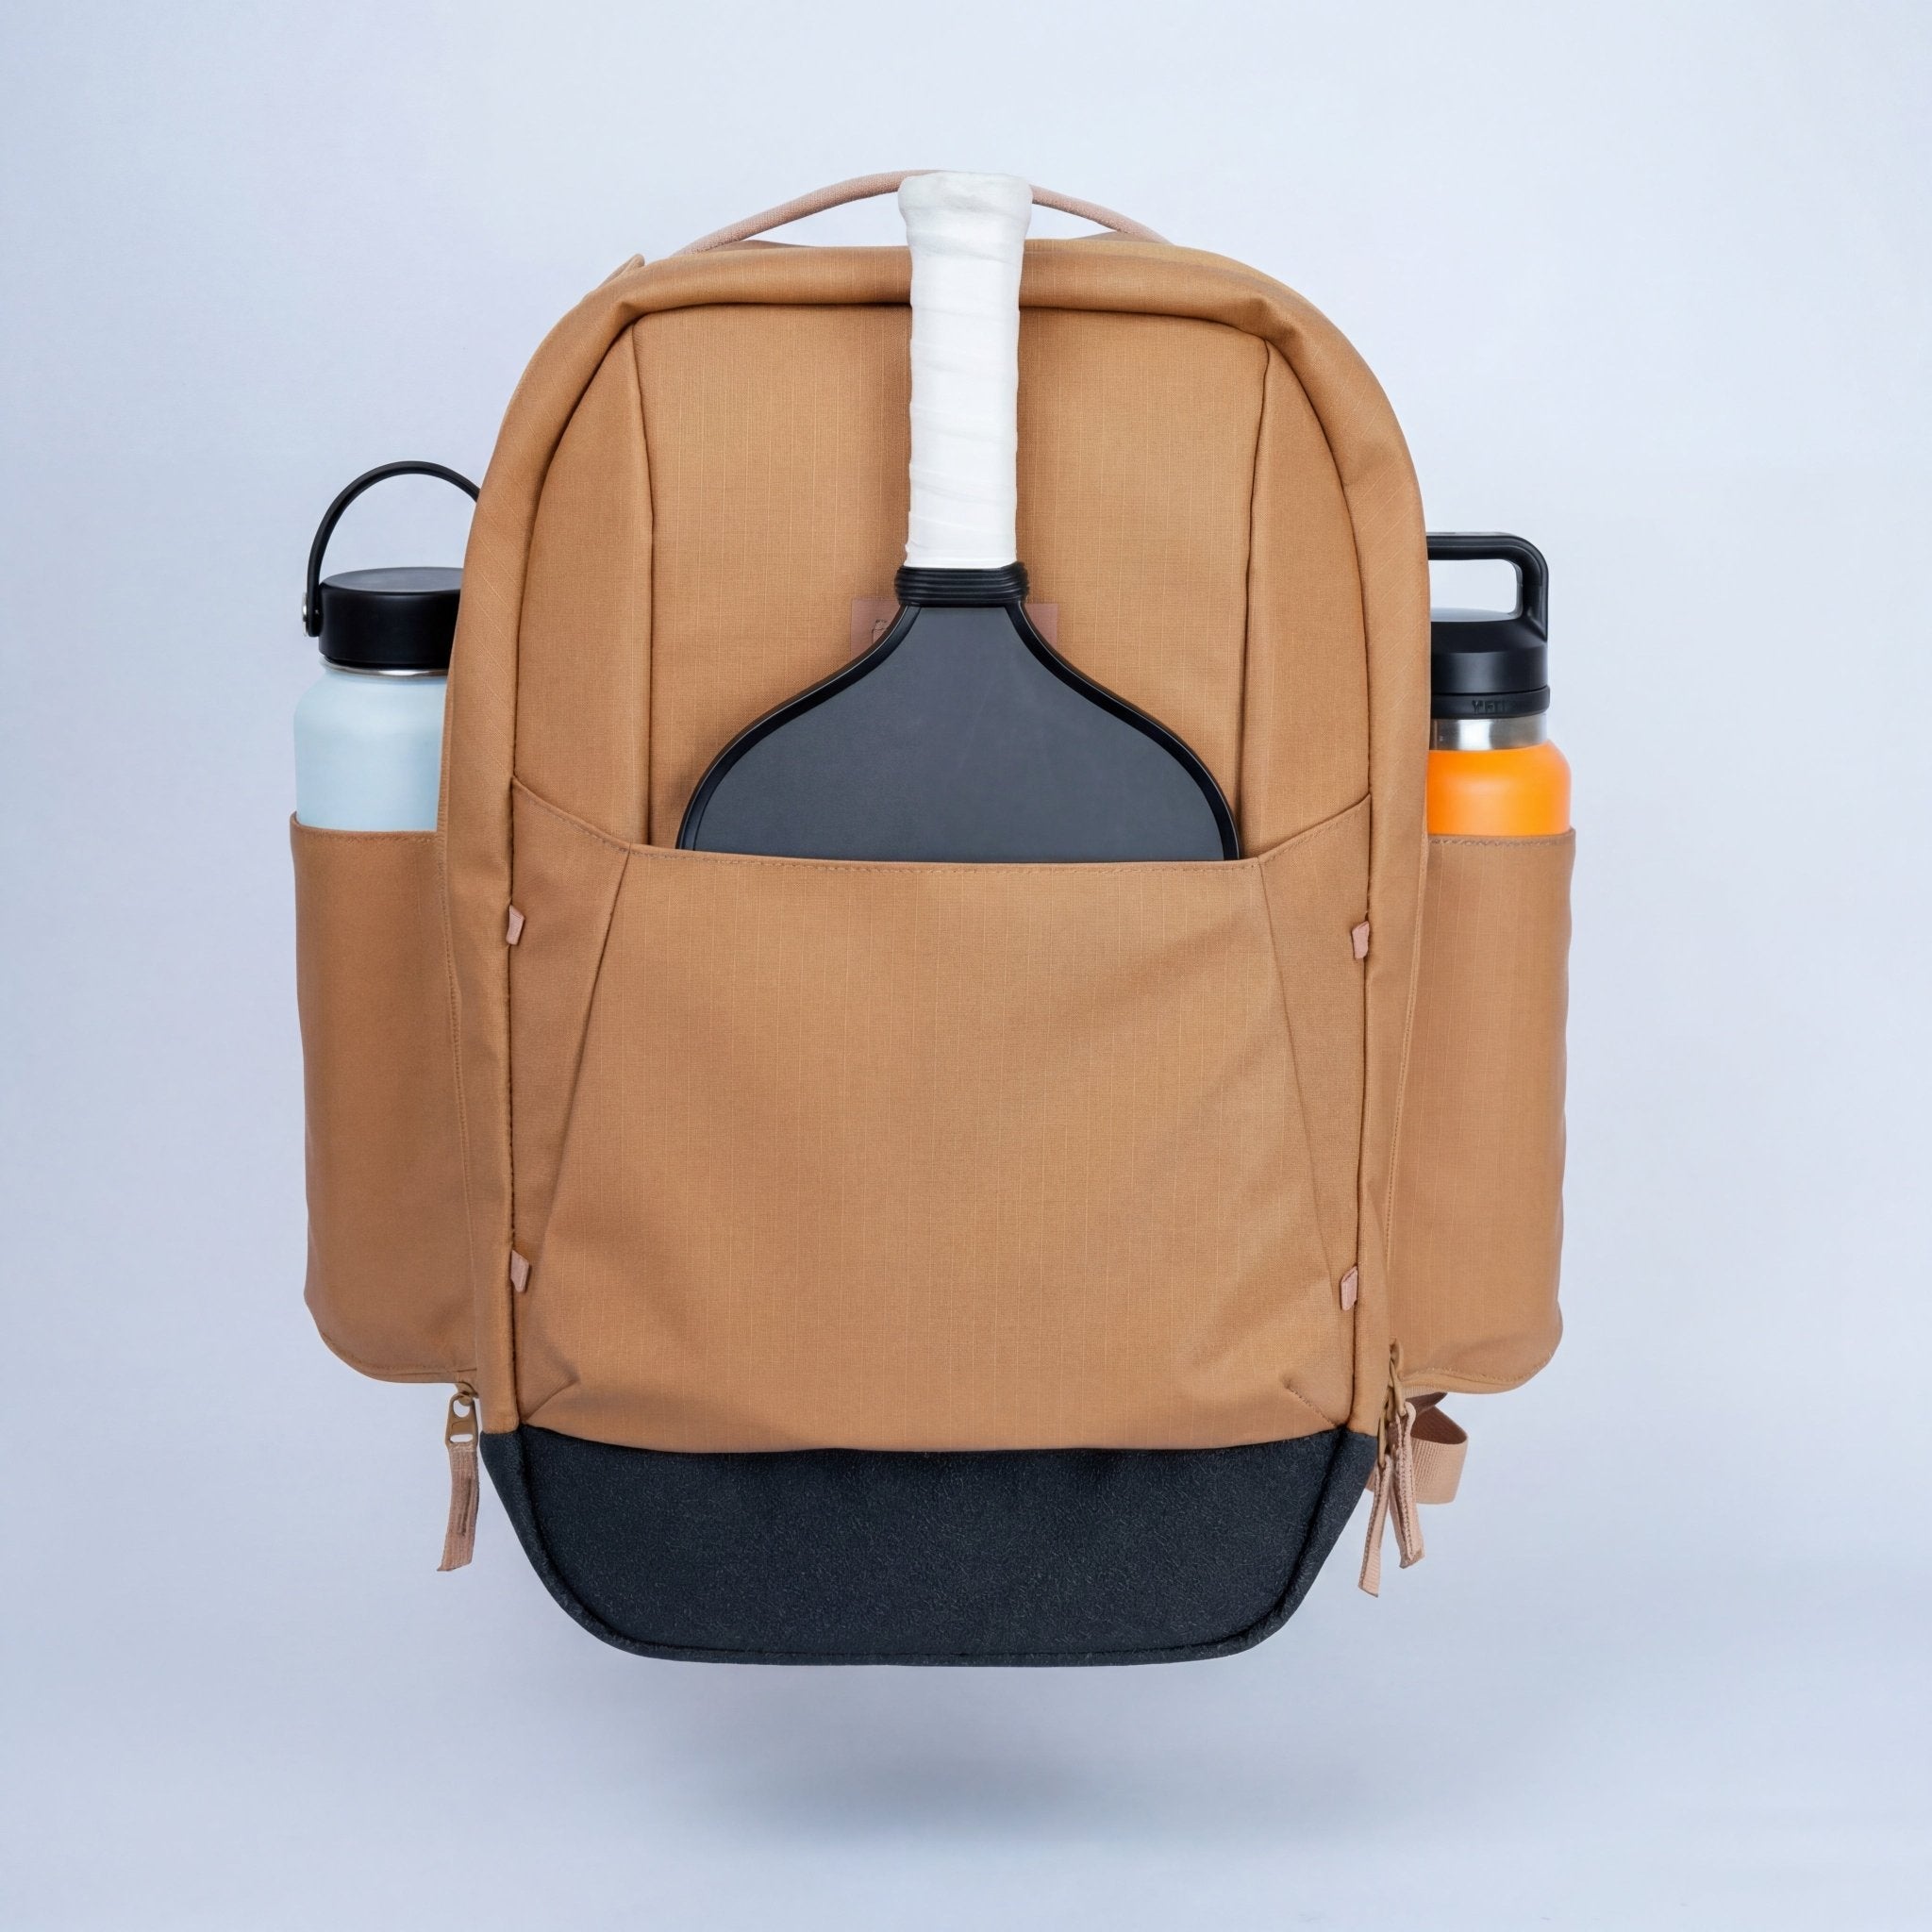
Speaking of organization—a purpose-built FORWRD pickleball bag or backpack keeps your paddles protected, balls contained, and accessories accessible when you’re shuttling between your home setup and dedicated courts. The durable materials handle garage floors and outdoor conditions without degrading.
Safety, Noise Control, and Neighbor-Friendly Practice
DIY practice should improve your game without damaging relationships or property. A few precautions go a long way. Remember to keep key safety and etiquette tips in mind for a positive practice experience.
Personal Safety
-
Wear protective eyewear during close-range volley drills—balls return fast and unpredictably from rebounders.
-
Use closed-toe court shoes, even in your driveway. Lateral movement on concrete with sandals invites ankle injuries.
-
Check all frames, nets, and tethers before each session. Fishing line frays (roughly 10% monthly with heavy use), bungee cords stretch, and zip ties break.
Noise Reduction
Pickleball’s distinctive “pop” carries. Reduce impact on neighbors:
-
Use softer foam practice balls (like Ninja Balls) for apartment complexes or shared walls—they’re nearly silent.
-
Place rebounders on cardio mats or grass to dampen vibration.
-
Avoid late-night or early-morning drills in residential areas.
-
Add rubber grommets or felt pads where frames contact hard surfaces.
Property Protection
-
Hang old moving blankets behind rebound walls to protect garage doors and absorb sound.
-
Position all equipment away from windows, parked cars, and fence lines.
-
Consider the trajectory of missed shots—where will an errant ball end up?
Neighbor Etiquette
If you’re using a shared area like a common parking lot or cul-de-sac:
-
Inform neighbors before you start, especially for regular practice schedules.
-
Keep sessions to predictable times—consistency builds tolerance.
-
Offer to include interested neighbors in a practice session, making it a fun and inclusive activity. You might find a new drilling partner.
How FORWRD Gear Complements Your DIY Practice Setup
DIY equipment handles the nets, walls, and targets. But your paddles, balls, accessories, and training aids need protection and organization—especially when you’re moving between home practice and court play. That’s where purpose-built gear matters.
FORWRD bags and backpacks are designed by players who understand the real demands of sports like pickleball. Our materials are rugged enough to handle garage floors, driveway concrete, and outdoor conditions without showing wear. Smart compartments keep balls separated from paddles, training aids accessible, and personal items protected.
You can find more FORWRD gear and additional resources for your pickleball journey right here on our site.
Practical Use Cases
-
FORWRD backpack for mobile practice: Load it with balls, painter’s tape, a measuring reel, and your pickup tube. Everything you need to set up a temporary driveway court fits in one bag.
-
FORWRD court bag for comprehensive sessions: Carry multiple paddles, DIY hanging targets, cones, chalk, and your rebounder netting. Larger capacity means you’re always ready for extended practice.
-
Everyday court carry: After your home session, grab the same bag and head to open play. Your gear stays organized whether you’re practicing solo or competing in league matches.
Quality bags paired with low-cost DIY equipment create a professional-feeling practice environment. You’ve invested time building effective training tools—protect that investment with gear that lasts. Our lifetime warranty means your FORWRD bag will outlast dozens of DIY net rebuilds.
Putting It All Together: Sample DIY Practice Routines
Consistent short sessions beat occasional marathon practices. Here are three routines using only the DIY tools from this guide.
To supplement your routines, consider watching instructional video guides for advanced technique improvement. You can also search online for more drills and creative diy pickleball practice equipment ideas to keep your training fresh.
Sample Routine 1:
-
10 minutes of wall volleys (focus on paddle control)
-
5 minutes of target practice with cones or chalk marks
-
5 minutes of shadow practice to improve form and muscle memory (no ball, just mimic strokes)
-
100 repetitions each of forehand and backhand dinks for skill improvement
Sample Routine 2:
-
10 minutes of serve practice (aim for consistency)
-
5 minutes of footwork ladder drills
-
5 minutes of shadow practice focusing on movement and shot preparation
-
100 repetitions each of forehand and backhand dinks
Sample Routine 3:
-
10 minutes of return of serve practice (use a wall or rebounder)
-
5 minutes of drop shot drills
-
5 minutes of shadow practice to reinforce muscle memory
-
100 repetitions each of forehand and backhand dinks
For more tips, exclusive drills, and updates on diy pickleball practice equipment, sign up for our newsletter!
20-Minute Quick Session
Perfect for lunch breaks or before work:
-
Warm-up (3 min): Light jogging in place, arm circles, paddle swings
-
Dink series (7 min): 100 soft dinks against your rebounder, staying below the net line
-
Target work (5 min): Hit 10 consecutive shots at a marked target square
-
Volley burst (5 min): 3 rounds of 30-second rapid volleys, counting total hits
40-Minute Skill Builder
Solid weekday evening session:
-
Warm-up (5 min): Dynamic stretches plus 20 practice swings
-
Dink series (10 min): Alternating forehand/backhand dinks, 50 each side
-
Drop shot practice (10 min): Use your gravity dropper, focusing on soft landing in the kitchen zone
-
Volley and reflex (10 min): Close-range rebounder work, varying speed and angle
-
Target games (5 min): “10 in a row” on a hanging plate
60-Minute Complete Workout
Weekend deep practice:
-
Warm-up (5 min): Full dynamic warm-up plus footwork ladder (use tape lines)
-
Dink series (15 min): Cross-court dinks with a partner at your mini net, or solo rebounder work with placement focus
-
Serve practice (10 min): 30 serves targeting deep corners using floor markers
-
Third-shot drops (10 min): Dropper-fed balls, landing in the taped kitchen zone
-
Volley drills (10 min): Progressive distance work—start at 3 feet, back up to 7 feet
-
Conditioning (5 min): Side shuffles along your driveway court lines, 10 lengths
-
Cool-down and review (5 min): Light stretching, note what felt good and what needs work
Track your progress. If you hit the target 6/10 times today, aim for 7/10 next session. This kind of deliberate, measurable practice—done 3–4 times weekly—delivers real improvement by your next league season.
Building your own practice setup takes some weekend effort, but the payoff is enormous: unlimited court time, focused skill development, and the satisfaction of training smarter. At FORWRD, we believe players who invest in their practice deserve gear that matches their commitment. Start with one project this weekend, keep your equipment organized in a bag built for the sport, and watch your game level up.
FAQs About DIY Pickleball Practice Equipment
How much does a basic DIY practice setup cost in 2024?
A functional setup with a mini net, simple rebounder, and court markings runs $75–125 in materials. The most expensive component is usually plywood for a wall rebounder ($25–30). Compare that to commercial alternatives that easily exceed $400 for similar functionality.
How do DIY practice setups compare to commercial pickleball machines and tools?
DIY setups are budget-friendly and customizable, but commercial machines offer advanced features. For example, the Titan ONE Pickleball Machine is an all-in-one device with storage, a large hopper, and pre-programmed drills. The Titan ACE Pickleball Machine is portable and can fire pickleballs up to 75 mph. The Pickleball Tutor Mini is compact, holds 55 balls, and reaches speeds up to 50 mph. The Lobster Pickle Ball Machine can practice a variety of shots and holds up to 135 pickleballs. The NET PLAYZ 4FT Pickleball Rebounder Training Tool offers realistic practice with adjustable angles. The Franklin Sweet Spot Training Paddle helps minimize mis-hits during real play. The Pickleball Tutor Plus features topspin and backspin capability with a 110-ball capacity. DIY options are great for basic drills, but commercial machines provide more variety and automation.
What’s the minimum space I need for home practice?
A 10’ x 15’ area—roughly the size of a parking space—is enough for dinking and volley practice against a rebounder. For a mini net setup with two players, aim for at least 15’ x 20’. A full-scale driveway court requires 44’ x 20’, but scaled-down versions work well for most drills.
Can DIY equipment damage my paddle?
Standard outdoor pickleballs and proper technique won’t damage quality paddles. However, avoid hitting against rough concrete walls directly—use a smooth plywood surface. Check your paddle face periodically for unusual wear. Tethered ball trainers put slightly more stress on the sweet spot, so rotate paddle use if you’re doing high-volume tether work.
Should I use indoor or outdoor balls on my rebounder?
Outdoor balls (40-hole design) work best for most DIY rebounders. They’re more durable and provide realistic bounce characteristics. Indoor balls (26-hole) are softer and quieter, making them better for apartment practice or late-evening sessions where noise matters.
Can I repurpose a tennis rebounder for pickleball?
Yes, with adjustments. Tennis rebounders typically have larger surface areas and higher net lines. Add a tape line at 34” to simulate proper pickleball net height, and stand closer than you would for tennis (7–10 feet for dinks, not 15–20 feet).
How do I reduce noise impact in a condo or townhome?
Use foam practice balls instead of standard pickleballs—they’re nearly silent. Place your rebounder on a thick rubber mat or grass to dampen vibration. Hang moving blankets behind your practice wall. Avoid hard surfaces like concrete garage floors if you share walls with neighbors.
How should I store my DIY equipment to keep it lasting?
Store plywood rebounders flat or upright against a wall to prevent warping. Coil bungee cords and fishing line loosely to avoid kinks. Keep PVC frames assembled or store pieces together with labeled bags for hardware. A FORWRD bag works perfectly for containing smaller items like tape, targets, and tethered trainers between sessions.
Where can I find gear to organize all my DIY tools and court equipment?
FORWRD designs premium pickleball bags and backpacks specifically for players who take their game seriously. Our bags feature durable materials, smart compartment layouts, and lifetime warranties—perfect for carrying your homemade training aids alongside your paddles and match-day essentials. Check out our full collection to find the right carry system for your setup.
How can I practice solo at home?
A garage rebound net allows for rapid-fire volleys and groundstroke practice, improving hand-eye coordination. You can also use a wall, tethered ball trainer, or portable rebounder for solo drills.
What’s the best way to improve paddle technique with DIY equipment?
Focus on consistent contact and control. During training, try softening your grip to better absorb pace and improve shot accuracy, especially during net play and drills. This helps develop touch and reduces errors.
Complete Your Setup: Store and Transport Your DIY Practice Gear
You've built the practice net. You've got a rebounder in the garage. You've got a ball collection growing by the week. Now figure out how to move it all without losing your mind.
A solid practice routine only works if you can show up ready. That means your paddles are protected, your balls are organized, and you're not repacking from scratch before every session.
The FORWRD Court Ranger V2 ($195) fits 3-4 paddles in a modular sleeve, has a 16" laptop sleeve for remote work between sessions, and uses the same YKK AquaGuard zippers as expedition gear. For players who split time between home practice and court play, it's the bag that makes the logistics of a serious training routine actually manageable.

Ready to upgrade your practice setup? Shop the Court Ranger V2 — designed with 500+ real players who take their practice seriously.
Frequently Asked Questions
What's the best DIY pickleball practice setup for a small backyard?
A compact PVC net (10-14 feet wide) and a 4' x 4' plywood rebounder mounted on your garage wall cover 90% of solo practice needs in a standard backyard. Total cost runs $75-100 for the net and $30-40 for the plywood. Add sidewalk chalk for kitchen and baseline markings. You can run dink drills, third-shot drops, and volley work without a full 44-foot court.
Can I practice pickleball alone at home without a partner?
Yes — and it's underrated for skill development. A wall rebounder lets you practice volleys, dinks, and drives at whatever pace you set. A gravity-fed ball dropper gives you serves and groundstroke reps without chasing. The solo drilling gap most players miss is footwork: set up cones or chalk targets and practice split-step and lateral movement between each shot.
How much does it cost to build a DIY pickleball practice net?
A functional PVC practice net costs $50-65 in materials: PVC pipe and fittings ($25-30), nylon mesh or landscaping fabric ($10-15), zip ties ($5), and sandbag weights ($10-15). You can knock this down further by repurposing materials — old badminton netting works, and buckets filled with sand or gravel replace purchased sandbags. The frame takes about 2 hours to assemble on the first build.
What household items can I use to practice pickleball at home?
A smooth wall or garage door works as a rebounder wall. Chalk lines mark kitchen and court boundaries on any hard surface. A bucket with a weighted bottom becomes a ball hopper. Pool noodles cable-tied between posts create a net-height visual reference if you don't want to build a full PVC frame. For target practice, hula hoops laid flat define landing zones for serve and drop shot drills.
How do I practice the kitchen game without a court?
Mark a 7-foot zone from your portable net or wall with chalk or painter's tape — that's your kitchen. Practice dinking with your wall rebounder from 7 feet, focusing on shots that clear the painted net line and land within the 7-foot zone. Set a no-miss target (10, 20, 50 consecutive dinks) and start over when you miss. This builds the repetition and consistency that translates directly to match play.
Recommended Gear from Pickleball Central
FORWRD may earn a commission on purchases made through these links.
- Pickleball Tutor Spin Ball Machine — Programmable training partner for solo practice — $599.99
- Franklin Ball Hopper — Easy ball collection and storage for court drills — $29.99
- Portable Pickleball Net — Set up a court anywhere for backyard practice — $59.99
Leave a comment
This site is protected by hCaptcha and the hCaptcha Privacy Policy and Terms of Service apply.