

Last updated: July 2026
Building a backyard pickleball court doesn't have to mean a $40,000 concrete pour. It can mean $75 worth of court tape and a Saturday afternoon. The right answer depends on your space, budget, and how serious you are — and most guides won't tell you the honest version of that because they're written by contractors who want the full installation job.
This guide covers all four realistic options, from tape-on-driveway to full professional installation, with honest cost ranges and a decision framework so you can pick the right one for your actual situation.
Quick answer: A basic tape-and-net setup costs $50–$400 and works on any flat concrete surface 20×44 feet or larger. A permanent sport tile system runs $2,000–$5,000. A full concrete pour with professional surfacing runs $12,000–$25,000+. Most backyard players land on the $400–$1,200 range — portable tiles or a permanent net on existing concrete.
Disclosure: This post contains affiliate links to Pickleball Central. If you purchase through our links, FORWRD earns a small commission at no extra cost to you. We only link to products we'd recommend regardless.
How Much Space Do You Actually Need?
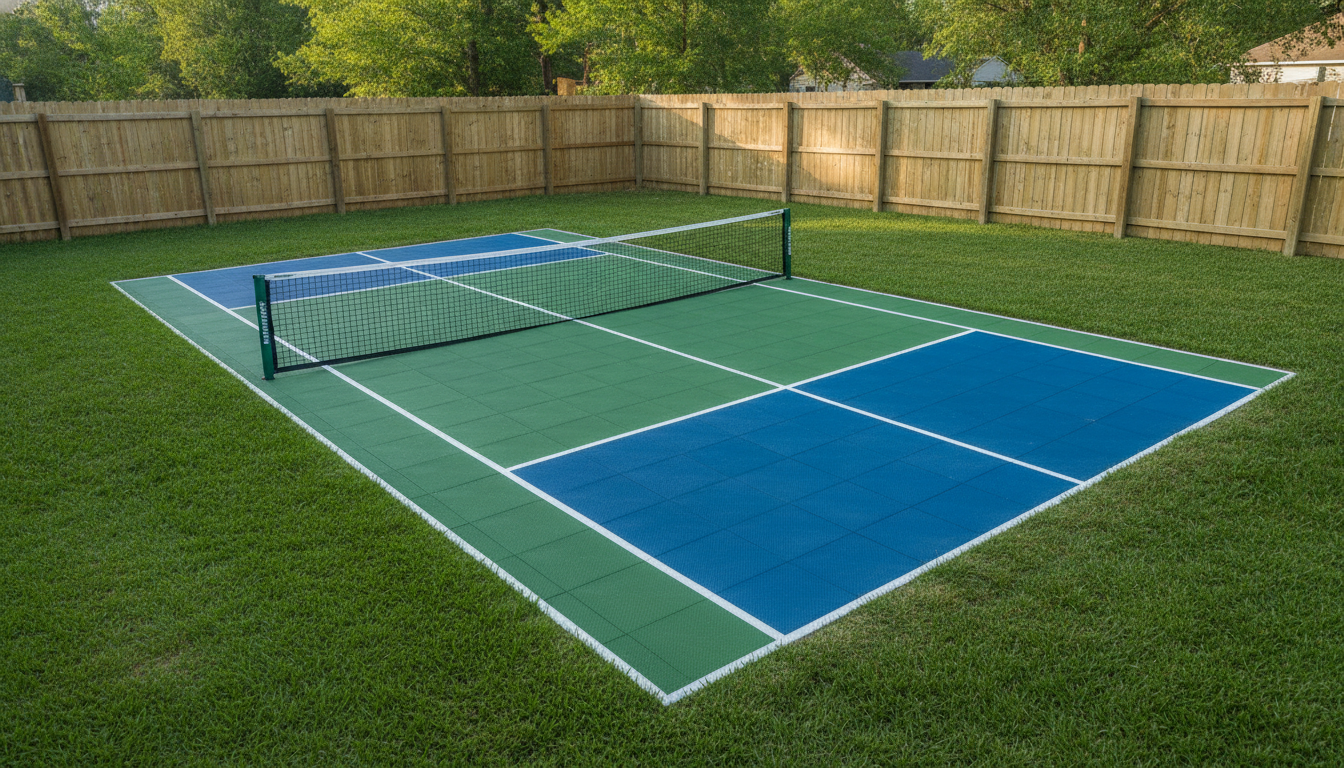
A regulation pickleball court is 20×44 feet. That's the playing surface. Add minimum buffer zones — 5 feet behind each baseline, 3 feet on each sideline — and you're looking at a recommended pad of at least 30×60 feet.
Here's the real-world driveway math that most guides skip:
- Single-car driveway (10×20 ft): Not enough. You can mark the kitchen line and hit volleys, but you can't play a real game
- Two-car driveway (20×20 to 24×44 ft): Close or exact for the court surface itself — enough for play with minimal buffers, though shots at the baseline will land near the edge
- Two-car driveway (20×44+ ft): Full court possible. Measure before committing to any option
- Patio or rear yard: Usually 25×50+ on suburban properties — check by stepping it off (one large adult stride ≈ 2.5 ft)
If your space is 20×44 exactly, you can build a full court. If it's close but not quite, you can still mark a functional recreational court — just acknowledge the buffers are minimal and you'll be playing close to the edges. For official court dimensions and buffer zone requirements, see our Complete Pickleball Court Guide.
Option 1: Tape Lines on Existing Concrete ($50–$150)
The cheapest legitimate option — and for casual backyard play, often the right one. You need flat concrete or asphalt, court tape or line chalk, and a portable net. That's it.
What you get: A fully playable court. You'll play the same game as Option 4. The lines aren't as clean, the surface isn't optimized, and rain or driveway use may require re-marking — but it works.
What you need:
- Court tape (3M 764 vinyl tape holds well on concrete) or outdoor chalk lines
- A tape measure and chalk
- 45 minutes to mark it correctly (dimensions below)
- A portable net ($90–$250 — see the Net Options section)
Best for: Testing whether you'll actually use a backyard court before committing to a larger investment. Many backyard players start here and stay here for years.
Limitation: Concrete and asphalt are hard on joints. If you're playing seriously multiple times a week, the surface fatigue adds up. That's the main reason to eventually move up to sport tiles.
Option 2: Portable Net + Surface Tiles on Patio ($400–$1,200)
This is where most serious recreational players land. You keep the flexibility of a portable setup but add actual court surface — snap-together polypropylene sport tiles that sit directly on your concrete or patio. No adhesive, no permanent modification, fully reversible.
The tile systems that work for backyard pickleball (VersaCourt, Mateflex, COVR Sport) snap together in an afternoon. They provide cushioning that tape-on-concrete doesn't, improve ball bounce consistency, and reduce joint fatigue. Cost is roughly $4–$8 per square foot for the tiles — so a 20×44 foot court surface runs $3,500–$7,000 just for tiles at full build-out. But you don't need to tile the full 20×44 for functional play; many players tile a 20×30 zone around the non-volley area and use tape lines on concrete for the back sections, cutting cost significantly.
What you get: A genuinely good playing surface. Better than most public outdoor courts. Cushioned, consistent, weather-resistant.
What you need: A flat surface, the tiles, a portable net, and about 4–6 hours for a 2-person crew to install a full tile surface. Partial tile setups go faster.
Option 3: Sport Tile System on Existing Slab ($2,000–$5,000)
This is Option 2 scaled up — a full professional-grade sport tile surface installed on an existing concrete slab. The difference from DIY tiles: the installation is more precise, the interlocking system is more robust, and the surface options expand to include painted line markings and perimeter edging that make the court feel permanent.
Where the cost comes from:
- Full 20×44 surface in snap-together polypropylene: $1,200–$2,500 in materials
- Professional installation labor: $600–$1,500
- Perimeter edging, permanent net posts (optional): $300–$1,000
This is the right option if you have an existing slab that just needs a real surface. The gap between Option 2 and 3 is mostly permanence and polish — same playing experience, different aesthetic and installation quality.

Option 4: Full Concrete Pour + Professional Surfacing ($12,000–$25,000)
This is the permanent installation — excavated base, poured concrete slab at the right dimensions and drainage pitch, then an acrylic surfacing system applied over the cured concrete. The result is a court indistinguishable from a public facility, designed to last 20+ years with proper maintenance.
Real cost breakdown:
- Excavation and base prep: $2,000–$5,000 depending on soil and site
- Concrete pour (30×60 minimum pad): $8,000–$15,000 for materials and labor — this is the bulk of the cost
- Acrylic surfacing, line painting, and net post installation: $3,000–$6,000
- Optional fencing, lighting: $3,000–$10,000+
Why such a wide range? Labor costs vary enormously by region. A concrete pour in Phoenix runs differently than one in coastal California or the Northeast. Get at least 3 quotes from local contractors, and ask specifically for "sports court concrete" specifications — the drainage pitch and surface finish requirements are different from a standard patio pour.
Who this is for: Homeowners with the budget, the space, and the intention to play seriously for years. This significantly adds property value too — a well-built sports court is a real estate asset in most markets.
Which Option Is Right for You?
Quick Decision: Pick Your Profile
| Your profile | Right option | Budget |
|---|---|---|
| Casual player, existing driveway, just want to try it | Option 1: Tape + portable net | $50–$300 |
| Serious recreational player, plays 3x+/week, wants real surface | Option 2–3: Sport tiles on existing concrete | $400–$5,000 |
| HOA or multi-family with shared outdoor space | Option 3–4: Permanent tile system or concrete pour | $3,000–$25,000 |
| Homeowner who plays competitively, wants tournament-quality surface | Option 4: Full concrete pour + professional surfacing | $12,000–$25,000+ |
Step-by-Step: Marking the Court (Dimensions + Line Placement)
Once you've got your surface, here's how to mark it correctly. You'll need a tape measure, chalk or tape, and a second person to hold the measuring end.
- Mark the baseline corners first. Measure out your 20-foot width at both ends. These four corner points anchor everything.
- Mark the sidelines. Connect the corresponding corners on each side — 44 feet total.
- Find the centerline. Mark a centerline running the full 44 feet, parallel to the sidelines, dividing the court in half (two 10-foot halves).
- Mark the non-volley zone (NVZ / kitchen). Measure 7 feet from the net on both sides and draw a line across the full 20-foot width. This is the kitchen line. Mark it on both sides of the net.
- Mark service boxes. The centerline between the kitchen and the baseline creates the left and right service boxes on each side.
- Net placement: Net center sits at the exact midpoint of the court width (10 feet from each sideline), at the 22-foot mark of the court length.
Line width: USA Pickleball rules specify 2-inch line widths for all boundary lines. Consistent line width matters more than you'd think for line-call disputes at the kitchen.
Net Options: Portable vs. Permanent Posts
Your net choice should match your build tier.
Portable nets ($90–$350): The right choice for Options 1 and 2. They assemble in 5 minutes, store in a bag, and perform well at recreational play. Look for a center strap (required for regulation height), metal frame rather than fiberglass for durability, and a bag that actually fits it. The Franklin Sports Official Portable Net System is a reliable mid-range option — shop portable pickleball nets at Pickleball Central.
Permanent posts: For Options 3 and 4, you can have net posts set in concrete alongside the court pour. This adds $500–$1,500 depending on post quality and installation. The net hangs permanently and the center strap keeps it regulation height. Better for daily serious play; the portable net setup becomes inconvenient if you're playing every day.
Net height: 36 inches at the sidelines, 34 inches at the center (with the center strap tensioned). Get this right — it affects the game more than players expect.
Permits and HOA Considerations Before You Start
This is the step most DIY guides ignore because it's inconvenient. Skip it and you may have to tear out a $15,000 court.
Permits: A tape-on-driveway setup doesn't require a permit anywhere. A concrete pour almost always does — it's typically treated as an impervious surface addition, which affects stormwater drainage calculations in most jurisdictions. Check with your local building department before breaking ground. Cost is usually $50–$200 for a residential permit.
HOA restrictions: HOAs increasingly have specific rules about sports surfaces — color restrictions, height restrictions on fencing and lighting, noise ordinances that affect court placement. Get explicit written approval before installing anything permanent. The cost of a $30 HOA variance application is much less than the cost of a removal order.
Setbacks: Most municipalities require sports courts to be set back from property lines — usually 5–15 feet. This affects where on your property the court can go, which in turn affects whether a given space is viable.
Common DIY Mistakes (And How to Avoid Them)
1. Not checking drainage before pouring. A flat concrete slab without proper drainage pitch creates standing water, which accelerates surface degradation and makes the court unusable after rain. The correct pitch is 1% grade (⅛ inch per foot) in one direction — enough to drain without affecting play.
2. Buying a portable net without a center strap. Net height at center should be 34 inches. Without a center strap, many portable nets sag below that. This changes the game — makes the middle easier to attack than regulation allows and creates bad habits.
3. Marking court lines before the surface is cured. On new concrete, wait the full 28-day cure time before applying acrylic surfacing or line tape. Marking too early leads to tape lifting and surface adhesion problems.
4. Using interior paint for outdoor lines. Exterior acrylic paint only. Interior latex peels in a single season outdoors. Purpose-built court paint (available at most hardware stores) lasts 3–5 years per application.
5. Ignoring the sun angle on court placement. A court that runs east-west means players stare directly into morning or afternoon sun at peak play hours. Orient north-south whenever your space allows it.

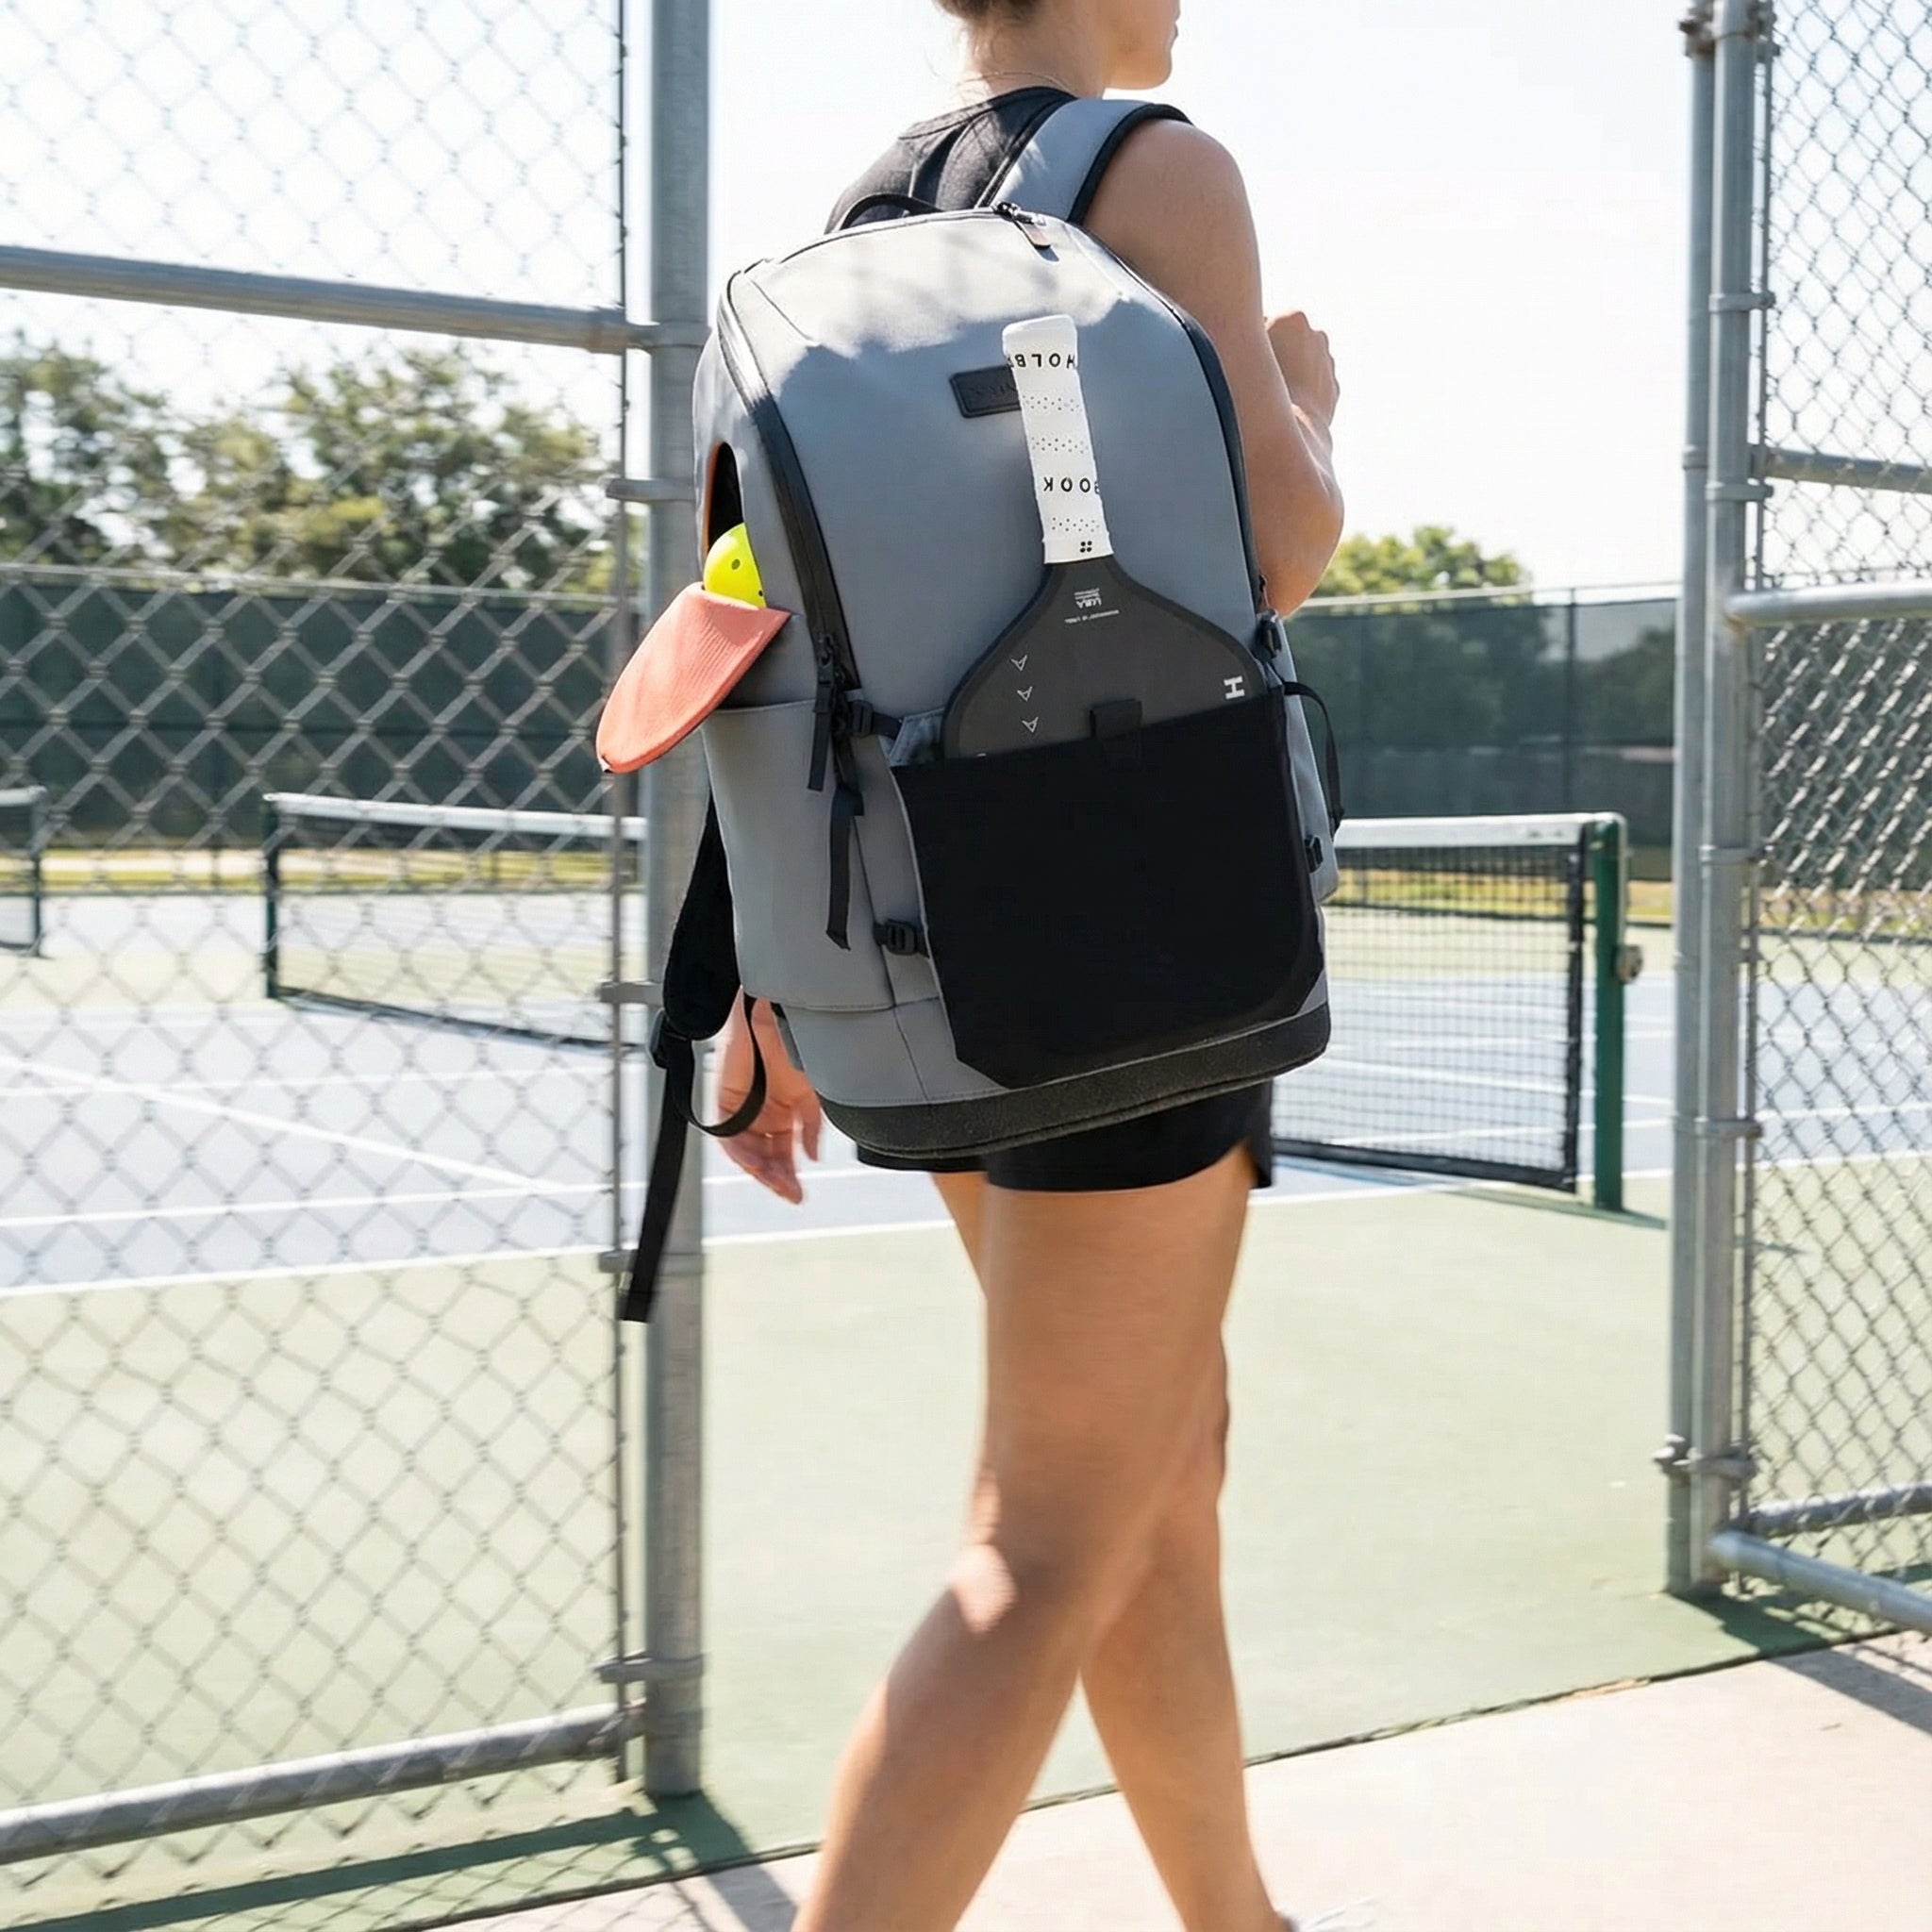
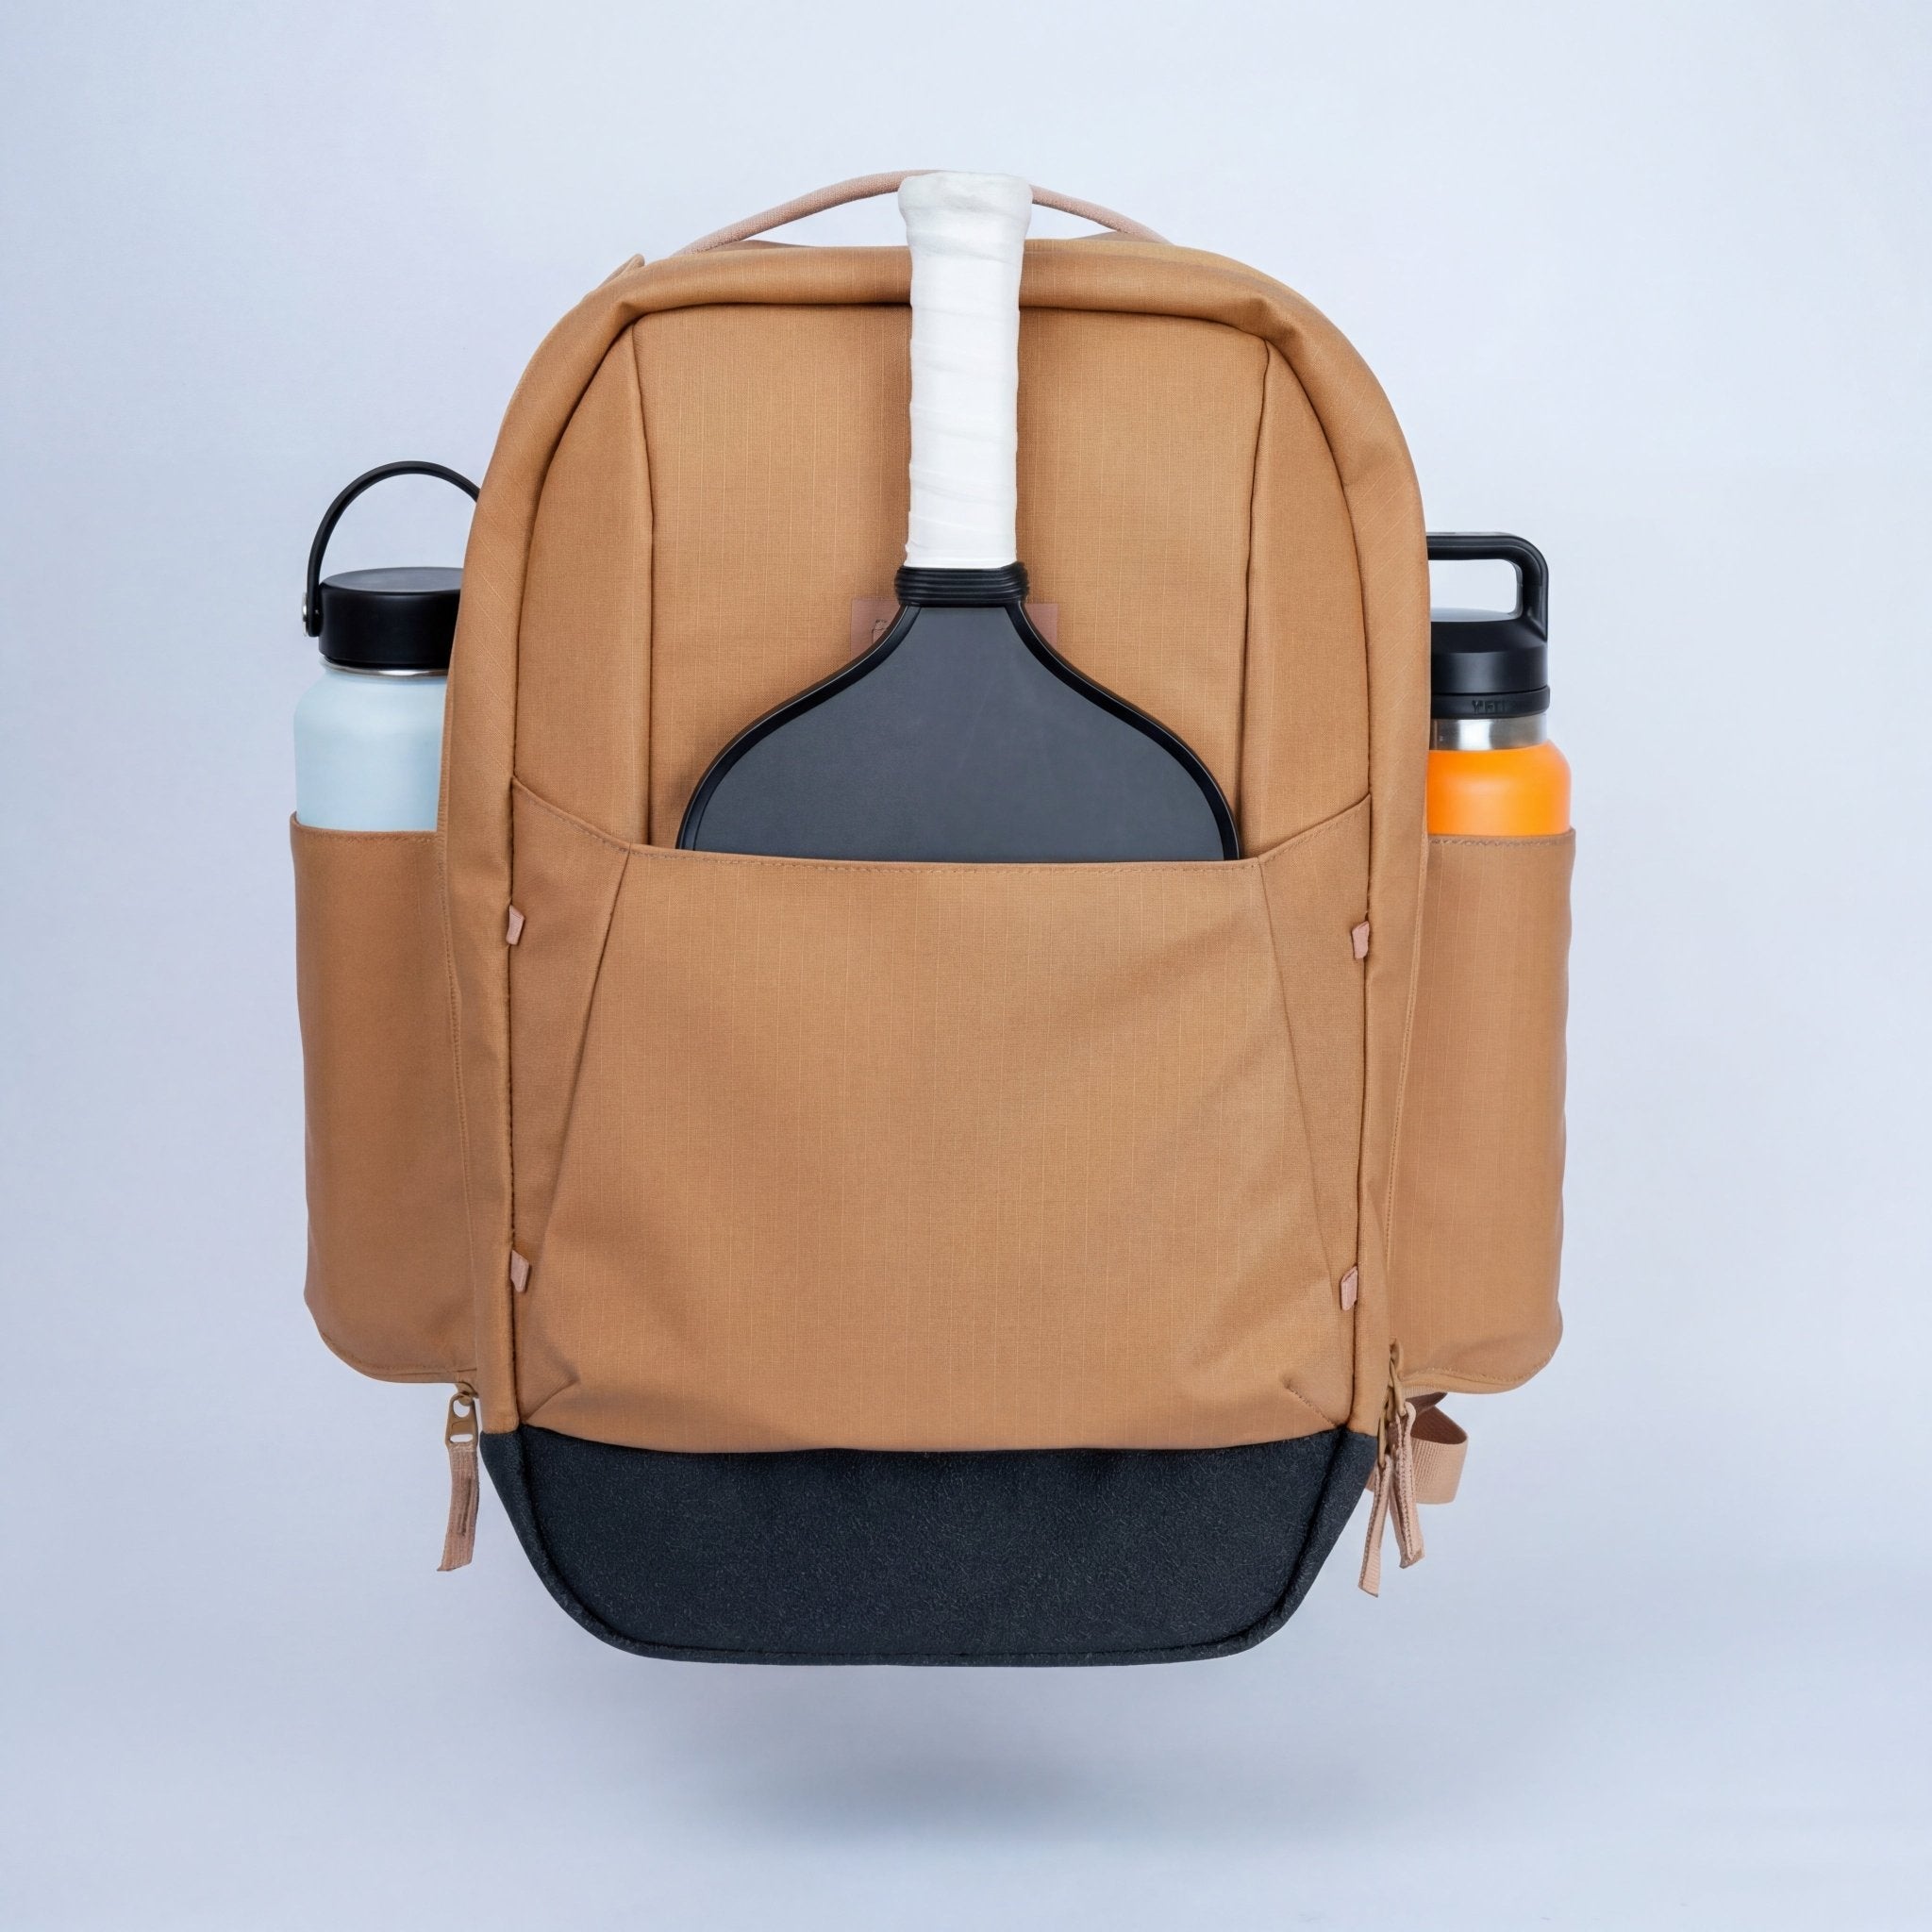
Once your court's built, you'll want a bag that lives at the court — dedicated paddle storage, ball pocket, and easy setup between sessions. The Court Ranger V2 ($195) is what most serious backyard players land on. Modular paddle sleeve, separate ball pocket, 16" laptop compartment for court-to-work days. Designed with feedback from 500+ real players.
FAQ: Backyard Pickleball Court Questions
How much does it cost to build a backyard pickleball court?
From $50 (tape on existing concrete) to $25,000+ (full concrete pour with professional surfacing). Most backyard players spend $400–$5,000 on a portable net plus sport tile system on existing concrete, which delivers a genuinely good playing surface without a major construction project.
How much space do you need for a backyard pickleball court?
A regulation pickleball court is 20×44 feet. With recommended buffer zones (5 feet behind baselines, 3 feet on sidelines), you need at least 30×60 feet for a full court. Most two-car driveways are close to this — measure your available space carefully before committing to any build option.
Can you build a pickleball court on a driveway?
Yes, if it's large enough. A standard two-car driveway (24×44 feet or larger) can fit a full regulation court. A single-car driveway (10×20 feet) can't. Measure first. If your driveway is exactly 20×44, you can mark a full court but buffer zones will be minimal — balls at the baselines will be very close to the edge.
Do I need a permit to build a pickleball court?
For tape-on-driveway or portable tile setups: no permit required in most jurisdictions. For permanent concrete pours: almost always yes — it's typically treated as an impervious surface addition. Check with your local building department before any excavation or pour.
How do you mark a pickleball court on concrete?
Use 2-inch-wide exterior vinyl tape or acrylic court paint. Mark the four corner baselines first (20 feet wide), connect the sidelines (44 feet long), add the center line, then measure the 7-foot non-volley zone line on each side of the net. USA Pickleball specifies 2-inch line widths for all boundary markings.
What's the cheapest way to build a pickleball court at home?
Tape lines on existing concrete plus a portable net: roughly $50–$250 total depending on net quality. If you have flat concrete 20×44 feet or larger already, this is a same-day project. The result is fully playable recreational pickleball for the price of two months of gym membership.

Leave a comment
This site is protected by hCaptcha and the hCaptcha Privacy Policy and Terms of Service apply.