

Last updated: August 2026
At 4.0 level, kitchen line play stops being about dinking patiently and starts being about controlling space. The difference between a 3.5 and a 4.0 isn't shot quality — it's position discipline, knowing exactly when to speed up, and trusting a reset shot when you're under pressure. Most strategy content stops at "keep the ball low." This one doesn't.
Here's the specific framework: what actually changes at 4.0, how to stop drifting off the NVZ, the exact ball-height trigger for attacking, how to coordinate with your partner without talking, and drills that build these skills under pressure — not in a static setting.
The 3.5→4.0 Kitchen Line Jump: What Actually Changes
Ask any 4.0 player what changed when they leveled up, and they'll usually say something vague about "consistency." Push harder and you get something more useful: they stopped reacting and started deciding.
A 3.5 player dinks because the ball came to the kitchen. A 4.0 player dinks on purpose — to a specific target, at a specific height, to set up a specific next shot. The act looks identical from the sideline. The intent is completely different.
Here's what actually shifts at 4.0:
- Position discipline. 3.5 players drift. They inch back from the kitchen line under pressure, sometimes without realizing it. 4.0 players stay at the NVZ even when the incoming ball is uncomfortable — because they have a reset shot they trust.
- Intentional targeting. Rather than dinking cross-court by default, 4.0 players choose direction based on where the opponent isn't. They move people, not just keep the ball alive.
- A speed-up trigger. 3.5 players attack when they feel like it. 4.0 players attack when the ball arrives at or above the waist at the kitchen line — and not before.
- Patience with purpose. Long dinking rallies aren't neutral. They're pressure accumulation. Every shot that lands low and tight forces either an error or a worse reply from the opponent.
None of this requires a better paddle or more athleticism. The physical skills are almost always already there at 3.5. The upgrade is entirely a decision framework.
Holding Position: How to Stop Giving Ground at the NVZ
The most common 3.5 kitchen line error isn't technical — it's positional. Players drift backward under pressure, sometimes a full two feet off the NVZ line. By the end of the rally, they're standing in no-man's land, getting attacked with balls dropping at their feet.
The fix isn't willpower. It's a reset shot you can actually execute under fire.
Here's what "holding position" means physically: when a fast, low ball comes directly at your body at the kitchen line, your job isn't to crush it back. It's to absorb it — deaden the face, open the paddle angle slightly, push the ball back soft and low. That's the reset. If you can execute it reliably, you never need to drift. You stay at the NVZ, the ball goes back low, and the point continues on your terms.
The biggest reset breakdown is paddle camping. Players let their paddle drop to waist height between shots, then panic-swing when the fast ball arrives. The result is a pop-up — or a miss. If your paddle is already at contact height (roughly chest level) when the ball arrives, a hard drive becomes manageable. That pre-set position is the entire technique.
Specific cues that hold position at the NVZ:
- Feet parallel, shoulder-width apart, weight on the balls of your feet — not heels
- Paddle face up at roughly chest height between every shot
- On a fast incoming ball: backswing shortened to near zero, contact out in front of the body
- After the reset: bring the paddle immediately back to chest height — don't let it drop
One exception: if the incoming ball is genuinely at shoulder height or above at the NVZ, that's not a reset situation. That's an attack opportunity — which we'll cover next.
The Speed-Up Decision: When Dinking Isn't Enough
The speed-up is the most misused shot in intermediate pickleball. 3.5 players attack when they're frustrated, when they've been dinking too long, or when they think they see an opening that isn't quite there. This produces a coin-flip result at best.
At 4.0, the speed-up has a specific trigger: if the opponent's ball arrives at or above your waist at the kitchen line, that's the window. Below the waist, reset or dink. At or above the waist, you have a legitimate attack.
Why that specific threshold? A ball below your waist requires an upward swing to generate pace — and an upward swing produces a floater that sits up for the opponent to punish. A ball at waist height or above lets you swing down, generating pace on a downward trajectory that keeps the ball from rising into an easy position for your opponent's reply.
Where to target: the non-paddle shoulder. A ball aimed at the opponent's dominant shoulder forces an awkward forehand drive or a cramped backhand. The non-paddle shoulder creates maximum contact difficulty — it's anatomically the hardest location to reply to cleanly. Under pressure, your opponent will send a floater or pop-up back.
"The speed-up isn't an emotion — it's a geometric decision. Ball above your waist at the line, you attack. Below the waist, you reset. Once you internalize the trigger, you stop second-guessing the shot entirely."
— Grub, FORWRD co-founder, 4.5 rec player
One common mistake: cross-court speed-ups instead of attacking the near opponent. A cross-court attack travels farther and gives your opponent more time to react. Target the near-side player — the one directly across the net. Under pressure, that's a much harder ball to handle, and there's no extra distance to buy reaction time.
USA Pickleball's rulebook doesn't restrict wrist motion during the swing — you can fully accelerate through the ball on a legitimate speed-up from the NVZ. See the official rules if you want to confirm what's legal at the non-volley zone.
Partner Coordination: Who Covers What, and How to Signal Without Words
Watch a 3.5 doubles match and you'll see two recurring failures. First: both players go for the same ball and collide, or both brake awkwardly and neither gets it. Second: a ball down the middle lands untouched while both players look at each other. Both are coordination breakdowns — and neither gets fixed by shouting more mid-point.
At 4.0, kitchen line partnership is mostly mechanical, not verbal. Here's the system:
Forehand-to-the-middle covers the middle. Whoever has the forehand pointing toward the center of the court takes all middle balls — by default, without negotiation. In standard right-side/left-side positioning, that's the player on the right (their forehand opens left, toward center). Establish this before the first point. Five seconds of conversation saves you 10+ lost points across the match.
First-step ownership. At 4.0, partners signal shot ownership with their first move, not their voice. If you step toward a ball, your partner reads that as "I've got it" and stops. A committed first step is enough signal — a full sprint and a shout is not needed, and shouting mid-point creates hesitation in the other player instead of clarity.
Planned poaches. Use a closed fist held behind the back between points to communicate a poach. The signaling player indicates they'll cross after the next serve or return. The partner's job: fill the vacated side automatically. This only works with a pre-agreed trigger (usually the serve going to a specific side), but once it's in your doubles system, it becomes a reliable weapon.
Real talk: in most recreational doubles, middle-ball coverage never gets established before the match. One player drifts toward the middle, the other assumes they've got it, nobody calls it, and the ball drops. Set the rule. It takes five seconds and it compounds every point for the rest of the match.
Reading Opponent Patterns at the Kitchen Line
By 4.0, you should be tracking opponent tendencies the same way you track ball flight. Not complex analysis — just noticing what players do when they're comfortable versus when they're under pressure.
Three patterns worth reading explicitly:
The reset default. When a player gets pulled wide or forced off the line, most will reset cross-court toward the middle — it's the safest geometry. If you see your opponent scrambling, shift your weight toward the cross-court reset position. You'll be right more often than you're wrong, and you'll close the point when they comply.
The pre-attack tell. Watch paddle position and shoulder rotation between shots. A player who loads up — shoulder turning, paddle pulled back more than 6 inches, a small shuffle step — is about to speed up. That's your cue to raise your paddle and set your feet. You have roughly 0.3 seconds, but pre-loading your defensive position makes a hard shot manageable.
The drift direction. Some players consistently back off toward their backhand side when pressured. Others always open to the forehand. Once you see the pattern — usually visible within the first couple points — you know which side to attack. Drift reveals vulnerability. Use it.
This isn't scouting. It's pattern recognition that compounds through a match. By game 3, you'll know your opponents' defaults well enough to anticipate most situations before they fully develop.
Advanced NVZ Drills: 4 Exercises That Build Real Kitchen Pressure
Standard dinking drills build consistency in a vacuum. None of the drills below are comfortable — that's the point. 4.0 kitchen habits form under pressure, not in controlled exchanges where nothing is on the line.
Drill 1: The Speed-Up Decision Drill
Two players at the kitchen line, dinking cross-court. The feeder deliberately varies ball height — some below the waist, some at or above. The other player must execute correctly: below waist means dink or reset, at or above waist means forehand speed-up to the non-paddle shoulder. If you speed up below the trigger height, it's a point for the feeder. Build the decision reflex before you build the shot power.
Drill 2: The Position Hold Drill
Two players at the NVZ. The feeder drives fast, low balls directly at the other player's body in quick succession — no time to recover between shots. The receiving player's only job: keep feet at the kitchen line and reset each ball without stepping back. Run 30-second rounds. If your feet move backward, restart. The reset shot needs to fire when your brain is telling you to retreat — this drill builds that reflex.
Drill 3: Partner Coordination Live Points
Play live points with one rule: any ball between both players must be claimed before it's hit — with a first-step commitment, not a verbal call. If both players go for the same ball, stop and replay. If neither goes for it, stop and replay. You're training the communication mechanics explicitly, not trying to win points. 15 focused minutes of this changes default behavior faster than two hours of casual play.
Drill 4: The Opponent Read Drill
One player at the kitchen line, one feeding from mid-court. The feeder randomly varies: reset dink, speed-up, or lob — no pattern, no signals. The kitchen player reads the feeder's body load before the shot and pre-positions accordingly. After each point, the feeder confirms whether the read was correct. This forces real-time pattern recognition under match conditions — the exact skill that compounds through an actual game.
Run all four back-to-back in a 45-minute practice session and you'll log more useful NVZ reps than three casual matches would give you. This is how you close the 3.5→4.0 gap with purpose rather than hoping improvement happens over time.
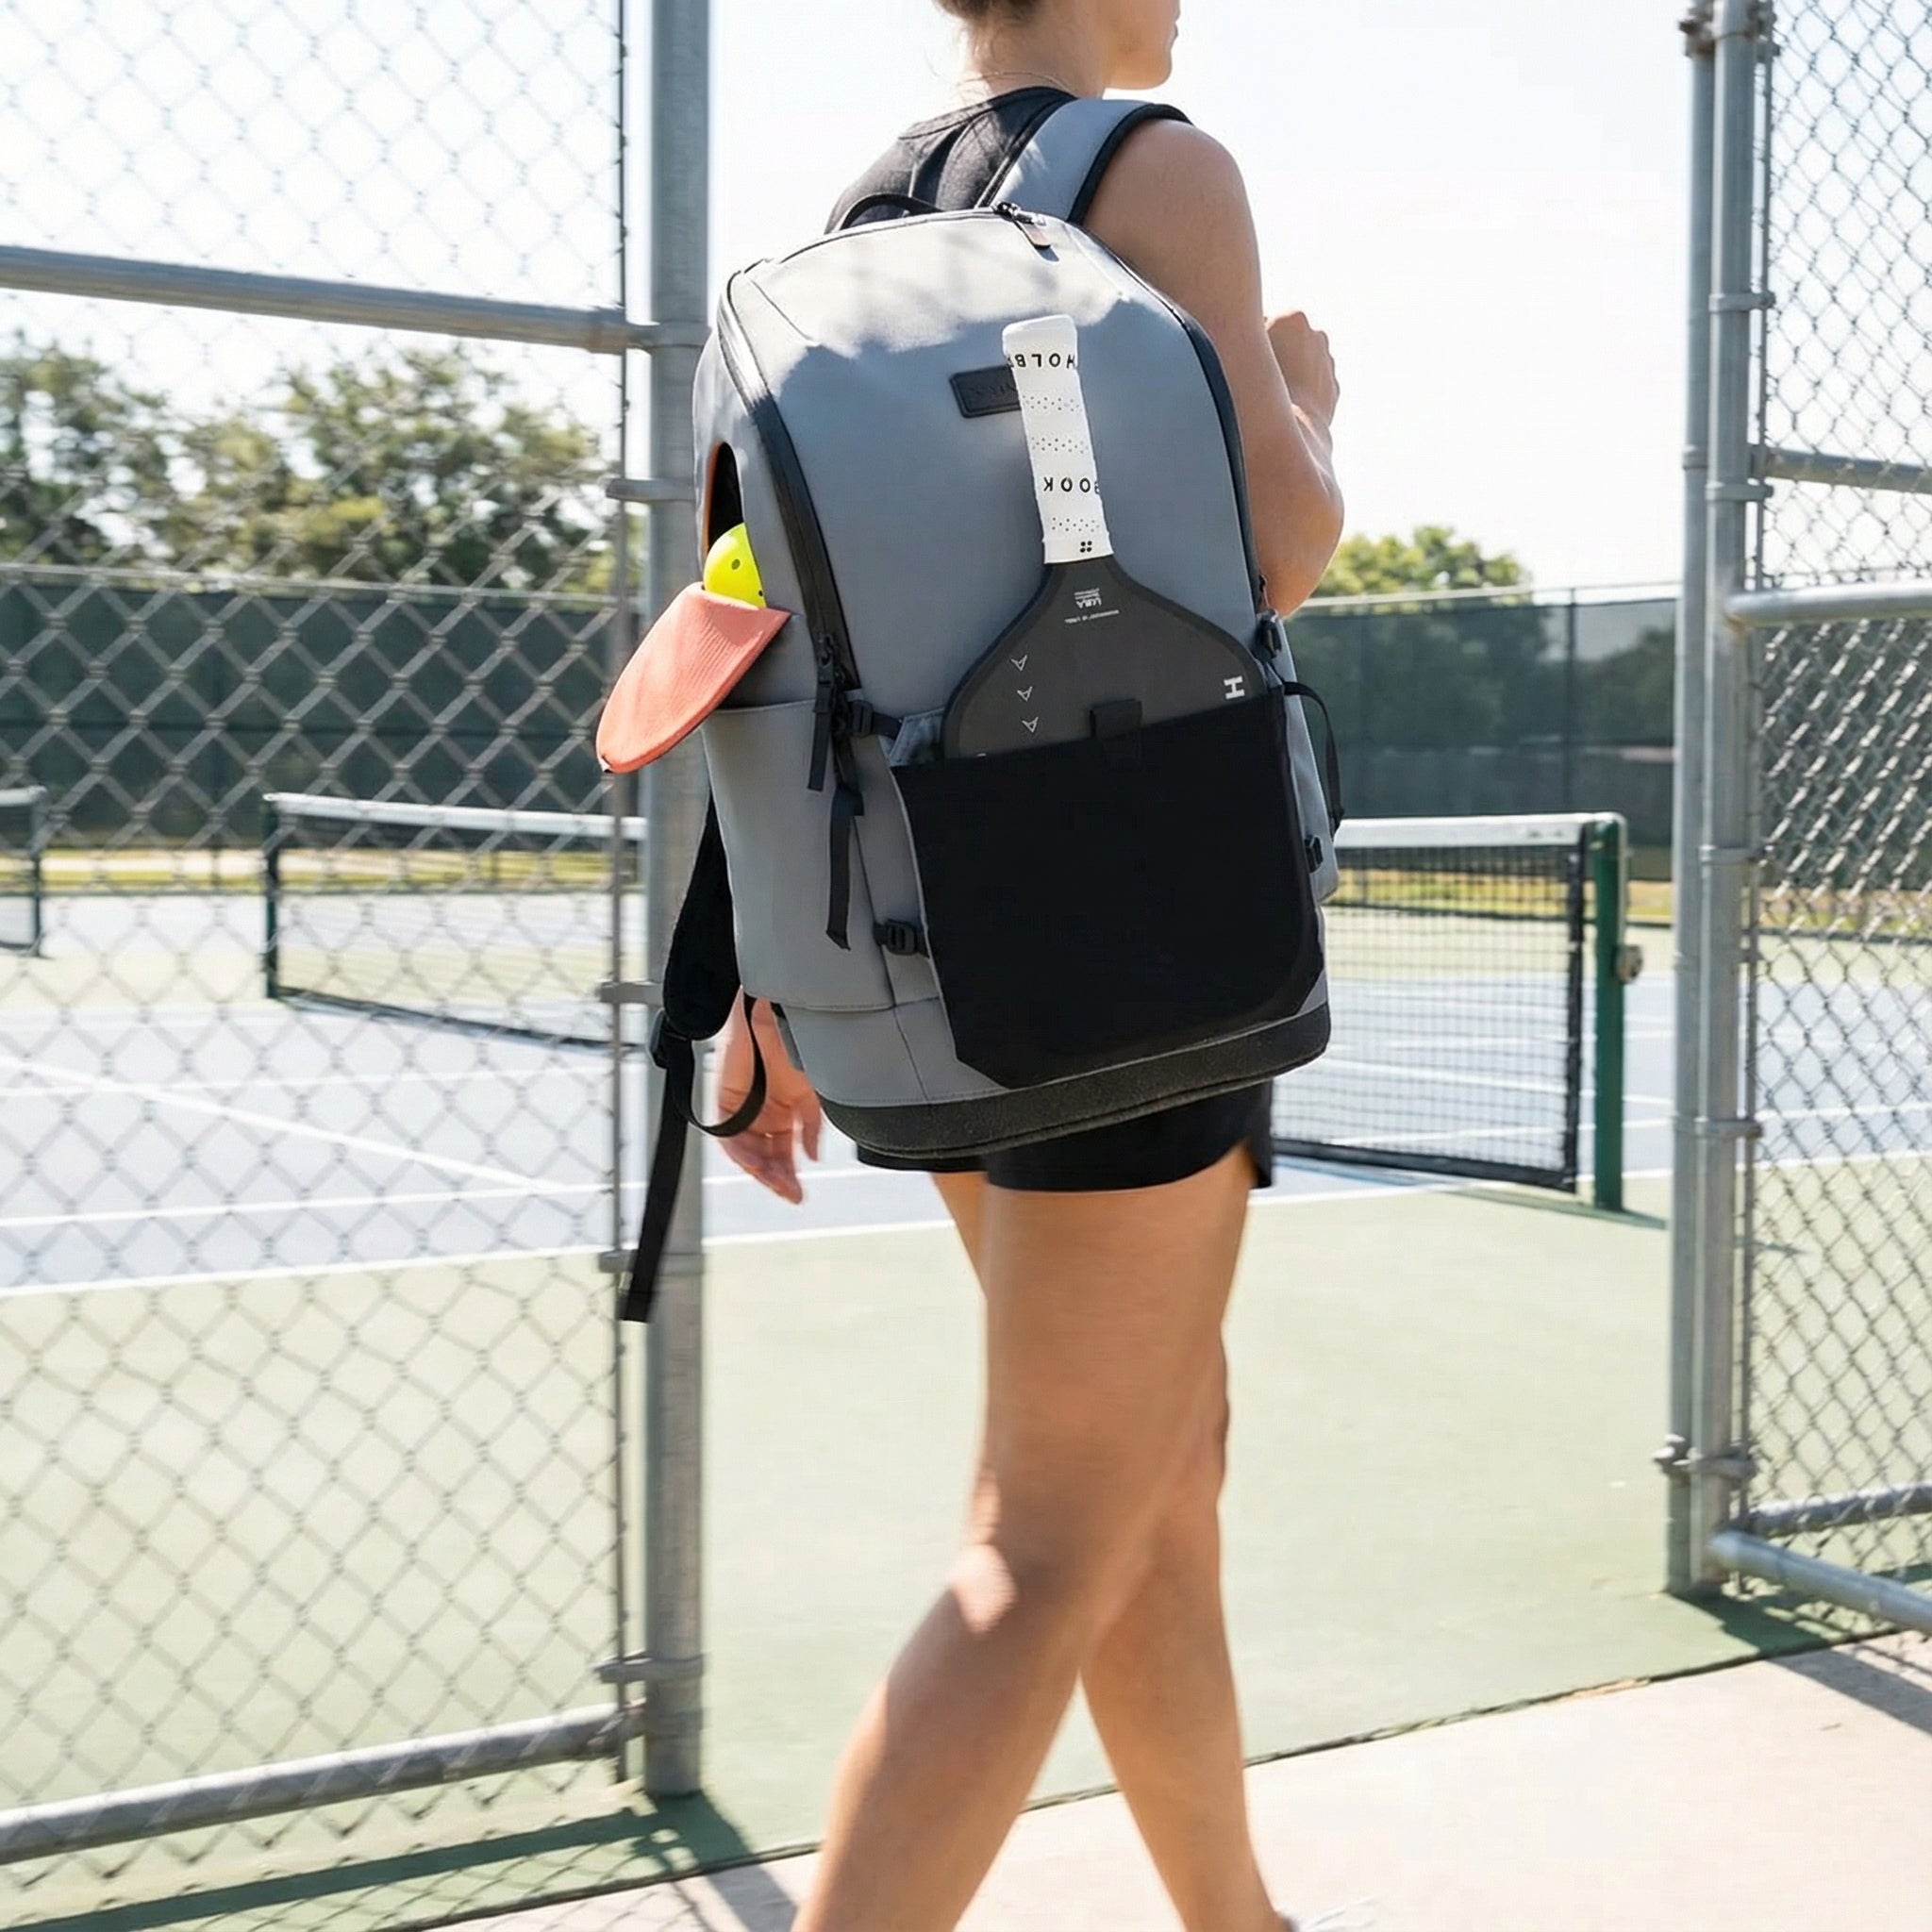
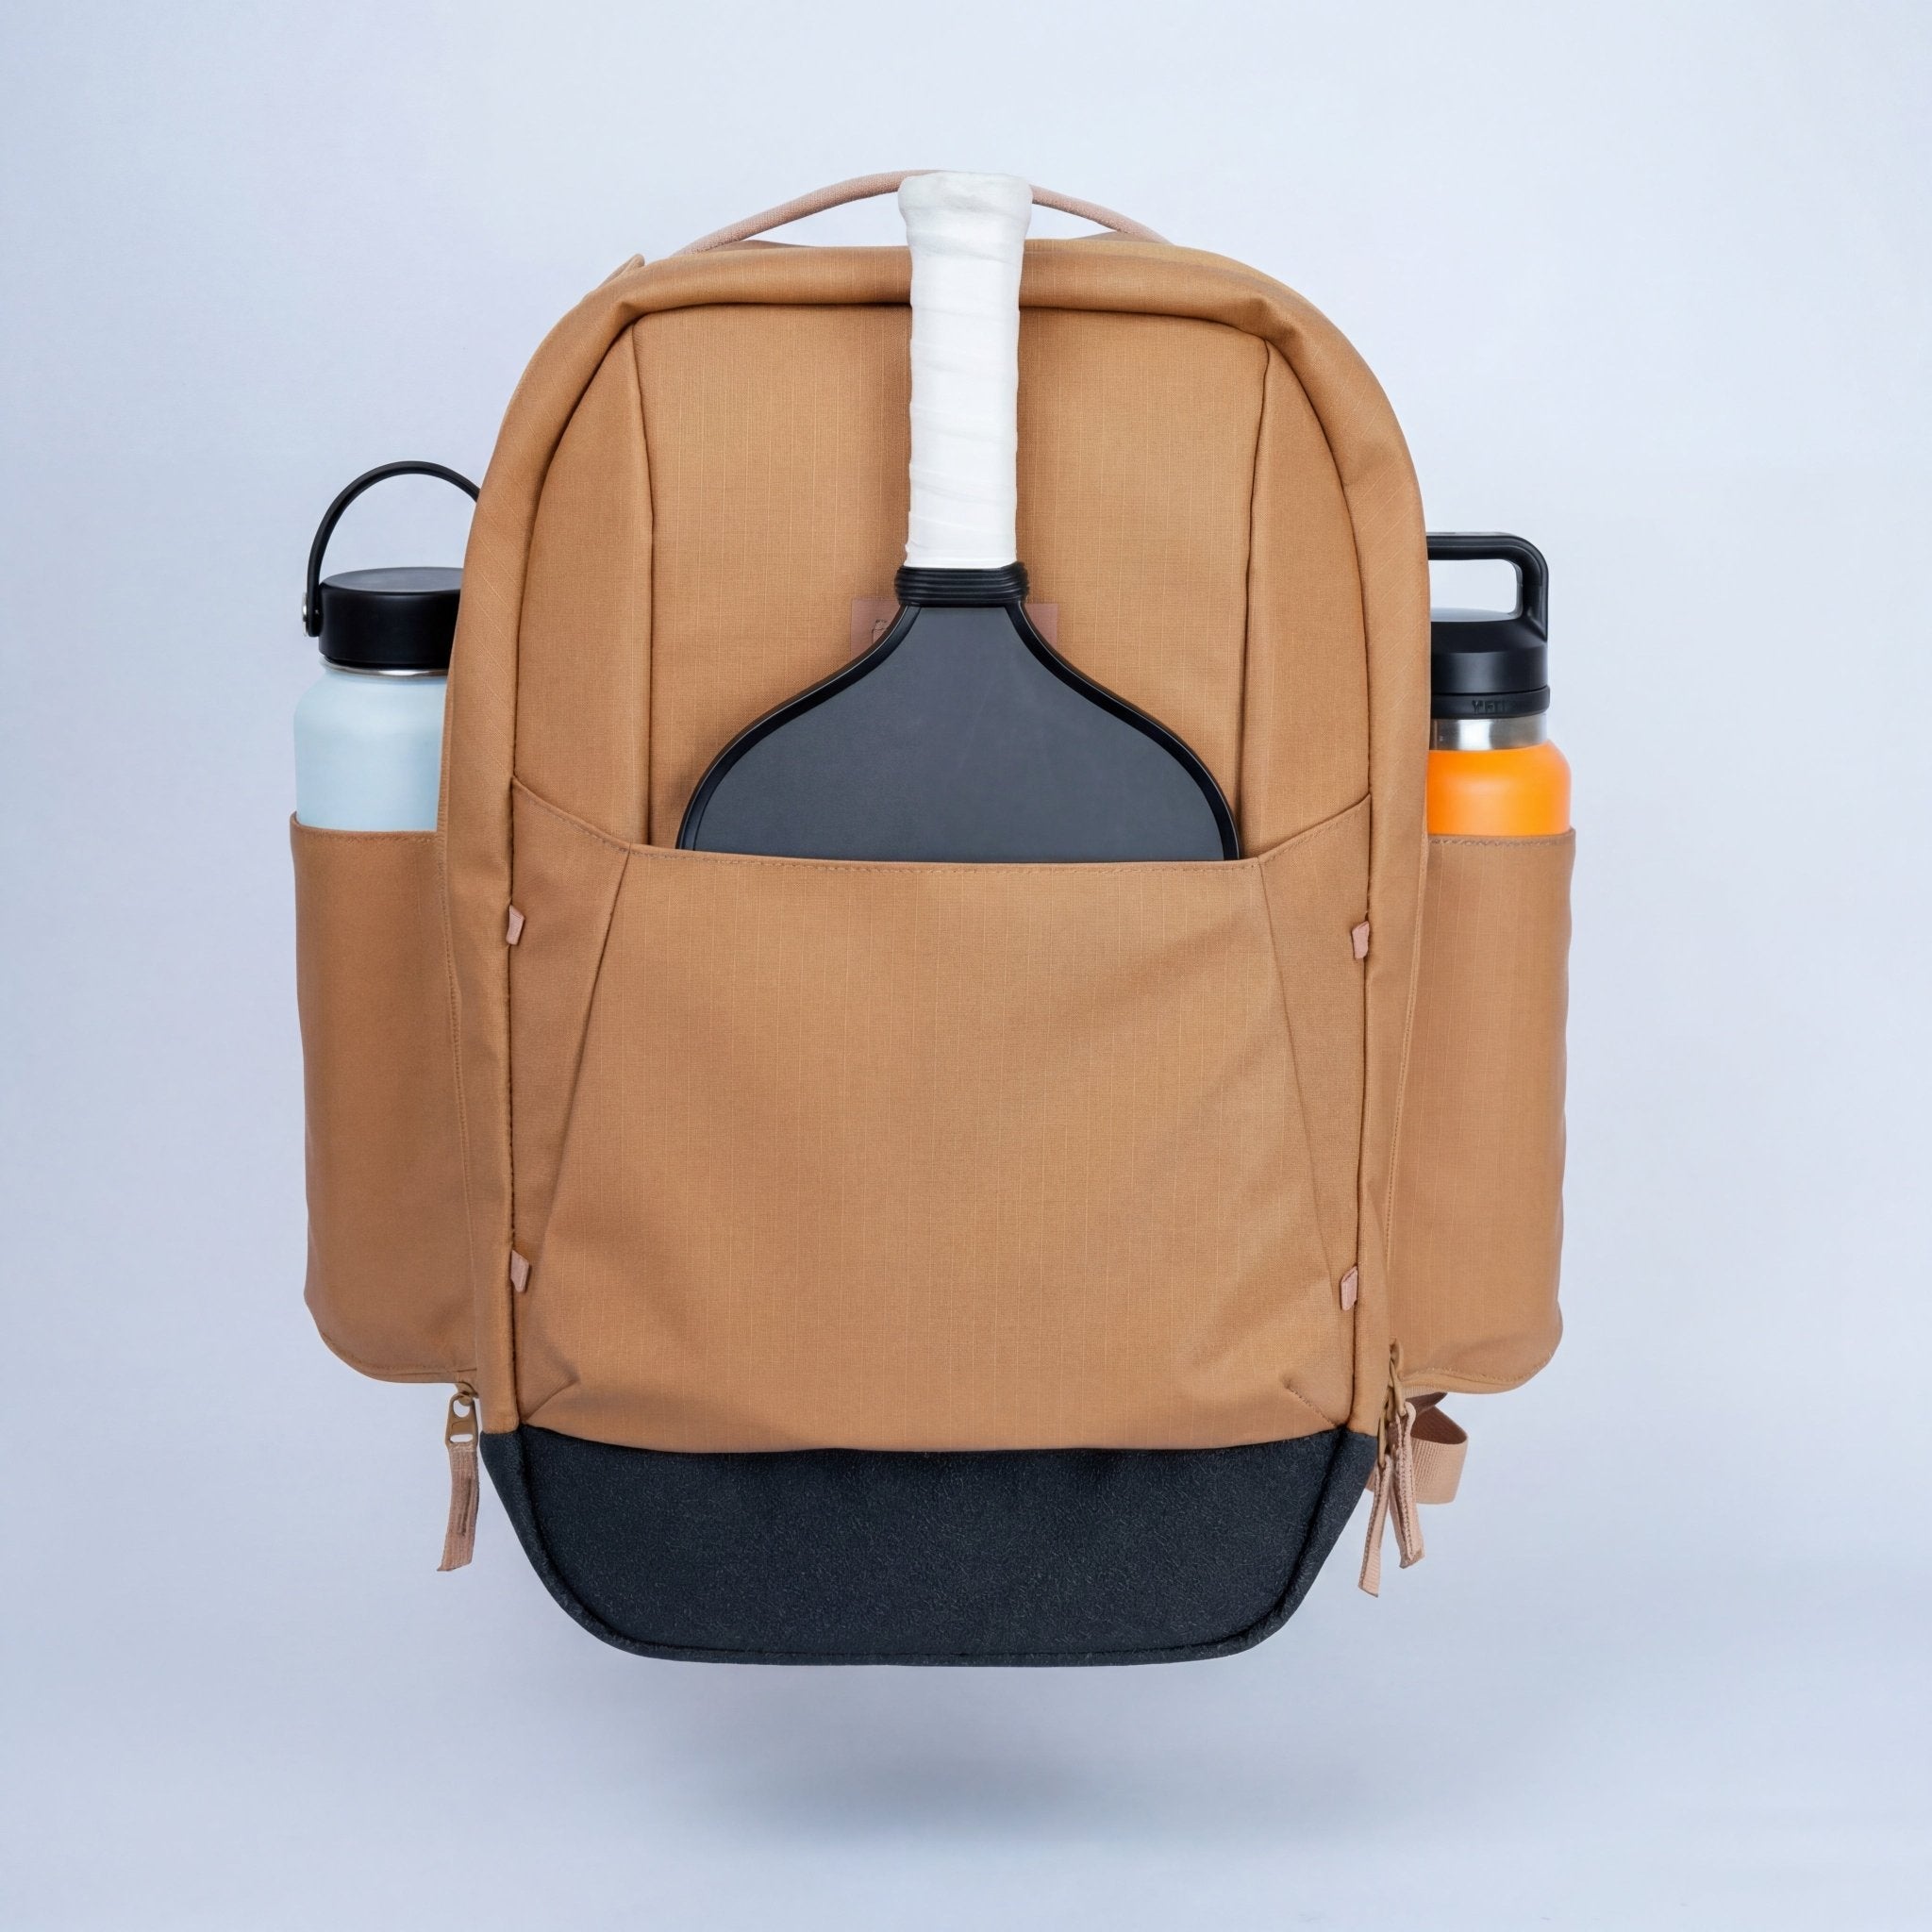
If you're drilling at this level, your bag should keep up. The Court Ranger V2 ($195) is built for players who log real court time — 16" laptop sleeve, modular paddle sleeve, YKK AquaGuard weatherproof zippers. No tournament overkill. Just a bag that carries everything you need for serious practice sessions.

FAQ: Advanced Pickleball Kitchen Strategy
What separates a 3.5 and 4.0 player at the kitchen line in pickleball?
A 3.5 player reacts to what comes. A 4.0 player decides — targeting specific spots, holding NVZ position under pressure with a reliable reset shot, and applying a consistent speed-up trigger (ball at or above waist height) rather than attacking randomly. The shots look similar from the outside. The decision framework underneath them is completely different.
When should you speed up from the NVZ instead of dinking?
When the opponent's ball arrives at or above your waist at the kitchen line. Below the waist, the upward swing required produces a floater that experienced opponents will punish. At or above the waist, you can swing downward with pace and target the opponent's non-paddle shoulder — the most anatomically difficult contact point for a clean defensive reply.
How do you hold your position at the kitchen line when under pressure?
Keep your paddle at chest height between every shot — not dropped to waist (the "paddle camping" error). When a fast ball arrives, shorten your backswing to near zero and absorb it with an open paddle face, pushing it back soft and low. A reliable reset shot at the NVZ eliminates the urge to step backward. Build it in the Position Hold Drill until it fires under pressure.
What is body language at the NVZ and why does it matter in pickleball?
Body language at the NVZ refers to pre-shot tells — shoulder loading, paddle pullback beyond 6 inches, or footwork shifts that signal what shot is coming. At 4.0, experienced players read these cues in the 0.2–0.4 seconds before contact and pre-position their response. It's not mind-reading — it's pattern recognition that develops quickly once you start actively watching for the tells.
How do doubles partners coordinate at the kitchen line to prevent poaching errors?
Establish the forehand-middle rule before the match — the player with the forehand pointing toward center covers all middle balls by default. Use first-step commitment as the in-point signal (a decisive step toward the ball means you've claimed it). For planned poaches, use a closed-fist signal between points. Mechanical defaults and pre-agreed rules create reliability; verbal calls mid-rally create hesitation.
Want to build the rest of your strategic game? Read our guide to pickleball crosscourt dink strategy — the geometry that makes the default dink direction almost always correct — and our breakdown of wrist position and paddle angle for the biomechanical fix that improves consistency across every kitchen shot.
Ready to upgrade your gear? See the Court Ranger V2 — the bag built for the player who takes practice seriously.

Leave a comment
This site is protected by hCaptcha and the hCaptcha Privacy Policy and Terms of Service apply.