

How to Practice the Third Shot Drop Alone: The 5-Level Progressive Drill System
Last updated: September 2026
The most reliable third shot drop you can build comes from a 5-drill solo progression: start with close-range hand-feed contacts to build the feel, advance to full-distance baseline drops, calibrate your arc with a wall drill, then add placement targeting and pressure simulation. Each drill has a specific rep count and a milestone test — you don't advance until you pass it. No partner required at any stage.
Most third shot drop guides either require a partner or give you 50 generic reps and call it practice. The problem: random repetition without a progression framework slows skill acquisition significantly. USA Pickleball-certified coaches consistently teach that structured, milestone-gated blocked practice produces faster consolidation for finesse-based shots than random drilling. The third shot drop is exactly that kind of shot — soft-touch, arc-dependent, and very easy to practice the wrong way for months.
Why Solo Practice Works for the Third-Shot Drop
The third shot drop is the most skill-dependent shot in pickleball. It's also the one most players never actually practice — they play it in games and hope it improves. It doesn't. The shot requires a specific arc, a specific contact point, and a specific deceleration through the swing that takes deliberate repetition to groove.
Solo practice builds it faster than partner drills for three reasons. First, you control the pace — you don't wait on a partner's return or chase errant feeds. Second, you can set up with a full tube of balls and hit 40 consecutive drops without interruption, which is nearly impossible in partner drill format. Third, there's no social pressure to perform: the swing that produces the drop is a soft, almost awkward pendulum motion that most players abandon prematurely when someone is watching.
The tradeoff is obvious — you need to self-diagnose your misses. That's why this progression gives you a specific target for every drill: if the ball is landing long, your contact is too high. If it's netting, your swing is too short or your grip is too tight. Knowing what to look for is half the practice.
"The players who master the third shot drop fastest practice it the most boring way possible — drop, feed, hit, repeat, alone, until it's automatic. No partner, no pressure, just reps until the soft shot becomes reflex. Add the partner later. Build the shot first."
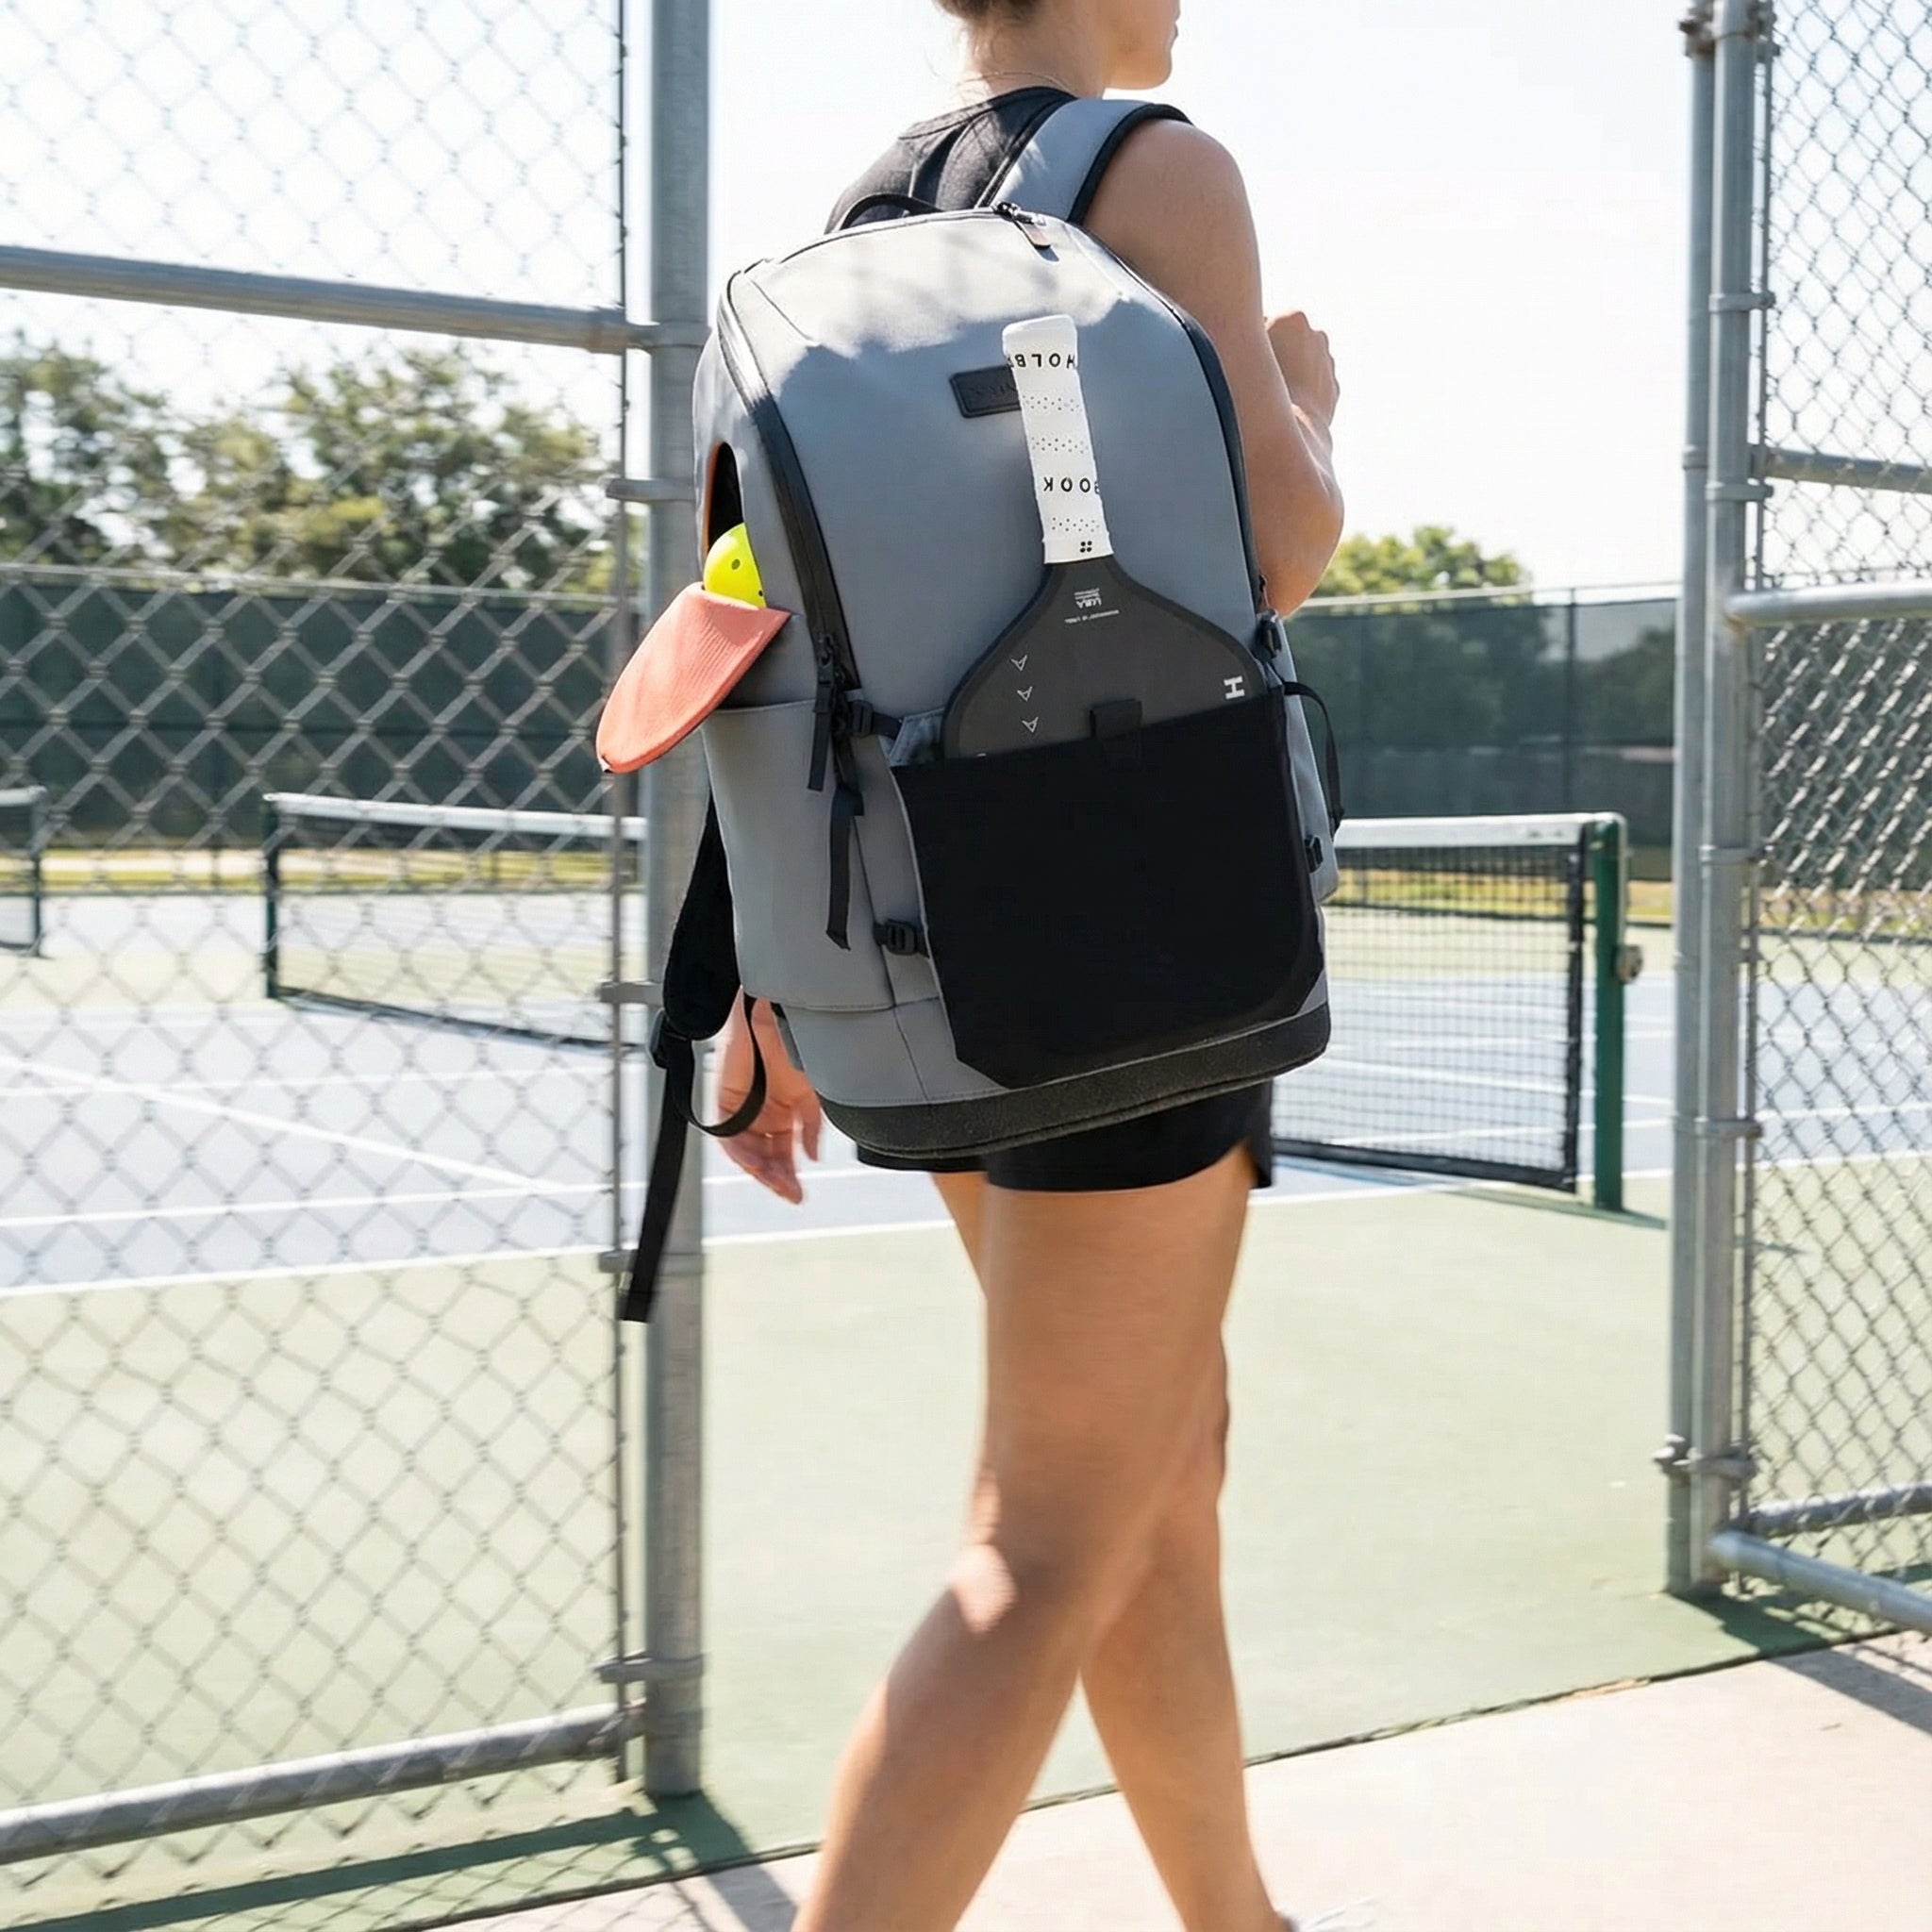
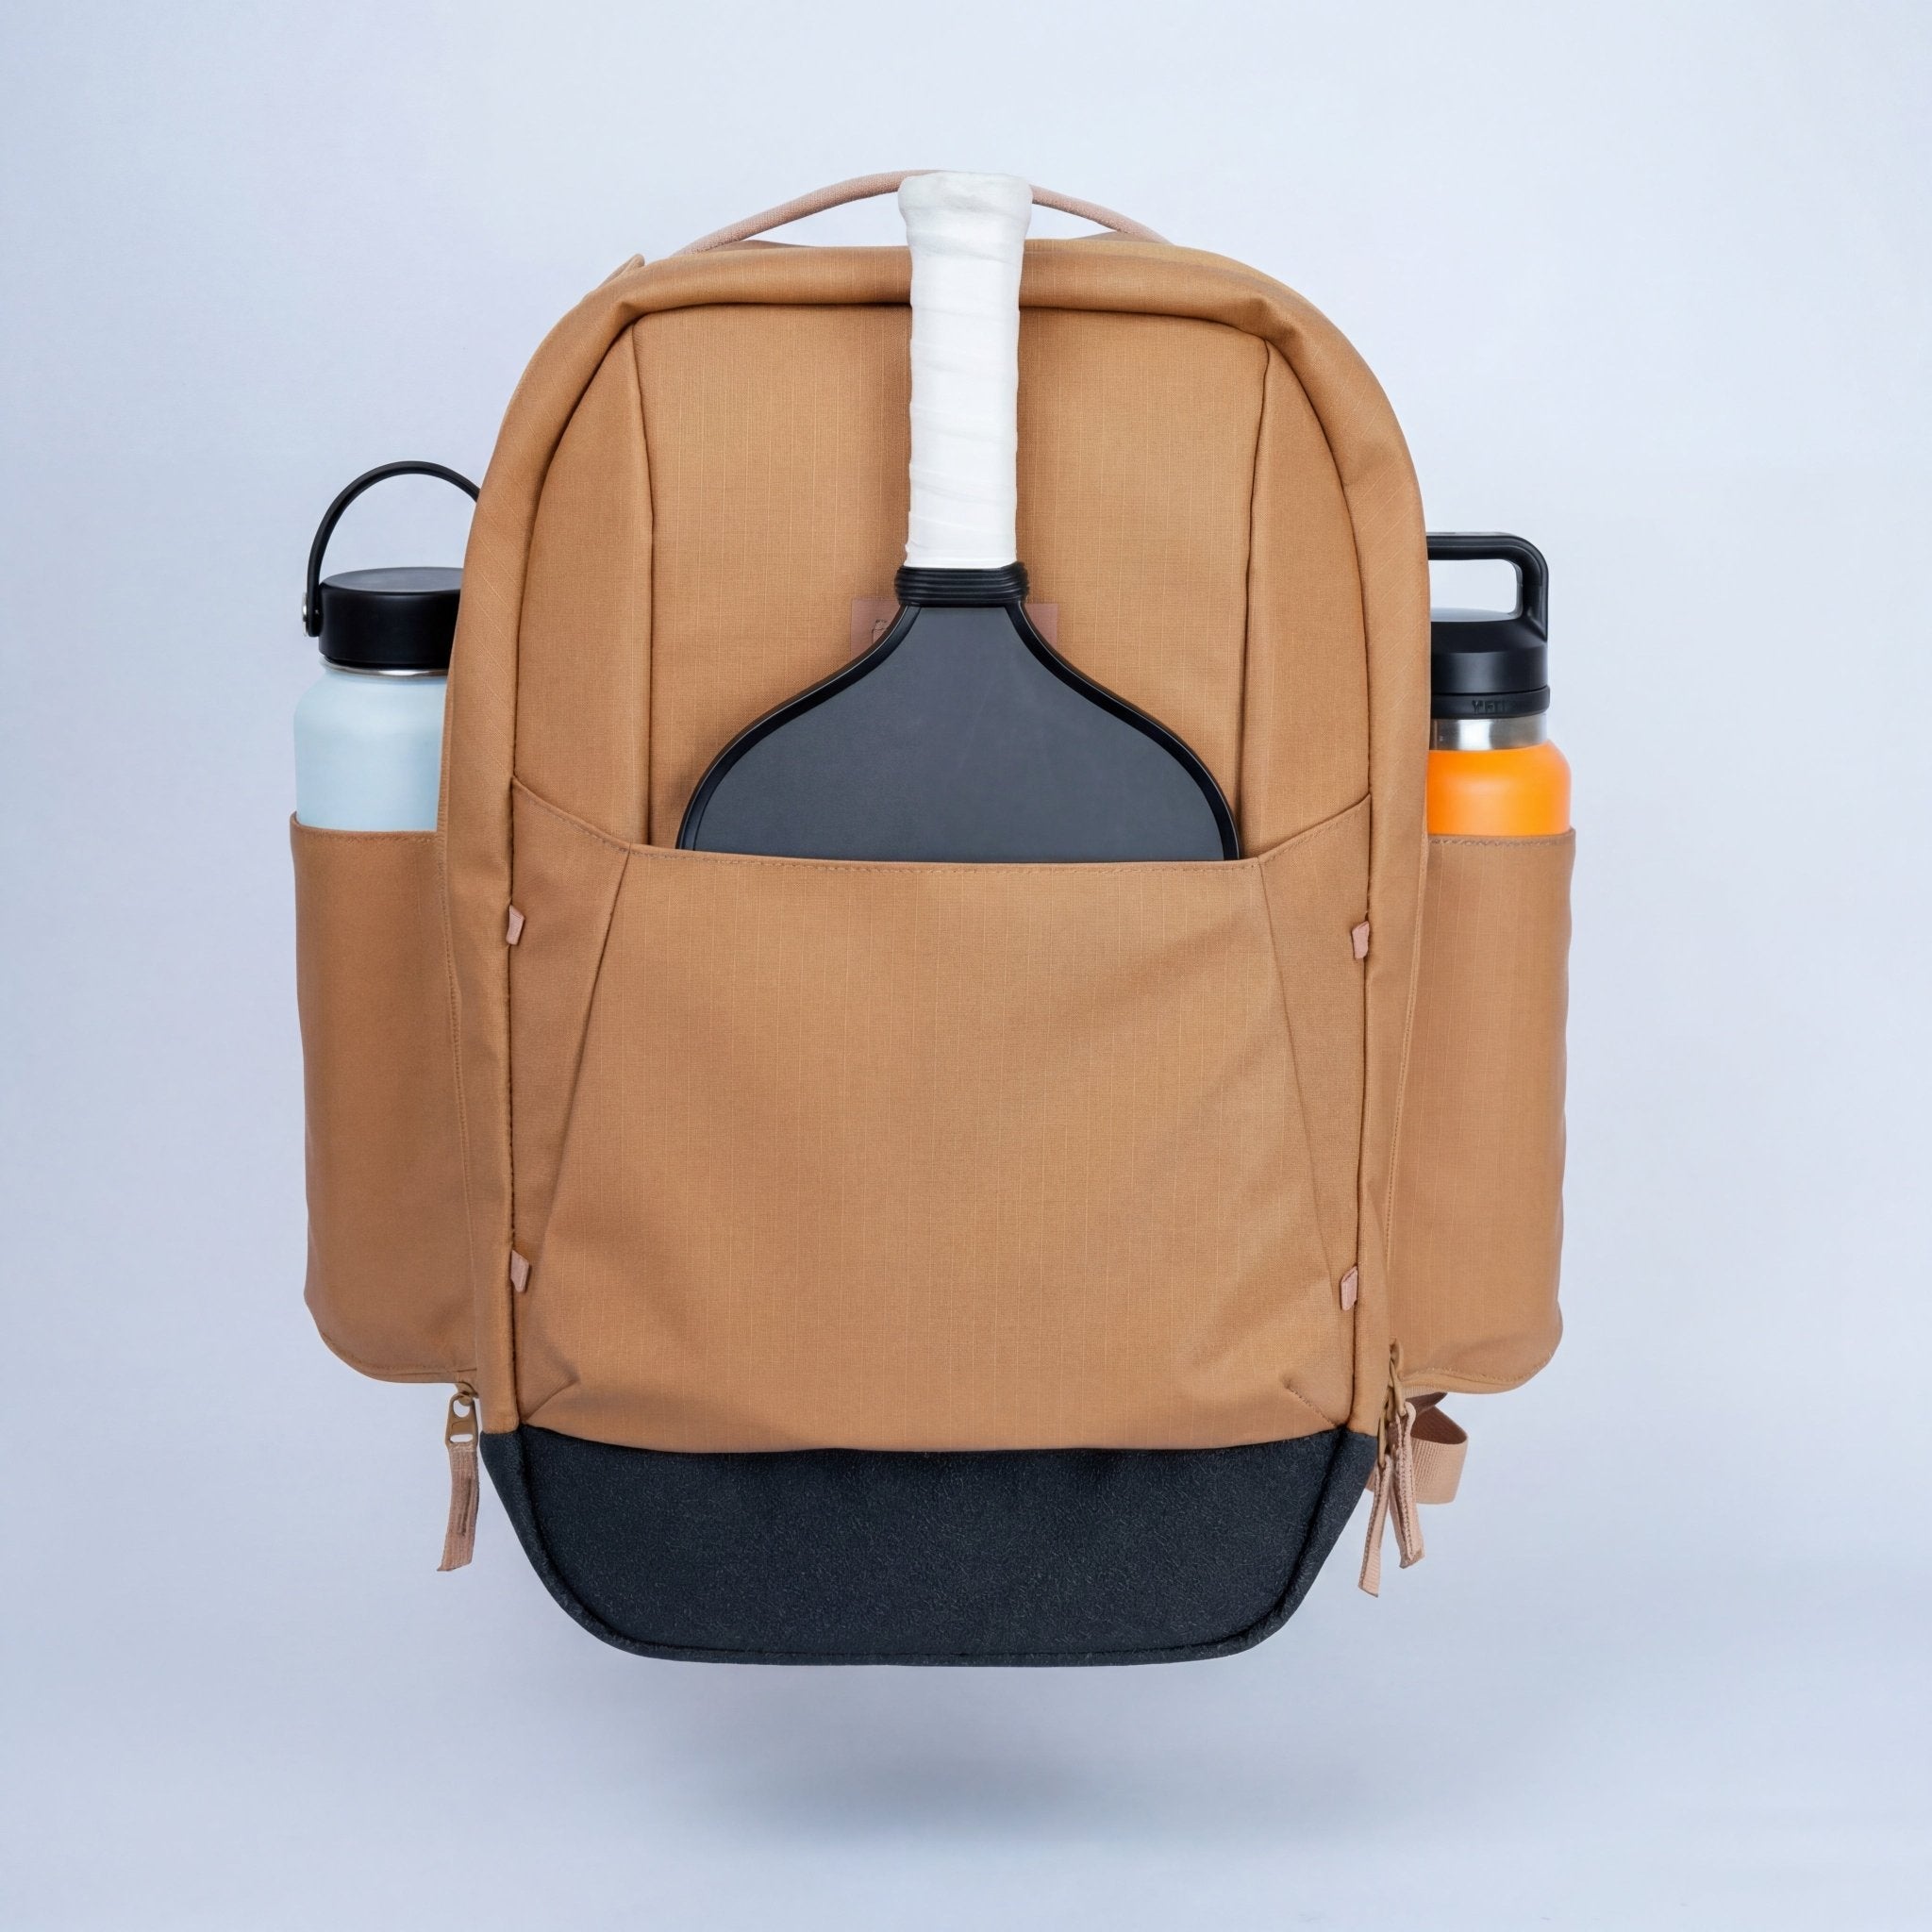
One practical note before you start: show up with a full tube of balls (at least 30), a paddle, and a clear court session blocked on your calendar. The Court Ranger V2 ($195) fits your practice paddle, a tube of balls, and everything you need for a focused solo session — it's what most FORWRD players who drill solo reach for because it's light enough that you're not lugging unnecessary gear to a practice session.
The 5 Progressive Solo Drills
Work through these drills in order. Do not skip ahead. Each drill builds on the contact quality and feedback from the one before it.
Drill 1: The Close-Range Hand-Feed (Kitchen Area)
Stand just behind the kitchen line on your side. Hand-toss a ball softly, let it bounce to thigh height, and hit a soft drop to land in the opponent's kitchen — approximately 14 feet away. This sounds easy. It exposes your swing mechanics immediately.
At close range, the window for error is narrow: if your swing is too long or your contact is too high, the ball sails long into the transition zone. If your grip is too tight, the ball dies into the net. The shot should feel like you're barely hitting it. That "barely hitting" feeling is exactly what you're building.
Reps: 30 contacts per session, focused entirely on arc and feel — not left/right placement.
Self-diagnose: Long = contact too high. Net = grip too tight or swing too short.
Milestone: 20 of 30 land in the kitchen before advancing to Drill 2.
Drill 2: Baseline Static Drop (Full Distance)
Move to your baseline. Drop a ball with your non-paddle hand, let it bounce to between knee and thigh height, and swing with a low-to-high pendulum motion to produce a soft arc that clears the net and lands in the opponent's kitchen — approximately 22 feet from your contact point.
This is the core drill. No movement, no variation. Your only job is to produce a soft, descending ball that lands in the kitchen. Hit 40 consecutive drops from a basket. The first 15 are warm-up; your form usually stabilizes around rep 20. Watch where your misses cluster: long misses mean you're making contact too high on the bounce; wide misses mean you're opening or closing the paddle face on contact.
Reps: 40 drops per session from a basket, no movement.
Self-diagnose: Long = contact too high. Short = decelerating through swing. Wide = paddle face angle.
Milestone: 27 of 40 land cleanly in the kitchen before advancing to Drill 3.
Drill 3: Wall Arc Calibration
Find a smooth wall surface and mark a horizontal line at 36 inches (net height). Stand 22 feet from the wall — this approximates the baseline-to-net distance. Drop-feed the ball, let it bounce, and swing to hit your target zone. Watch the arc: the ball should peak well before the wall and be descending when it contacts the target.
If the ball hits above the line, your arc is too flat and the ball would sail long in a real game. If it hits below the line, you're driving down at the net. The sweet spot is contacting the wall within 4–6 inches above the line — that's the trajectory that clears the net and drops into the kitchen.
Wall work gives you instant feedback that a court doesn't: you can see your arc in real time without running to the far kitchen to check landing spots.
Reps: 30 reps per session, focus on arc trajectory rather than placement.
Self-diagnose: High contact = too flat. Low contact = over-rotating through the shot.
Milestone: 20 of 30 contacts within 6 inches of the target line before advancing to Drill 4.
Drill 4: Kitchen Zone Targeting (Placement Precision)
Return to the baseline with a basket of balls. Divide the opponent's kitchen mentally into three zones: backhand side, center, and forehand side — roughly 6 feet wide each. Hit 10 drops to each zone in order. One complete round is 30 drops.
This is where placement precision starts to matter. You've already grooved the arc and the contact feel from Drills 1–3. Now you're asking your swing to produce the same quality drop but with directional control. Most players discover at this stage that cross-court drops (diagonal) are easier to land than straight drops — adjust your baseline position accordingly.
Reps: 10 drops per zone × 3 zones = 30 drops per round. Do 2 rounds per session.
Self-diagnose: Can't hit a zone? You're aiming too late. Pick your spot before you drop-feed the ball.
Milestone: 7 of 10 in target zone across all three zones, one complete round, before advancing to Drill 5.
Drill 5: Pressure Sets (Competition Simulation)
With a basket of 10 balls, your goal is to land 8 of 10 in the kitchen. Count out loud. If you land 7 and miss the 8th, reset the count to zero and continue through your remaining balls. If you finish the basket without reaching 8 consecutive in-kitchen drops, load the basket and start fresh.
This drill does something the others don't: it simulates match pressure. When you're at 7/10 and need one more, the same mental flinch that happens in a real game happens here. Your grip tightens. Your swing shortens. The ball dies in the net. That's exactly what you're training against.
Players who can hit 8/10 in pressure sets consistently are ready to deploy the third shot drop in match play under pressure. Players who can only hit 8/10 in Drill 2 conditions will struggle when the game is on the line.
Reps: 5 pressure sets of 10 per session.
Self-diagnose: Failing at 6–7? Grip pressure is spiking. Squeeze the paddle at 4/10 effort on pressure shots.
Milestone: Complete 3 consecutive pressure sets of 8/10 in one session without resetting. You're match-ready.
Progression Milestones: How to Know You're Ready for the Next Drill
Milestones keep you honest. Most players advance too quickly — hitting 15/30 in Drill 1 and moving on because they're impatient. That's exactly how you build an inconsistent drop. The milestone is the gate. Don't open the gate until you've passed it on two separate practice sessions, not just one good day.
| Drill | Reps | Milestone to Advance |
|---|---|---|
| 1 — Hand-Feed Contact | 30 | 20 of 30 land in kitchen |
| 2 — Baseline Static Drop | 40 | 27 of 40 land in kitchen |
| 3 — Wall Arc Calibration | 30 | 20 of 30 hit within 6" of target line |
| 4 — Kitchen Zone Targeting | 30 (10 per zone) | 7 of 10 in target zone, all 3 zones, 1 complete round |
| 5 — Pressure Sets | 5 sets of 10 | 3 consecutive sets of 8/10 in one session |
Expect to spend 2–4 sessions at Drill 2 before your baseline drop is clean enough to advance. That's normal — the baseline static drop is where form consolidates. Players who rush through it typically fail Drill 5 and have to return to rebuild.
Once you've completed all 5 drills and hit the Drill 5 milestone, maintain your drop with one Drill 5 pressure set per session before match play. It's a 10-minute warm-up that keeps the shot calibrated.
Common Solo Practice Mistakes and How to Fix Them
Practicing too fast
Solo practice has a natural rhythm problem: players load a basket and swing through 40 balls in 3 minutes without pausing between reps. Speed kills the feedback loop. Take 5–8 seconds between each drop. Reset your stance. Check your grip pressure. Only then feed the next ball. Slow practice builds clean mechanics; fast practice builds fast slop.
Hitting from the wrong bounce height
The third shot drop is a waist-to-thigh height contact shot. Players who let the ball drop too low — ankle height — have to lift it to clear the net, which flattens the arc. Players who contact too high — above the waist — swing through with too much power and hit long. Drop-feed the ball so it bounces to between knee and thigh before you swing. Adjust where you drop the ball until the bounce consistently hits that window.
Gripping too tight under pressure
The most common failure in Drill 5. Under pressure, grip pressure spikes to 8–9 out of 10 effort. That translates to a swing that's either too aggressive (balls sail long) or abruptly short (balls die in the net). Practice holding the paddle at 4/10 grip effort during every solo drill — soft enough that someone could pull it from your hand. That's the grip that produces the soft drop consistently. The feel is counterintuitive until you've hit 500+ drops with it.
Skipping the wall drill
Drill 3 feels unnecessary once you're landing drops consistently in Drill 2. Players skip it. Then they get to match play and discover their drops clear the net but land soft at mid-kitchen instead of the far kitchen — a sittable ball for any player above 3.5 rating. The wall drill tells you whether your arc is actually correct or whether you've been hitting a "good enough" drop that opponents will attack. Don't skip it.
Once your third shot drop is consistent, the next problem to solve is what to do after you hit it. The goal of the drop is to get to the kitchen yourself. If you're not advancing after the drop, read through how the kitchen rules work — specifically the momentum faults that trap players mid-advance — and connect the shot with the strategic positioning that follows it.
FAQ: Third-Shot Drop Solo Practice
How do I practice third-shot drop alone?
Use a drop-feed method from the baseline: drop the ball with your non-paddle hand, let it bounce to thigh height, and swing with a low-to-high pendulum motion to produce a soft arc that lands in the opponent's kitchen. Start close (kitchen-to-kitchen) to build the feel, then advance to full baseline distance. Use a basket of 30–40 balls to eliminate chasing time.
What's the best solo drill for third-shot drop?
The baseline static drop (Drill 2 in this progression) is the core drill — full distance, no movement, pure contact quality. But it only works after you've built the feel with close-range hand-feed contacts first. Most players skip straight to baseline drops and build inconsistent mechanics because the contact feel isn't established yet.
How many reps before I improve my third-shot drop?
Expect to hit 300–500 focused solo reps before the drop becomes reliable under pressure. That's approximately 6–10 practice sessions of 40–50 reps each. Players who do 50 random reps per session and call it practice see improvement in 6+ weeks. Players who use a structured progression with milestone gates see reliable improvement in 2–3 weeks.
Do I need a partner to practice the third-shot drop?
No. The 5-drill progression in this guide is entirely solo. A partner drill (feeding from the non-volley zone) is useful for advanced-stage practice — simulating the return you'll be responding to in a real game — but you don't need it to build the foundational shot. Solo practice is faster for early-stage skill acquisition because you control the pace and can do more focused reps per session.
How do I know when my third-shot drop is match-ready?
You're match-ready when you can pass Drill 5: land 8 of 10 drops in the kitchen across 3 consecutive pressure sets, in a single practice session. That level of consistency under simulated pressure translates to game performance. If you can only do it in calm Drill 2 conditions but fail Drill 5, the shot will break down in close games.
Your Solo Practice Bag
Focused solo sessions work best when you're not hauling unnecessary weight to the court. The Court Ranger V2 fits your practice paddle, a full tube of balls, and water — everything you need, nothing extra. Built with the same YKK AquaGuard zippers as the Court Caddy, at $195 it's the bag serious players use when they're drilling rather than playing tournaments.

Ready to level up your bag? Shop the Court Ranger V2 ($195) — designed with 500+ real players, 16-inch padded laptop sleeve, and built to last through every practice session and game day.

Leave a comment
This site is protected by hCaptcha and the hCaptcha Privacy Policy and Terms of Service apply.