

Disclosure: This post contains affiliate links to Pickleball Central. If you purchase through our links, FORWRD earns a small commission at no extra cost to you. We only link to products we'd recommend regardless.
Last updated: July 2026
Replacing a pickleball paddle grip takes about 10 minutes and costs under $10. The result — better control, less hand fatigue, fewer shanked shots from a rotating paddle — is immediate. Most guides give you the basic steps. This one gives you the actual numbers: overlap specs, tension percentages, and the session-count table that tells you exactly when to swap.
I've replaced grips on probably 20 paddles over the years. My first two attempts were disasters — air bubbles under the leading edge that peeled up by session 3, and a compression ridge over the bevel from using too much tension the second time. Third time, I measured: 1/8-inch overlap, moderate tension, finishing tape anchored 2cm from the top of the handle. Every replacement since has been clean.
Overgrip vs. Full Grip Replacement: Which One Do You Actually Need?
This is the question most guides skip — and getting it wrong wastes money. A $25 replacement grip when a $5 overgrip would've worked. Or worse: an overgrip applied over a dead base grip, giving a false sense of security for about two sessions before everything shifts under your hand.
| Your Situation | Use This | Why |
|---|---|---|
| Base grip still tacky, just slightly shiny | Overgrip | Restores tack and sweat absorption without changing handle feel |
| Base grip cracking, compressed flat, hard to the touch | Full replacement | Overgrip over a dead base is a thin fix over a structural problem |
| Handle feels too thin for your hand | Overgrip (or stack 2) | Each overgrip adds ~1mm; two overgrips give roughly a 3/8 grip-size bump |
| Grip peeling away from the handle core | Full replacement | The adhesive is gone — an overgrip won't anchor to a delaminated base |
| Brand new paddle, want extra tack from day one | Overgrip over factory grip | Factory grips are decent; an overgrip extends their life and lets you swap cheaply |
The structural difference: replacement grips are 1.5–2mm thick and go directly on the handle core. Overgrips are 0.4–0.6mm and layer over whatever's already there. If your base grip is fundamentally sound, use an overgrip. If the handle feels dead — no cushion, no texture — you need a full replacement.
Not sure which overgrip to buy? Our pickleball overgrip buying guide breaks down the top options by feel, tack level, and play style.
When to Replace: The Session-Count Guide and the Slip Test
The "every 2–4 months" advice you see everywhere is useless. Someone who plays twice a week in a dry gym and someone who plays five times a week outdoors in July are not on the same replacement schedule. Session count and sweat exposure drive grip wear — not calendar dates.
| Play Frequency | Full Grip Replacement | Overgrip Swap |
|---|---|---|
| 1x per week | Every 12–18 months | Every 6–8 sessions |
| 3x per week | Every 6–9 months | Every 3–4 sessions |
| 5+ times per week | Every 4–6 months | Every 1–2 sessions |
PPA and APP tour pros often swap overgrips between matches. That's not excessive — sweat saturation kills tack faster than physical wear does. At that frequency, it's worth keeping a few spare overgrip rolls in your bag. The Court Caddy's quick-access side pocket fits two or three rolls cleanly — no digging through your main compartment between games.
The Slip Test — do this right now: Press your palm flat against the grip for 2 full seconds, then release. If the grip springs back against your hand with some resistance, it's still good. If it stays compressed flat like pressing into firm clay — replace it. That loss of elasticity is exactly why dinks start feeling dead and the paddle rotates in your hand during hard drives.
How to Remove Your Old Grip Without Damaging the Handle
Don't just rip it off. The adhesive layer on the underside can strip the foam core surface on carbon fiber and composite handles if you pull too fast — especially on premium paddles with thinner handles.
Do this instead:
- Peel the finishing tape off first — it's usually at the top of the handle.
- Unwrap the grip by pulling upward and outward at roughly 45 degrees — not straight back. This releases the adhesive progressively instead of yanking the surface layer.
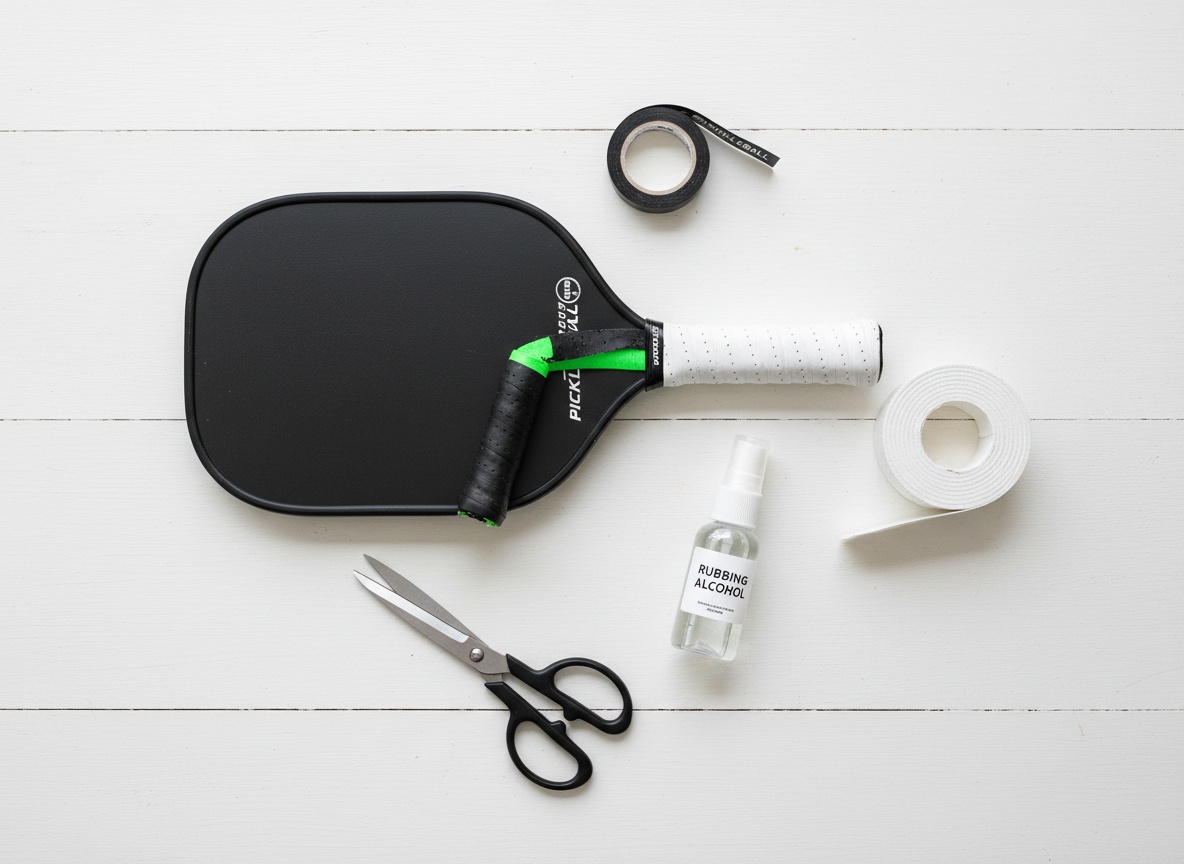
- Wipe off any adhesive residue with a dry cloth. For stubborn spots, a small amount of isopropyl alcohol works — but give it a full 5 minutes to dry before applying the new grip. Moisture trapped under the new wrap is one of the most common causes of early failure.
- Run your finger along the handle core and feel for cracks, soft spots, or delamination. A cracked handle is a paddle problem, not a grip problem — no wrap will fix structural damage.
For a detailed look at what causes grip failures before they start, our post on why grips keep failing and the prep step most players skip covers the adhesive residue issue specifically.
Step-by-Step: Installing a New Replacement Grip (With Tension and Overlap Specs)
Most guides say "wrap with consistent overlap." That's vague enough to be useless. Here are the actual numbers:
- Overlap: 1/8 inch (approximately 3mm). Less and you'll see gaps; more and you'll get a noticeable ridge under your fingers.
- Tension: 60–70% stretch — moderate. Enough that the grip seats firmly against the handle, not so much that the material thins and compresses before you finish.
- Spiral angle: 30–45 degrees from horizontal. Steeper covers faster but compresses unevenly at the overlap. Shallower gives better consistency at the cost of time.
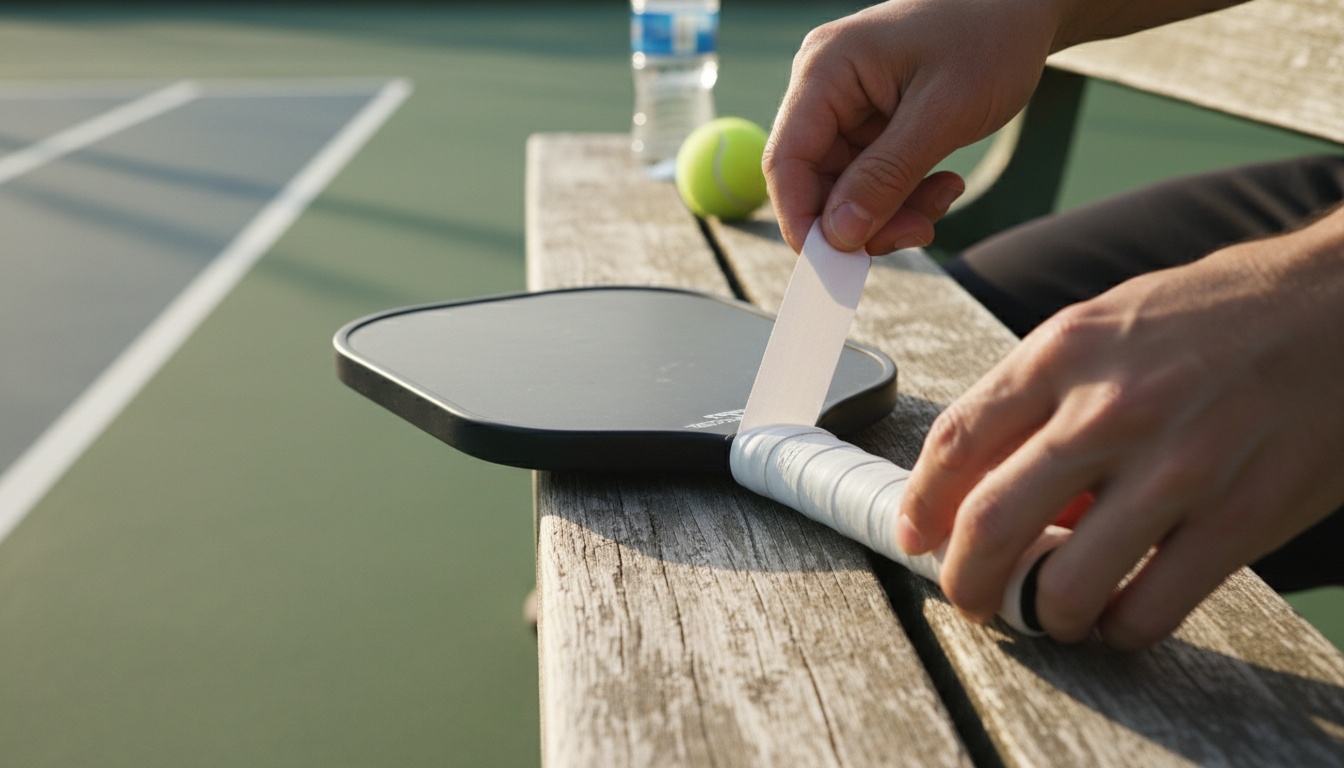
Step 1 — Start at the butt cap. Peel the backing off the tapered end of the replacement grip. Place it flush against the bottom edge with the taper pointing up. Most replacement grips have a marked starting taper — use it. Complete 1–1.5 full wraps around the base before beginning your upward spiral.
Step 2 — Begin the spiral, maintain tension. This is where most wraps go wrong. The natural tendency is to tighten up as you approach the top third of the handle, where grip pressure is highest. Don't. Tight tension at the very top creates a compression ridge right where your thumb sits — you'll feel it on every shot.
Step 3 — Cut cleanly when you reach the top. Use scissors, not a tear. A clean 45-degree diagonal cut gives a smoother edge than cutting straight across. If the grip extends past the handle edge, leave about 1/2 inch to fold over.
Step 4 — Fold and hold. Fold any excess over the top edge of the handle and hold it in place while you immediately apply the finishing tape. Don't let go and hope it stays.
Our Pick: GAMMA Honeycomb Cushion Grip
Solid cushion without too much bulk. Good for players who want a softer feel on contact without significantly adding handle diameter. Works on most paddle handles straight out of the packaging.
Finishing the Job: Finishing Tape and Edge Sealing
Finishing tape is not optional. Skip it and the top edge of the grip starts curling within a session. That curl grabs your fingers mid-swing, throws off your feel, and accelerates full delamination.
Placement matters: Anchor the finishing tape so it spans the top edge of the grip and the bare handle above it — approximately 2cm from the end of the handle. One full wrap is enough if the tape is wide. Narrow tape: use two wraps.
Pull taut but don't stretch. Overstretched finishing tape loses its adhesive grip and starts peeling at the edges within a few sessions. The same moderate tension principle applies here as with the grip itself.
Some players add a second strip at the bottom of the grip to seal the starting point. Not required for most conditions — but if you play outdoor courts in high humidity, the bottom edge is often where moisture infiltrates first. A bottom seal measurably extends grip life in those conditions.
Selkirk Tacky Overgrips — 3-Pack
High tack, 0.5mm profile, and the 3-pack format is practical for players who swap every 3–4 sessions. A strong daily-player option for outdoor and mixed conditions.
Troubleshooting Common Grip Problems (Slipping, Bubbling, Uneven Wrap)
Air bubbles under the grip
Almost always caused by inconsistent tension — specifically a momentary release mid-wrap. The fix isn't wrapping tighter overall. Use your non-dominant thumb to press the trailing edge of each fresh pass flat against the previous layer as you go. This eliminates micro-gaps before they become bubbles.
A ridge forming mid-handle
You either widened the overlap angle at some point, or tension dropped and spiked inconsistently. Ridges are structural — they don't smooth out with use. If it's noticeable mid-game, you're rewrapping. Prevention: slow down through the middle third of the handle, where the diameter is most consistent and mistakes are hardest to catch visually.
Grip rotating under your hand mid-point
Two causes. First: finishing tape failed or was never applied — apply it. Second: adhesive residue or moisture on the handle core broke the bond between the grip's adhesive and the handle. Strip, clean properly, dry fully, then rewrap.
Grip slipping after only a few sessions
Sweat saturation. This happens fast in hot conditions. An overgrip on top of the replacement grip absorbs moisture before it reaches the base layer. At that play frequency, swapping overgrips every session or two is normal — it's not a grip defect, it's just the environment.
"Nine times out of ten when a player tells me their dinks feel dead, it's the grip — not the paddle. A compressed grip deadens the connection between your hand and the face. Fresh grip and the paddle feels like new."
For a hands-on comparison of one popular replacement grip option, our GAMMA Honeycomb grip review covers 30+ sessions of real court testing across outdoor concrete.
FAQ: Pickleball Grip Replacement Questions
When should you replace a pickleball paddle grip?
Use the Slip Test: press your palm flat on the grip for 2 seconds; if it stays compressed with no spring-back, replace it. By session count: full grip replacement every 6–18 months depending on how often you play; overgrip swap every 1–8 sessions.
Is overgrip or replacement grip better for pickleball?
Overgrip if your base grip is structurally sound — restores tack cheaply and quickly. Full replacement if the base is cracking, delaminated, or fully compressed. Stacking an overgrip over a dead base is a cosmetic fix that lasts about two sessions before everything shifts again.
How often do you change a pickleball grip?
At 3x per week: swap overgrips every 3–4 sessions, do a full replacement every 6–9 months. At 5x per week or more: overgrips can go every 1–2 sessions, full replacement every 4–6 months. "Every 2–4 months" advice ignores play frequency entirely.
How do you stop a grip from slipping mid-game?
Check the finishing tape first — a missing or failed top anchor is the most common cause. If the tape is intact, the grip is saturated with sweat. An overgrip on top is a quick in-game fix; a fresh base grip is the long-term solution. Keep spare overgrips in your bag.
How tight should a pickleball grip be wrapped?
60–70% tension stretch — moderate. Enough that the material seats firmly against the handle, not so tight that it thins visibly or creates compression ridges. If you can see the grip material stretching at the edges as you wrap, back off the tension.

Leave a comment
This site is protected by hCaptcha and the hCaptcha Privacy Policy and Terms of Service apply.