

Last Updated: June 2026
The volley is the shot that separates players who dictate points from players who are always one ball away from losing the rally. It sounds simple — don't let the ball bounce, just punch it back — but the mechanics are precise, and most players at the 3.0-3.5 level are doing at least two things wrong without knowing it.
Here's what the volley actually demands: a locked wrist, a controlled elbow, and a decision made before the ball crosses the net. Miss any one of those and you're either dumping it into the tape or floating it up for your opponent to attack.
What a Volley Is (and Why It's Harder Than It Looks)
A volley is any shot you hit before the ball bounces. In pickleball, you can volley anywhere on the court except from within or while touching the non-volley zone (the kitchen) — that's a fault. Step on the kitchen line while volleying? Fault. Let the momentum from a volley carry your foot into the kitchen? Also a fault.
The challenge is threefold. First, the ball comes faster at the net than anywhere else on the court. Second, you have less margin for error — the net is lower at the sidelines, the angles are tighter. Third — and this is the one that costs most players — most of us try to do too much with it.
A good volley doesn't need pace. What it needs is direction, control, and placement. Those come from technique, not power.
The Three Types of Volleys You Need in Your Game
Not all volleys are the same. The situation dictates which one you're hitting:
The Punch Volley
Your workhorse. Used when the ball arrives at or above net height and you have an offensive opportunity. Short, compact motion — your elbow drives the paddle forward while your wrist stays locked. Think "push," not "swing." The motion should look like you're pressing a button, not throwing a punch. Most players over-swing here and end up hitting long.
The Block Volley
Defensive. When your opponent rips a drive at you and you need to absorb pace and redirect. Soft hands, no backswing, paddle face slightly open to angle the ball crosscourt. You're not swinging — you're a wall that tilts slightly. Players who get drilled at the body and swing at it always pop it up. Players who block redirect it low and reset the point.
The Drop Volley (Volley Dink)
The advanced one. Ball comes above the net, you have a chance to attack — but instead of driving it, you cut the pace and drop it softly into the kitchen, forcing your opponent to scramble forward from mid-court. Requires significant touch. Don't try this until your punch volley is consistent. Skipping ahead to the drop volley is how players develop bad habits at 3.0.
Grip, Stance, and Contact Point: The Mechanics That Actually Matter
Grip
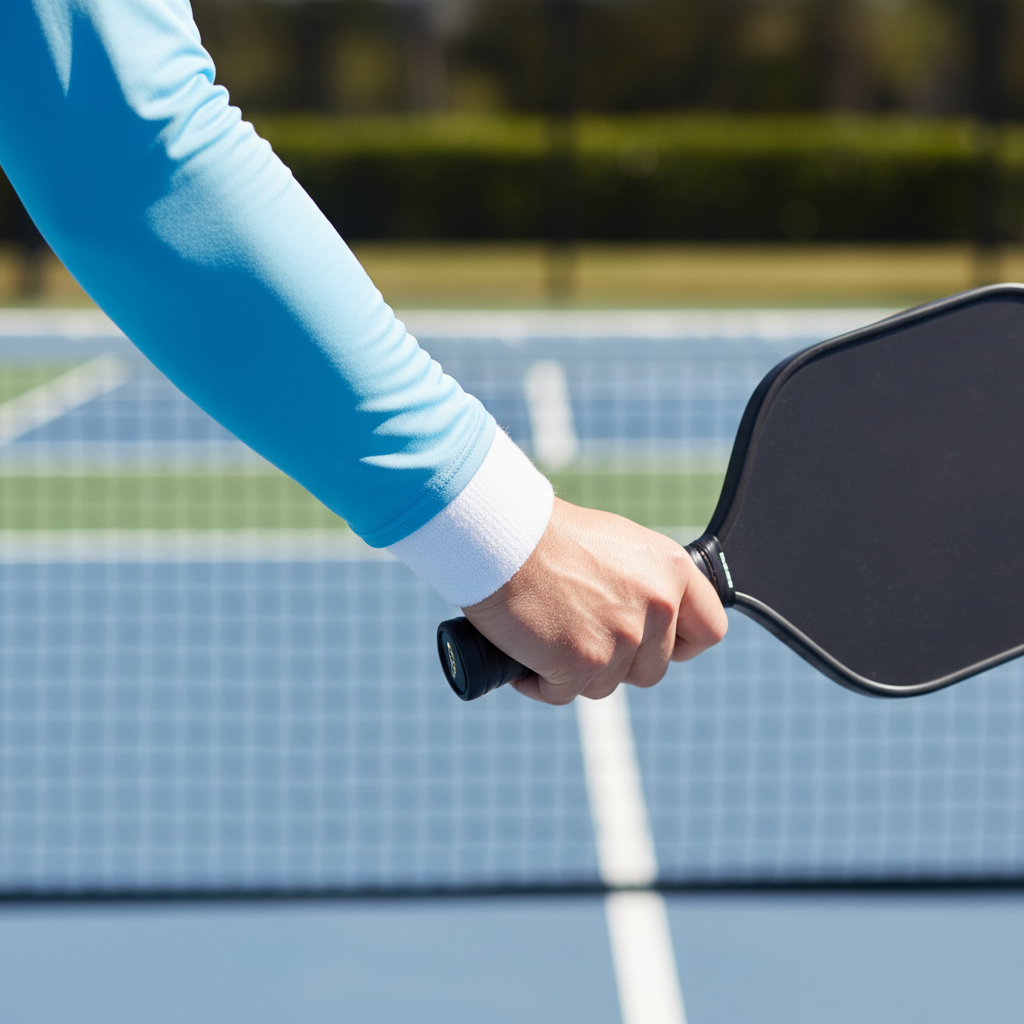
Continental grip. Think of holding a hammer by the side of the handle — your knuckle line should be at roughly a 45-degree angle to the paddle face. This grip lets you handle both forehand and backhand volleys without rotating the paddle, which matters a lot when balls come at you in rapid succession.
Grip pressure: firm, not white-knuckled. About 60-70% of your maximum grip force. A death grip transmits every vibration into your arm and kills the soft touch you need for reset volleys. You'll feel the difference in your forearm after a long session — a death grip player is sore, a controlled grip player isn't.
Stance and Ready Position
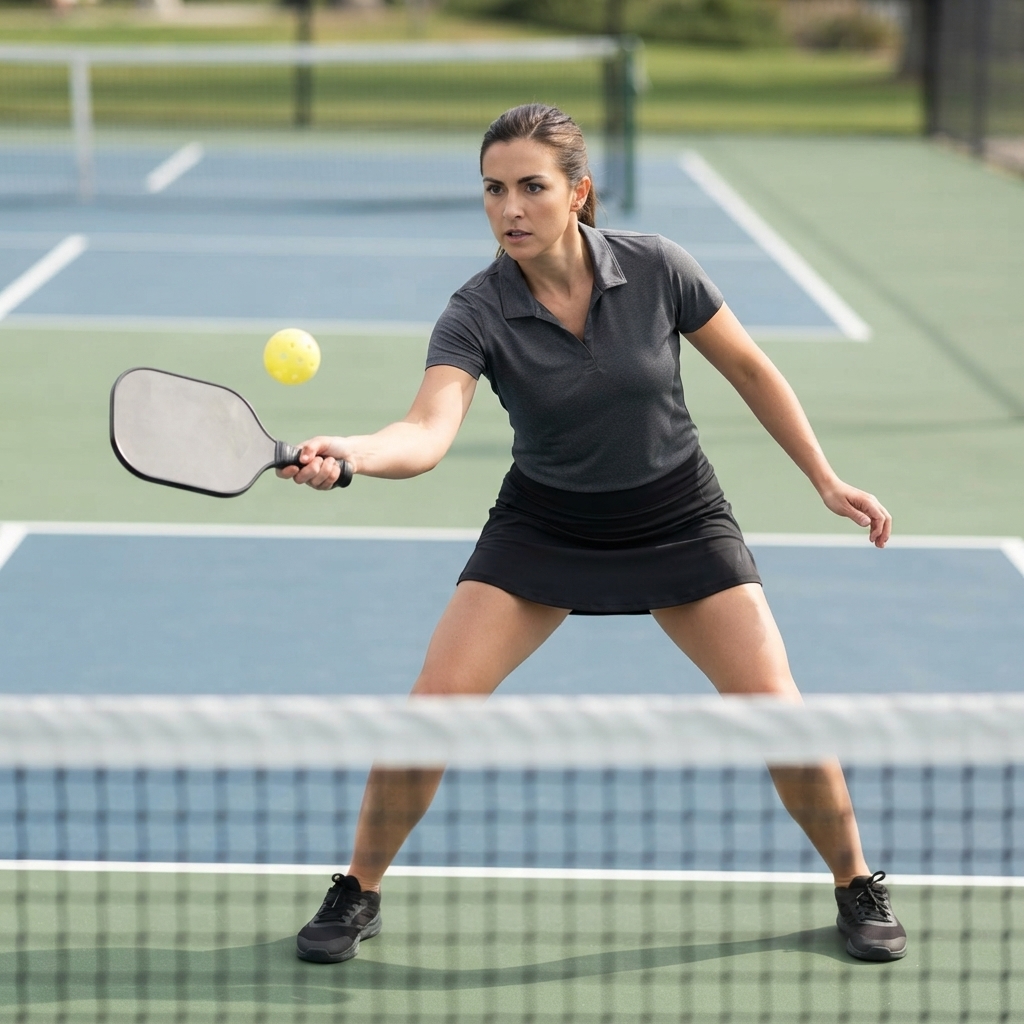
Paddle up. Always. Your paddle face should be at chest height in your ready position at the kitchen line, not hanging by your hip. This is the single most common mistake at the 3.0 level — players drop their paddle between points and then scramble to get it up when the ball comes fast. Feet shoulder-width apart, slight knee bend, weight forward on the balls of your feet. Don't stand flat-footed. The stance that feels athletic is the right one.
Contact Point
In front of your body. Every time. If the ball gets to your hip or behind you, you've waited too long. The ideal contact point is arm's length in front of your chest on the forehand side, or about 12 inches in front of your lead shoulder on the backhand side.
Here's the check: if your elbow is bent more than 90 degrees at contact, you let the ball get too close. If you're fully extended with no elbow bend, you reached too early. You want somewhere in the middle — arm partly extended, elbow with a natural bend, wrist locked.
"The first thing I tell any player working on their volley is to stop thinking about the ball. Think about your contact point. Set it in your body's memory and let the ball come to it. Players who chase the ball with their paddle have no consistency — players who hold their contact point and adjust their feet are the ones who seem to have magical hands."
— Topher, FORWRD co-founder
The Transition Zone Volley: The Hardest Volley to Master
Here's the one that actually costs points in real games. You're moving from the baseline toward the kitchen line, and your opponent's return lands in the transition zone (roughly mid-court between the service box and kitchen line). The ball's at hip height or below. What do you do?
Most 3.0 players try to volley it. They swing up at it and net it, or pop it up and get attacked. What actually works: if the ball is below net height in the transition zone, let it bounce and play a groundstroke. If it's at or above net height and your feet are set, take it out of the air — but with a soft punch aimed crosscourt, not a hard drive. If your feet aren't set and the ball is below net height, don't volley. Reset from the bounce.
The transition zone volley is a trap for players who understand that net position is good but haven't yet internalized that not all balls should be taken out of the air. The risk-reward changes completely once the ball drops below the net tape. Low volleys give your opponent an easy look at a passing shot.
The Volley Decision Tree
| Ball height at contact | Your position | Right choice |
|---|---|---|
| Above net height | Kitchen line, feet set | Punch volley — attack angle crosscourt |
| At net height | Kitchen line, feet set | Punch volley — aim for their feet or middle |
| Below net height | Kitchen line | Block volley — open paddle face, soft reset crosscourt |
| Above net height | Transition zone, moving forward | Punch volley if feet are set; otherwise block or let bounce |
| Below net height | Transition zone, moving forward | Let it bounce — don't volley low balls from mid-court |
| Any height | Backpedaling | Let it bounce — backpedaling volleys go long almost always |
Print this, tape it to your bag. It's not complicated once you slow it down in your head — the problem is players make this decision reactively instead of pre-loading the decision tree before the ball comes. Pre-load, then react.
Common Volley Mistakes and How to Fix Them in One Session
Swinging instead of punching. The most common flaw. You see a ball at net height and your instinct is to swing like a groundstroke. The swing adds pace but also adds arc — and arc means the ball goes long or nets. Fix: hold your non-paddle hand in front of your body during drills. If your paddle swings through and would hit your own hand, you swung too much.
Dropping the paddle face. When you make contact with a dropped wrist, the paddle face tilts upward and the ball goes skyward. That's the pop-up your opponent is waiting for. Fix: drill volleys while keeping your eye on your paddle face, not the ball. Confirm it's vertical at contact.
Not resetting the ready position. You punch a volley, your arm stays extended in follow-through, the next ball comes and your paddle is out of position. Fix: consciously return to your ready position after every single volley. Slow at first. Automatic within one session of focused reps.
Volleying when you should reset. Covered in the decision tree above — but worth repeating. If the ball is below net height in the transition zone, the right play is almost always to let it bounce and reset, not to volley up and over the net.
Looking where you want to place the volley before you've hit it. You miss the contact point, the paddle face twists, the ball goes wide. Fix: watch the ball all the way to contact, then look up. One moment too early and the point is gone.
Volley Drills to Build Muscle Memory Fast
The Wall Drill
Stand 6-8 feet from any hard wall or backboard. Hit continuous volleys without letting the ball bounce. Start slow. The goal isn't speed — it's that you're forced to maintain your ready position between every contact, since the ball comes back immediately. 5 minutes daily for 2 weeks does more for your volley than most coached sessions.
The Catch Drill
Have a partner feed balls to you at the kitchen line. Your job: no backswing, catch each ball with the paddle face as if you're catching an egg. This is specifically for developing block volley touch. The mental model of "catching" rather than "hitting" is exactly right for reset volleys under pressure.
The 10-Point Volley Game
Both players at their respective kitchen lines, volleys only — no letting the ball bounce, no dinking. Landing in the kitchen is an error (if you meant to volley into the body or at the feet). First to 10 wins. This forces rapid decision-making and reinforces the ready position habit under competitive pressure better than any drill.
The Decision Tree Drill
For the transition zone specifically: have a feeder alternate between high balls (above waist) and low balls (below waist) while you're walking in from mid-court. Rule: high ball, take it out of the air. Low ball, let it bounce. 20 reps. Your brain starts reading the ball earlier, which is exactly what the transition zone demands.
For more on how the volley fits into the transition game, see the complete third shot drop guide — the third shot and the transition zone volley are the two shots that unlock mid-level play. And if you're working on patience at the kitchen, the dinking fundamentals guide is the other half of the net-game equation.
Complete Your Court Setup
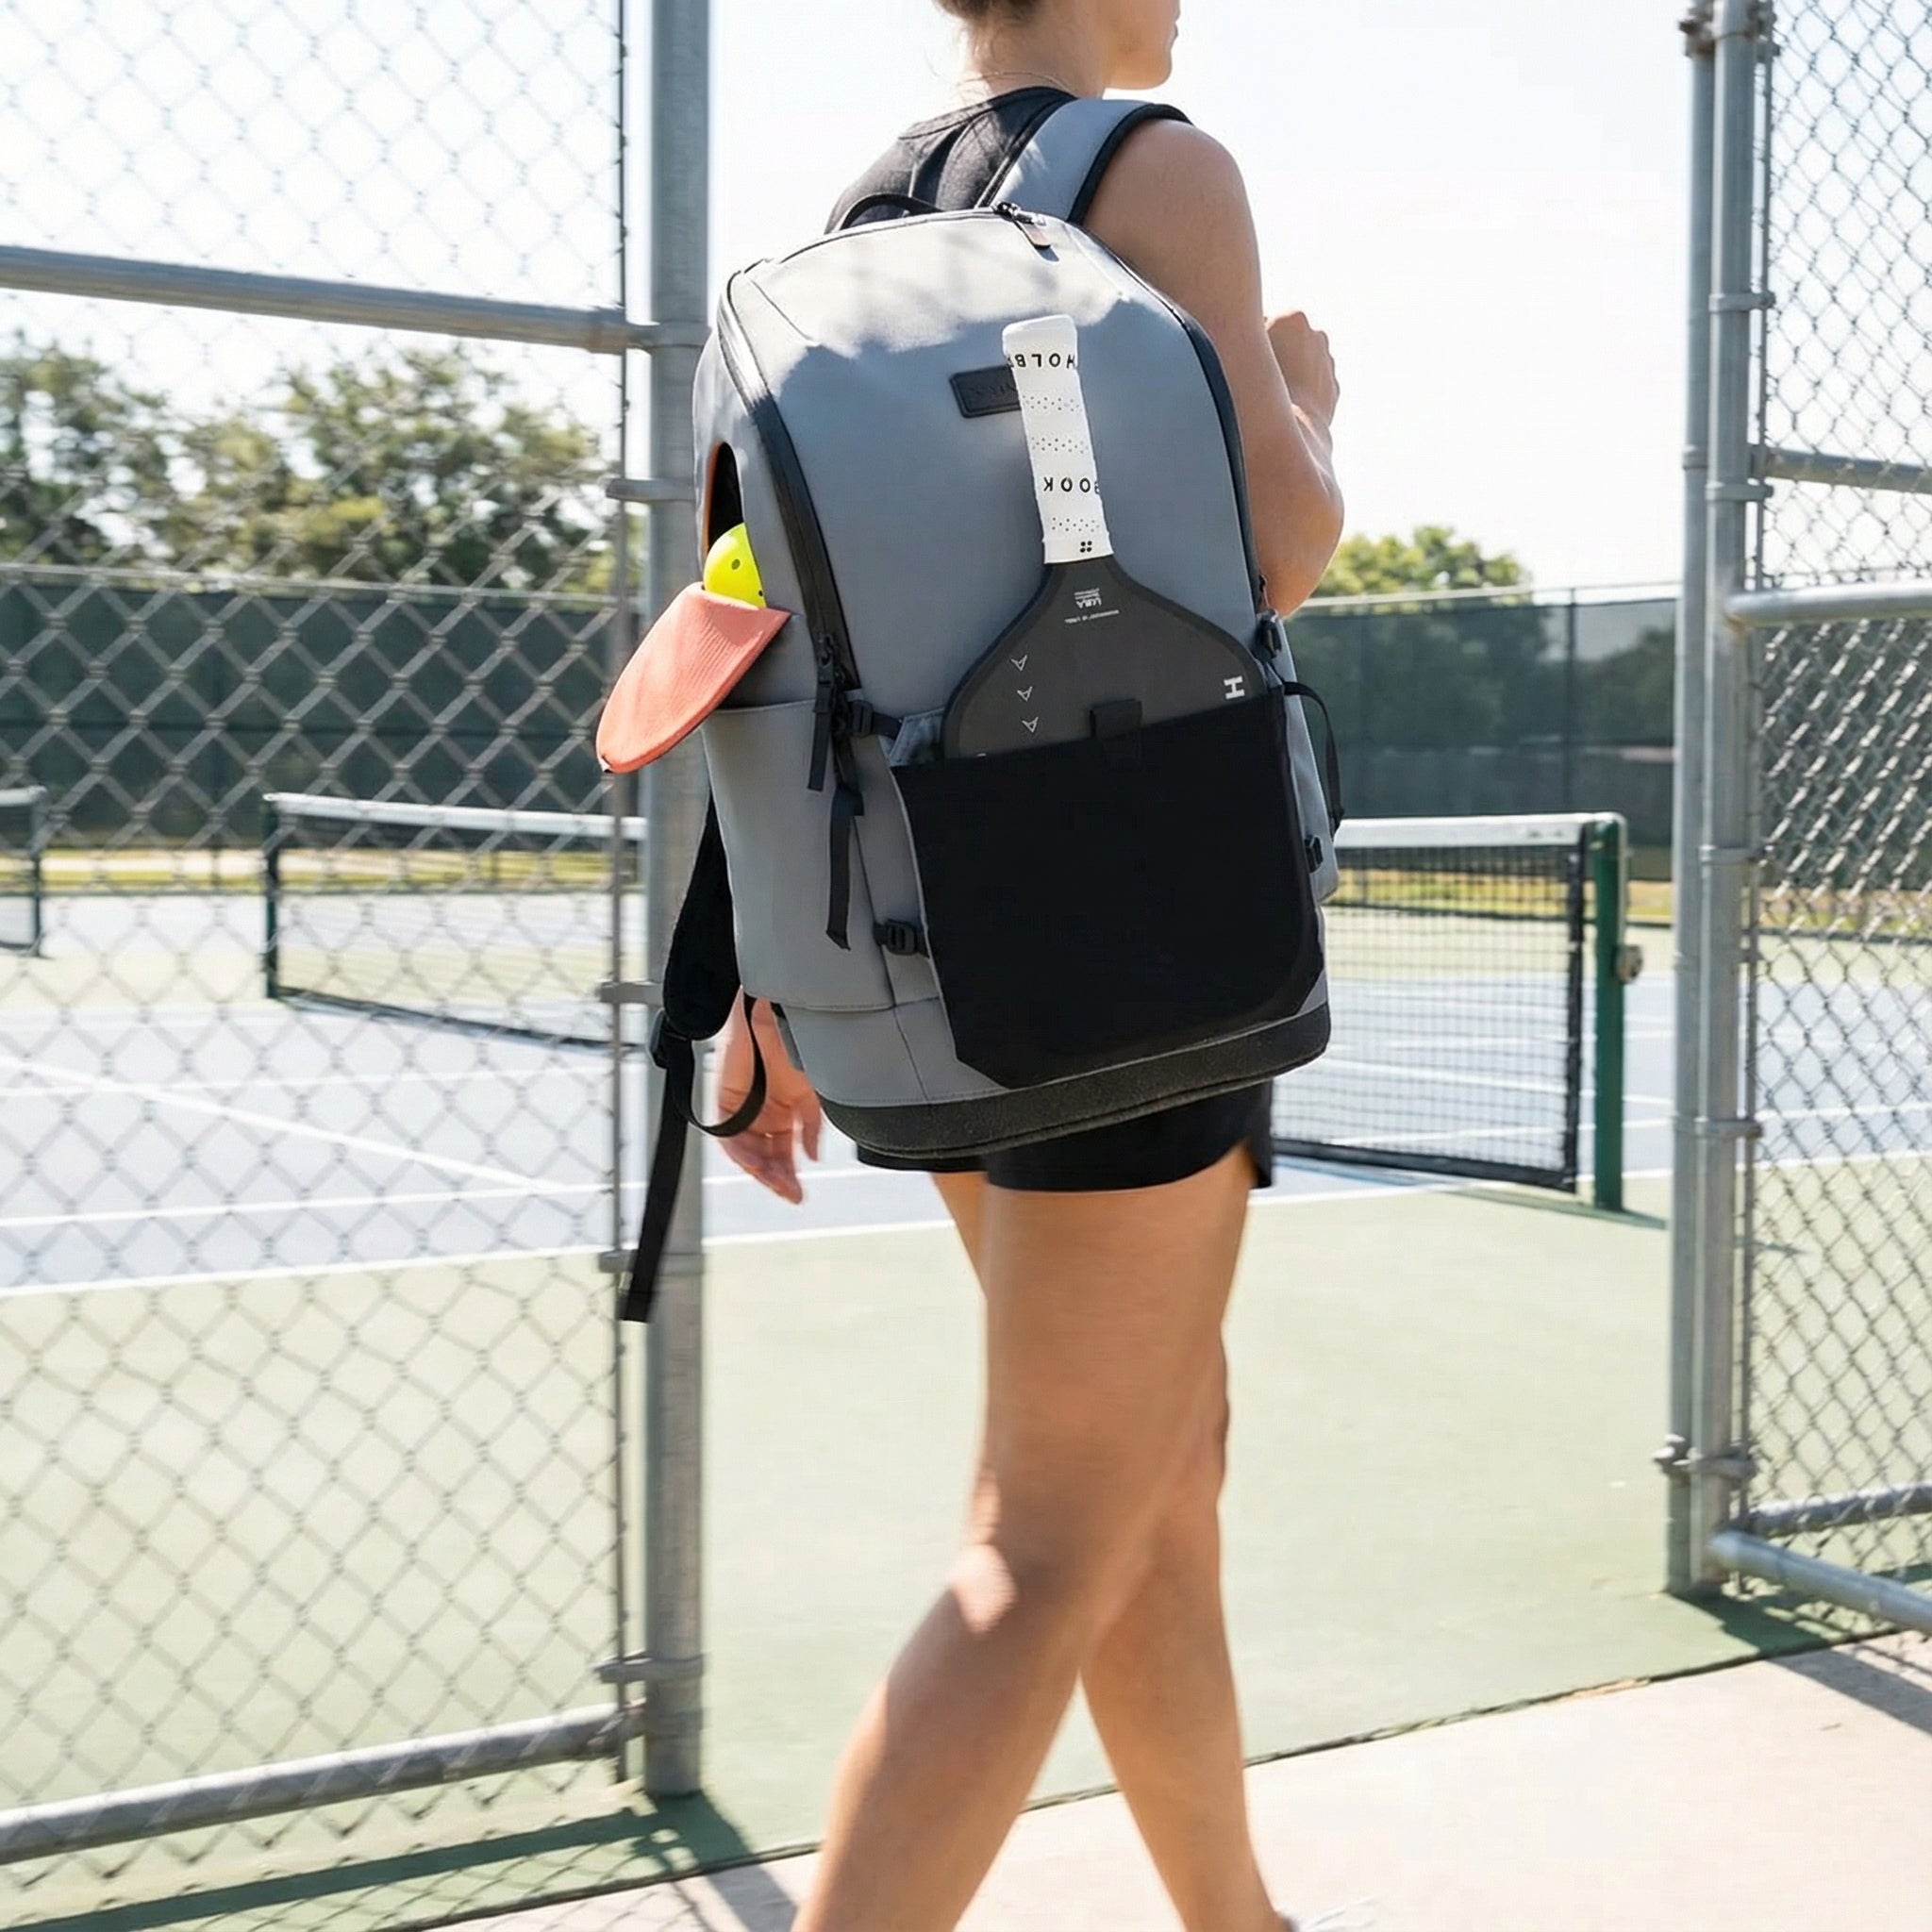
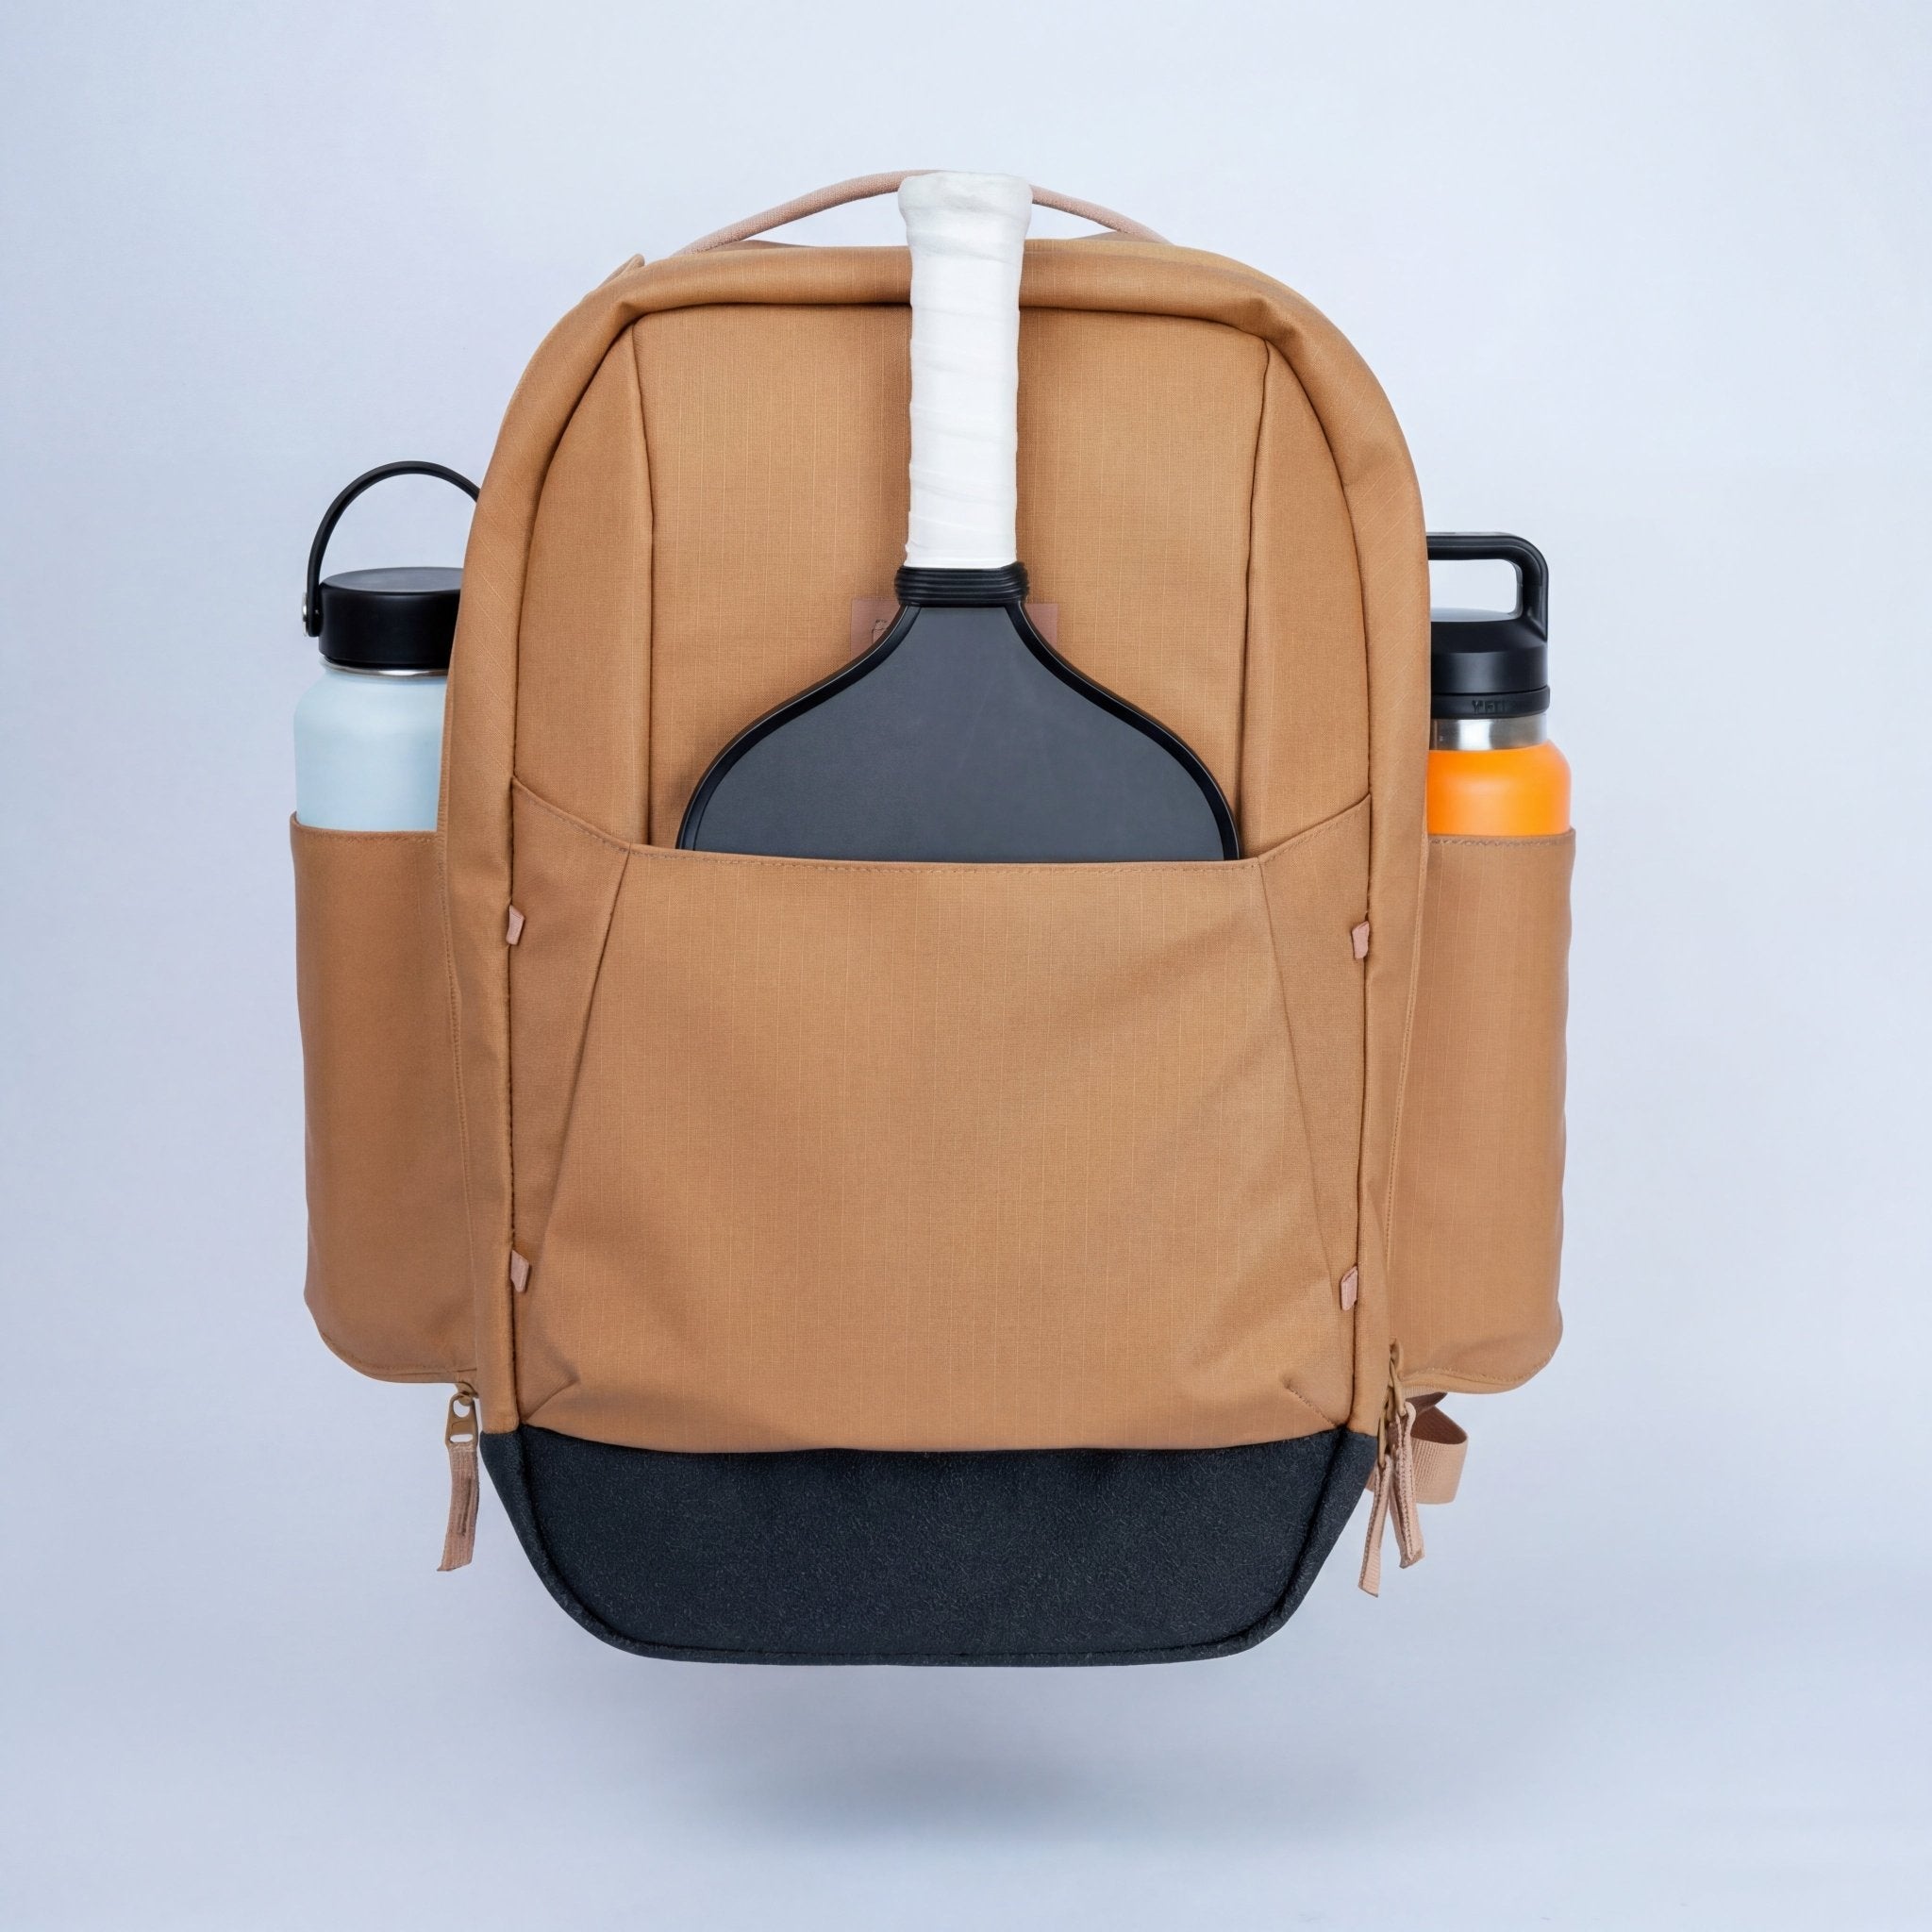
If you're drilling volleys seriously — wall sessions, partner drills, carrying extra balls — your bag setup matters. The FORWRD Court Ranger V2 ($195) holds your full paddle set, a can of balls in the side mesh pocket, and all your court gear in one organized bag. Good drills and chaotic gear don't mix.

FAQ: Pickleball Volley Questions
What is a volley in pickleball?
A volley is a shot hit before the ball bounces on your side of the court. You can volley anywhere on the court except from within or while touching the non-volley zone (the kitchen). Volleying while standing in or touching the kitchen line is a fault — as is momentum carrying you into the kitchen after contact.
Can you volley in the kitchen in pickleball?
No. Volleying while standing in the kitchen, or while touching the kitchen line, is a fault. You also can't volley if your follow-through momentum carries you into the kitchen after contact. You must let the ball bounce first if you're in the kitchen — or step back out before volleying.
What is the difference between a volley and a dink in pickleball?
A dink lands in the kitchen and bounces — it's a groundstroke aimed specifically into the NVZ. A volley is taken out of the air before the ball bounces. You'll sometimes hear "volley dink" — that's when you take a ball out of the air and redirect it softly into the kitchen. Related but distinct: see the dinking fundamentals guide for the other half of the kitchen game.
What grip should I use for a pickleball volley?
Continental grip — the same grip you'd use for a hammer or a handshake with the paddle. Your knuckle line sits at roughly 45 degrees to the paddle face. This grip handles both forehand and backhand volleys without rotating your hand position, which is critical when balls come at you quickly in close-range exchanges at the kitchen line.
When should I volley instead of letting the ball bounce in pickleball?
When the ball is at or above net height and your feet are set, taking it out of the air keeps your opponent on defense. When the ball drops below net height — especially in the transition zone — letting it bounce is almost always the safer play. Low volleys force you to lift the ball over the net, giving your opponent an easy look at the response. The key variable: ball height relative to the net, not your position alone.

Leave a comment
This site is protected by hCaptcha and the hCaptcha Privacy Policy and Terms of Service apply.