

Last Updated: May 2026
Most rec players can hit the third shot drop when there's no pressure — fed ball, no opponent, comfortable pace. The problem is it falls apart the moment the rally speeds up, the score is close, or they haven't decided whether to drop or drive before the ball gets there. This guide fixes all three.
What follows is the technique breakdown, the drive-vs-drop decision tree used by high-rep tournament players, and a 30-day drill progression built around how humans actually develop motor patterns under pressure. No vague advice about "feeling the shot." Concrete reps, specific checkpoints, real decisions.
The pickleball third shot drop is a soft, arcing groundstroke hit by the serving team on the third shot of the rally. Its purpose is to land in or near the non-volley zone, forcing the returning team to hit upward — neutralizing their net advantage and allowing the serving team to advance toward the kitchen. It's hit with a compact swing, loose grip (3 out of 10 pressure), and an open paddle face at contact.
At a glance:
Grip pressure should be 3 out of 10 — most players hold at 6–7 under pressure and lose all touch. Loose grip is non-negotiable for arc control.
The target is the kitchen, not the kitchen line — aim for the middle of the NVZ to give yourself margin. Targeting the line only works when the shot is already grooved.
70% of third shot drop failures are decision failures, not mechanical ones — players wait too long to decide drive or drop, then rush the execution.
Contact at the apex — hitting the ball at or slightly past the top of its bounce arc produces the most consistent trajectory.
A 30-rep daily minimum separates players who "can hit" the third shot drop from players who own it under match pressure.
"We heard the same thing from hundreds of players in our design research: they lose third-shot points not because they can't physically hit the drop, but because they don't know when to choose it. The drive-or-drop decision has to be made before the ball bounces, not after. That one shift — pre-deciding based on court position — is worth 50 reps of solo drilling."
— Topher, FORWRD Co-founder
What the Third Shot Drop Actually Does (and Why Players Get It Wrong)
The third shot drop isn't about hitting a pretty shot. It's about changing geometry.
After a serve and a deep return, the returning team is already at the kitchen line — two steps from the net, in the most dominant court position in pickleball. The serving team is still at the baseline, staring at 44 feet of court and opponents ready to punish anything that floats. The drop's entire job is to deny that punishment.
A well-executed drop lands in the non-volley zone and forces the returner to hit upward, off a bounce. That eliminates attack angles. It turns a potential winner into a soft reset dink. And in the three to five seconds it takes for the ball to travel, land, and come back, the serving team can advance two or three steps toward the kitchen line.
Where most players go wrong: they think the shot is about perfect placement. It's not — it's about height and pace. A drop that lands eight inches past the kitchen line but travels slowly enough your opponent can't do anything offensive with it is functionally successful. A drop that clips the kitchen tape but was hit with too much pace — giving your opponent time to reset and load — is a failed third shot.
The other common misconception: the third shot drop is a defensive shot. It isn't. It's a positioning shot. You're not retreating — you're creating conditions to advance. Players who think of it as defensive hit it tentatively. Players who understand it as a transition tool hit it with intent.
Ben Johns — ranked #1 on the PPA Tour for multiple seasons — uses the third shot drop as an offensive sequence. It's the entry pass that opens the dinking rally where his real offense lives. The pros don't use it because they lack baseline power. They use it because the kitchen is where points end, and the drop is how they get there.
Third Shot Drop vs. Drive: How to Decide in Real Time
No competitor article for this keyword gives you a real decision framework. They all describe the shot's mechanics. Nobody tells you when to use it. Here's the framework that actually works under match pressure.
The decision has to be made before the return of serve lands — not after it bounces, not during your swing. Pre-decision eliminates the hesitation that kills both the drop and the drive.
The 4-Question Decision Tree
Run through these questions in order as the return of serve is in the air:
Q1: Where are your opponents relative to the kitchen line?
Both at the kitchen → Drop. They're set up to punish a drive. Your drive needs to be perfect. The drop gives you margin for error.
One or both still moving forward → Drive or Drop. Consider driving at the retreating player's feet — a hard drive at someone in transition can be more effective than a drop.
Q2: Are you in a comfortable hitting position or compromised?
Balanced, good footwork → Either works. Go to Q3.
Off-balance, late on the ball → Drop. A drive from a compromised position almost always flies long or pops up. Reset with a drop.
Q3: How deep and fast was the return?
Short return, landing inside the baseline → Drive. You have a shorter court to cover and an attackable ball.
Deep return at your feet → Drop. You can't generate reliable pace, and a drop from deep is geometrically easier than a drive.
Q4: What's the score context?
Critical point, must-win rally → Drop. Percentage play. The drop's margin for error is higher.
Comfortable lead, experimenting → Drive. Use low-stakes moments to build the drive under something resembling match pressure.
Default rule when in doubt: drop. The drive is a high-ceiling, high-floor shot — it either wins outright or gifts your opponent an easy put-away. The drop rarely wins the point directly, but it rarely loses it either. Take the higher floor.
Real talk for 3.0–3.5 players: drop almost every third shot for the next six months. The drive feels more satisfying, which is exactly why you should resist it. Build the drop until opponents start creeping in to intercept it — that's when the drive becomes a weapon, not a gamble.
The Technique: How to Hit a Consistent Third Shot Drop
Five checkpoints. Fix one per week if you're rebuilding from scratch.
1. Grip Pressure: 3 Out of 10
If you can feel your palm squeak against the grip during a drop, you're holding too tight. Most players default to 6–7 grip pressure under stress — it kills touch immediately. Before every third shot drop, consciously loosen. Your hand should feel like it's cradling something fragile, not strangling a hammer. This sounds obvious until you watch your own video and see white knuckles.
2. Contact Point: At or Past the Apex
The ball bounces, rises, and then falls. Hit it at the apex — the top of the bounce arc — or just past it. Earlier contact (ball still rising) gives you less arc control because the ball's upward momentum fights your soft touch. Slightly late contact is fine. Way late — ball at ankle height — forces an extreme upswing and nets out consistently.
3. Compact Swing, Open Paddle Face
No backswing past your hip. The power source for a third shot drop isn't arm speed — it's a short, controlled push from a firm (not tense) wrist. Open the paddle face about 10–15 degrees before contact so the ball clears the net, then arcs downward into the kitchen. A closed face drives into the net. An over-open face balloons the ball long.
4. Low-to-High Follow-Through
Finish with the paddle pointing toward the kitchen, not up at the sky. Players who stop their swing at contact produce inconsistent arc because the ball leaves the paddle before the spin is established. The follow-through shapes the shot — let it do its job.
5. Split Step Before Contact
A moving player hitting a touch shot is a low-percentage player. Before contact, settle: weight centered, feet shoulder-width, knees slightly bent. One second of stillness before the drop dramatically improves consistency. Watch any pro in slow motion — they always settle before the drop. Movement resumes the instant the paddle meets the ball.
30-Day Drill Progression to Build the Shot
This progression is structured by week because motor learning doesn't work on demand. It requires repetition over time with increasing complexity. Don't skip ahead — the weeks build on each other.
Week 1 (Days 1–7): Establish the Arc From Mid-Court
Stand in the transition zone, two feet behind the kitchen line. Toss a ball to yourself, let it bounce, and drop it into the NVZ. 50 reps per session. The goal here isn't placement left or right — it's getting the ball over the net with a consistent arc. If you're missing 30 of 50, reduce your toss height until the contact point and arc click. Success benchmark: 35 of 50 in the kitchen by Day 7.
Week 2 (Days 8–14): Baseline Drops, 50 Reps Daily
Same drill, now from the baseline. The longer distance means you need more carry — not more pace. Most players add too much speed when they move back, which flattens the arc. The swing's follow-through length increases marginally; the pace does not. Goal: 35 of 50 in the kitchen by Day 14. If you're consistently landing past the kitchen, check your paddle face — it's likely too closed.
Week 3 (Days 15–21): Live-Ball Partner Rallies
Get a partner at the kitchen. They simulate a deep return from the transition zone — not a hard drive, just realistic return depth. You drop. They let it bounce, dink it back. You drop again. 20 minutes per session. The point of this week is adding the live-ball variable: you're no longer hitting a predictable toss. Focus on the checklist (grip, contact, follow-through) rather than result, and resist the urge to attack any ball that sits up.
Week 4 (Days 22–30): Drive/Drop Decision Under Pressure
Same partner setup. Now your partner randomly calls "drive" or "drop" as the return crosses the net — you execute whichever is called. On Days 27–30, remove the call: you make the decision based on return depth and position using the Q1–Q4 framework. Track your decisions. A good session is one where your decisions were correct more often than your mechanics were clean.
For solo drilling sessions, having practice balls in a separate compartment from your match balls saves time at rep 300. The Court Caddy's magnetic ball pockets give one-handed access without digging — a small thing that adds up over a four-week drill block.
Common Mistakes and How to Fix Them
Mistake 1: Wrist Flip at Contact
The wrist flips downward during the swing, closes the paddle face, and drives the ball into the net. This is the single most common cause of dropped drops. Fix: practice the swing motion without a ball, focusing on keeping the wrist stable through contact. Some coaches tape the wrist for drill sessions. Rigid wrist through the swing zone = consistent paddle angle.
Mistake 2: Late Decision on Drive vs. Drop
The return lands, you watch it bounce, now you decide. At that point you're either rushing a drop or jabbing a drive — neither works. Fix: commit to the decision while the return is still in the air. Use the Q1–Q4 framework. Pre-decide, then execute from a still position.
Mistake 3: Targeting the Kitchen Line Instead of the Kitchen
If you aim for the line, a 10% mechanical deviation puts the ball out. If you aim for the center of the NVZ, a 10% deviation still keeps the ball in. Aim center, not line. Kitchen-line drops come naturally as the shot gets grooved — don't hunt them deliberately.
Mistake 4: Adding Pace on Deep Returns
Longer distance triggers a panic response — add more swing speed. Wrong adjustment. More pace flattens the arc and pushes the ball past the kitchen. The correct adjustment is longer follow-through, not more arm speed. Slow down, extend through the ball, let the arc do the work.
Mistake 5: No Forward Movement After the Drop
The drop isn't the end — it's the beginning of your advance. The moment the ball leaves your paddle, start moving forward. Most players watch the drop land (wondering if it'll go in) and freeze. By the time they move, the transition window is closed. Commit to forward movement before you see the result. The kitchen rally starts with your first step after the drop.
For more on positioning once you get to the net, our kitchen rules guide covers exactly what's legal and what gets called as a fault — including the momentum rule that trips up players who are aggressive at the transition zone. Players still building their foundational understanding of the game can also get up to speed with our pickleball beginner's guide.
FAQ: Common Questions About the Third Shot Drop
What is the third shot drop in pickleball?
The third shot drop is a soft, arcing groundstroke hit by the serving team on the third shot of the rally. It lands in the non-volley zone, forcing the returning team to hit upward off a bounce — neutralizing their kitchen-line advantage and creating a lane for the serving team to advance. It's the most important transition shot in competitive play at the 3.5+ level.
When should I drive vs. drop the third shot?
Drop when both opponents are set at the kitchen, when you're off-balance, or on a deep return. Drive when the return is short, when an opponent is still moving, or when you have a clear angle on a slower ball. When in doubt, drop — the margin for error is higher, and a slightly imperfect drop rarely loses the point the way a misfired drive does.
How do I practice the third shot drop at home?
Wall drill: stand 22 feet from a smooth wall and mark a tape line at 34–36 inches (net height). Practice soft arcing shots that clear the line without flying more than 3 feet above it. Fifty reps per session. After two weeks of wall drilling, take the same motion to the court. The muscle memory transfers directly.
Why is the third shot drop so important?
Pickleball points end at the kitchen, and the third shot drop is the serving team's primary route to get there. Without it, the serving team stays pinned at the baseline while opponents control the net. Players who own a reliable drop win substantially more third-shot rallies than those who exclusively drive — the kitchen-line advantage is that significant at competitive play.
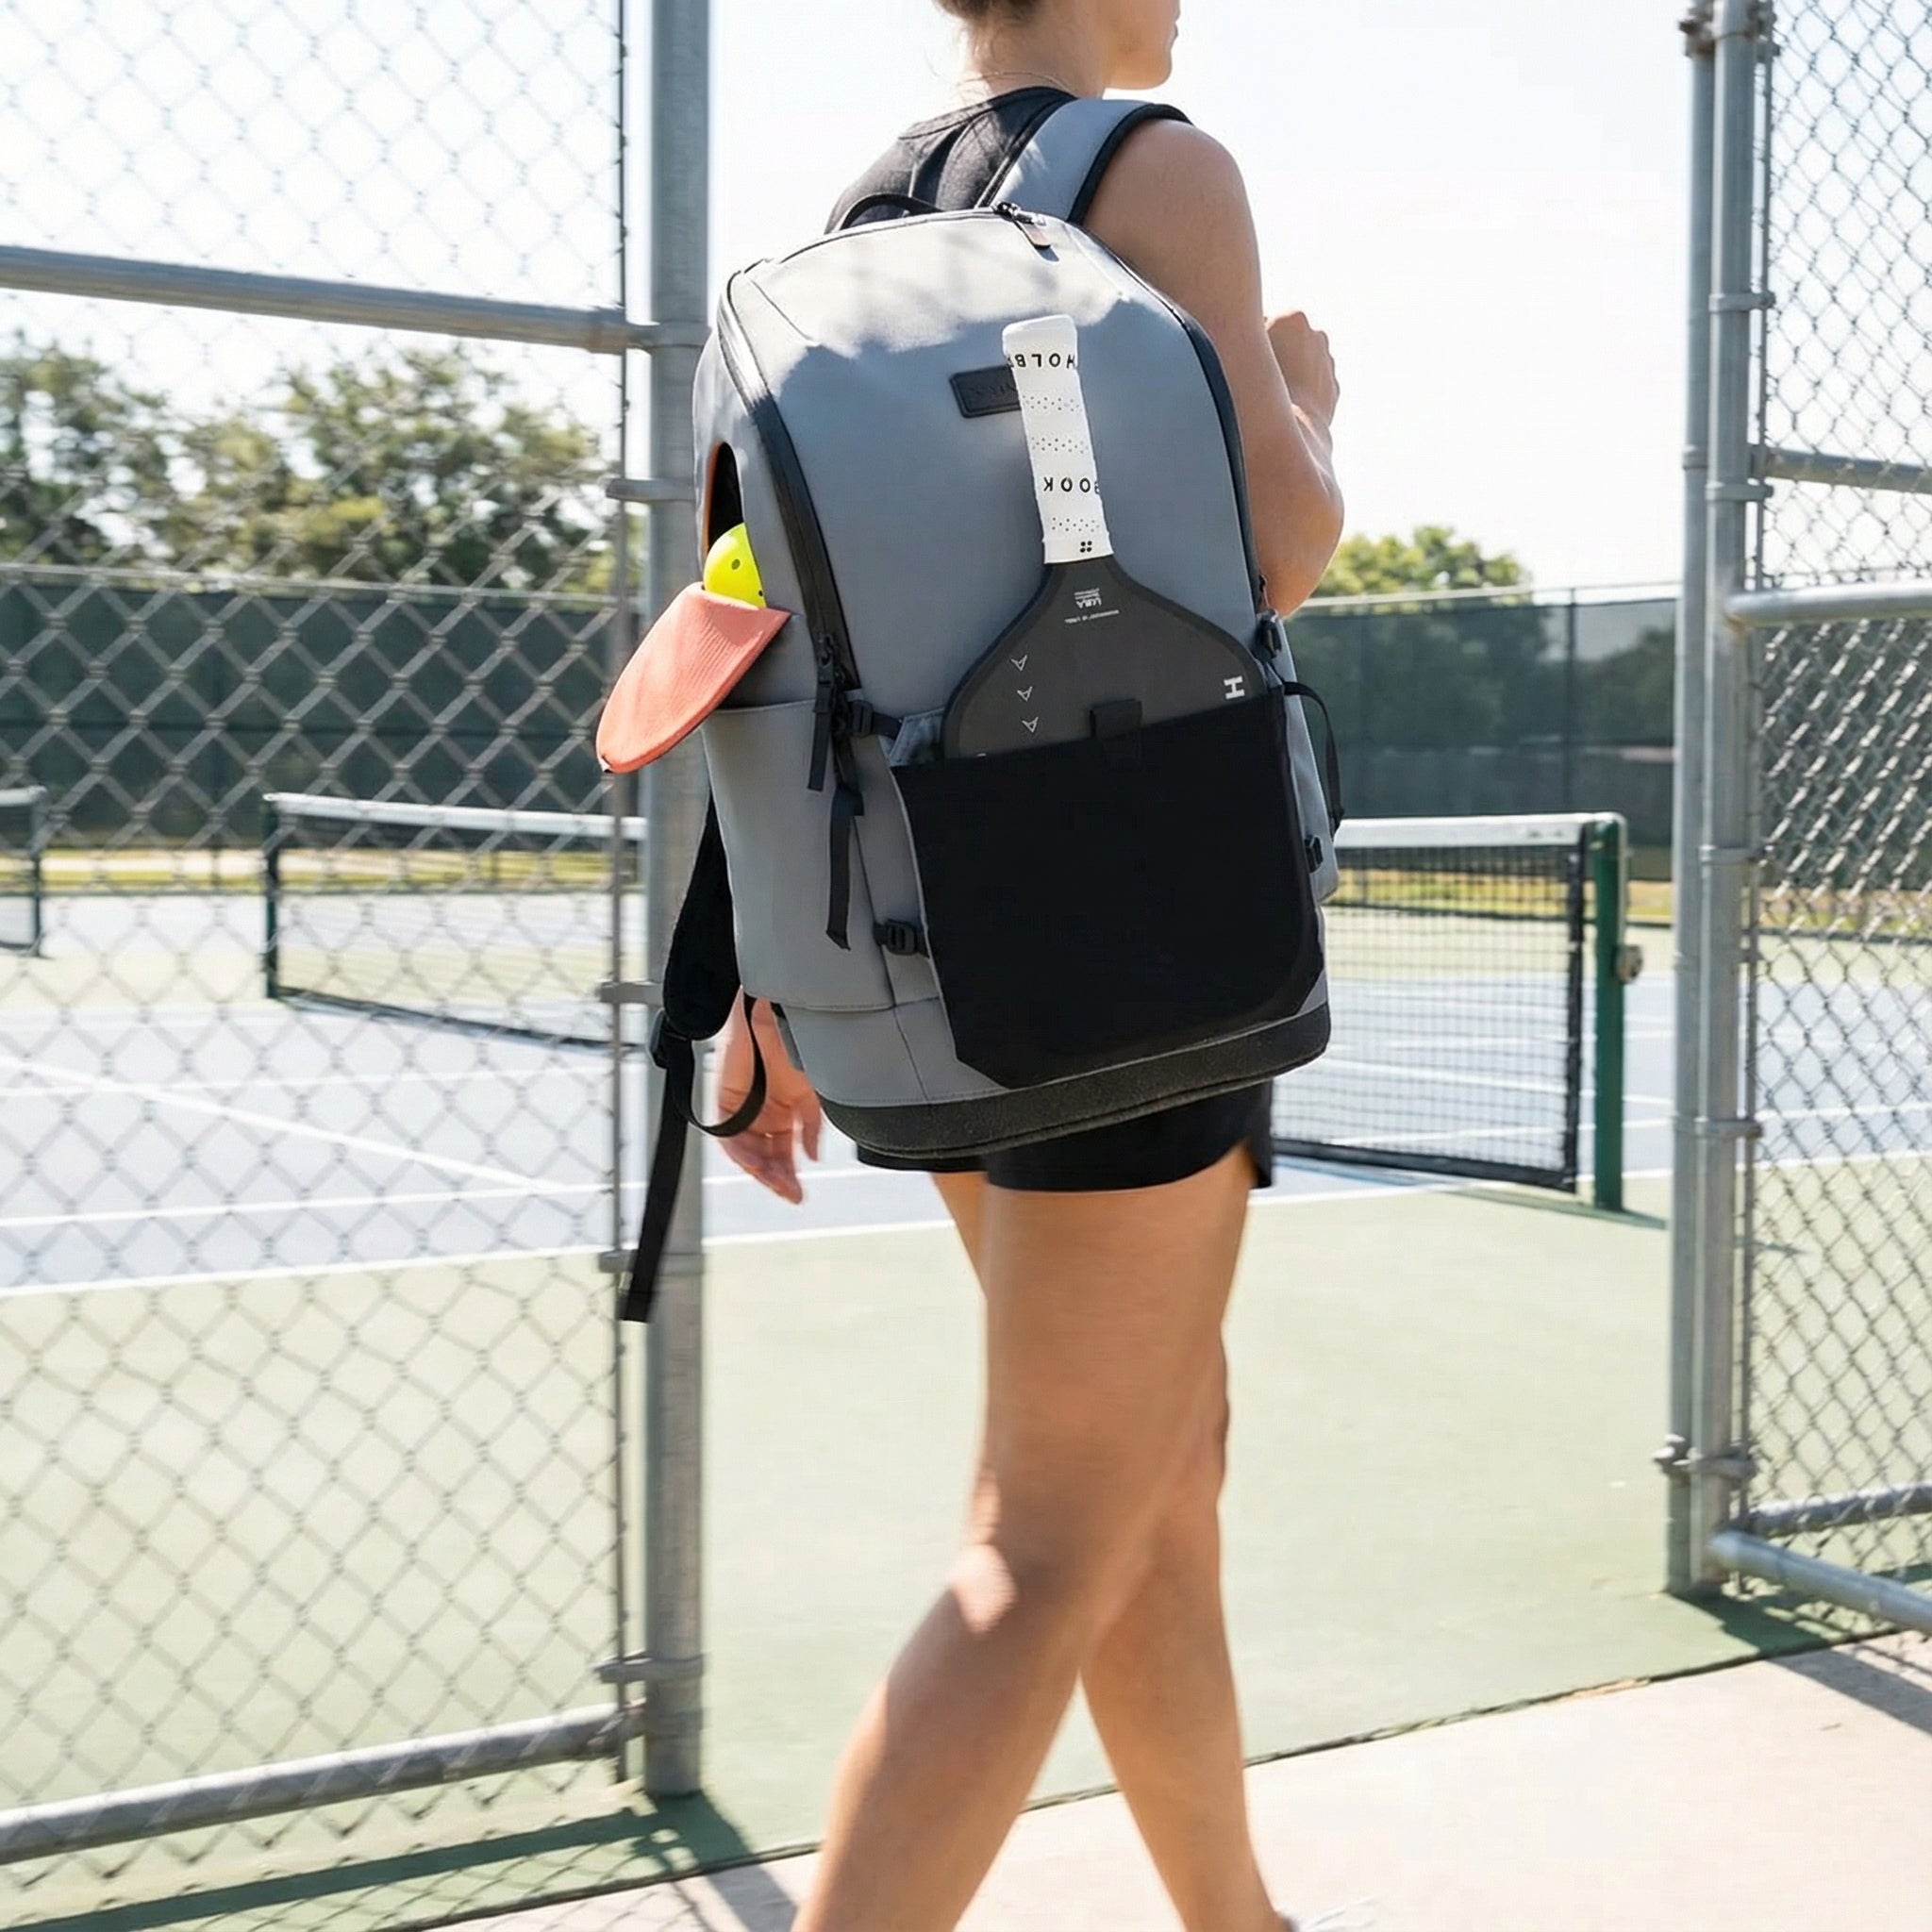
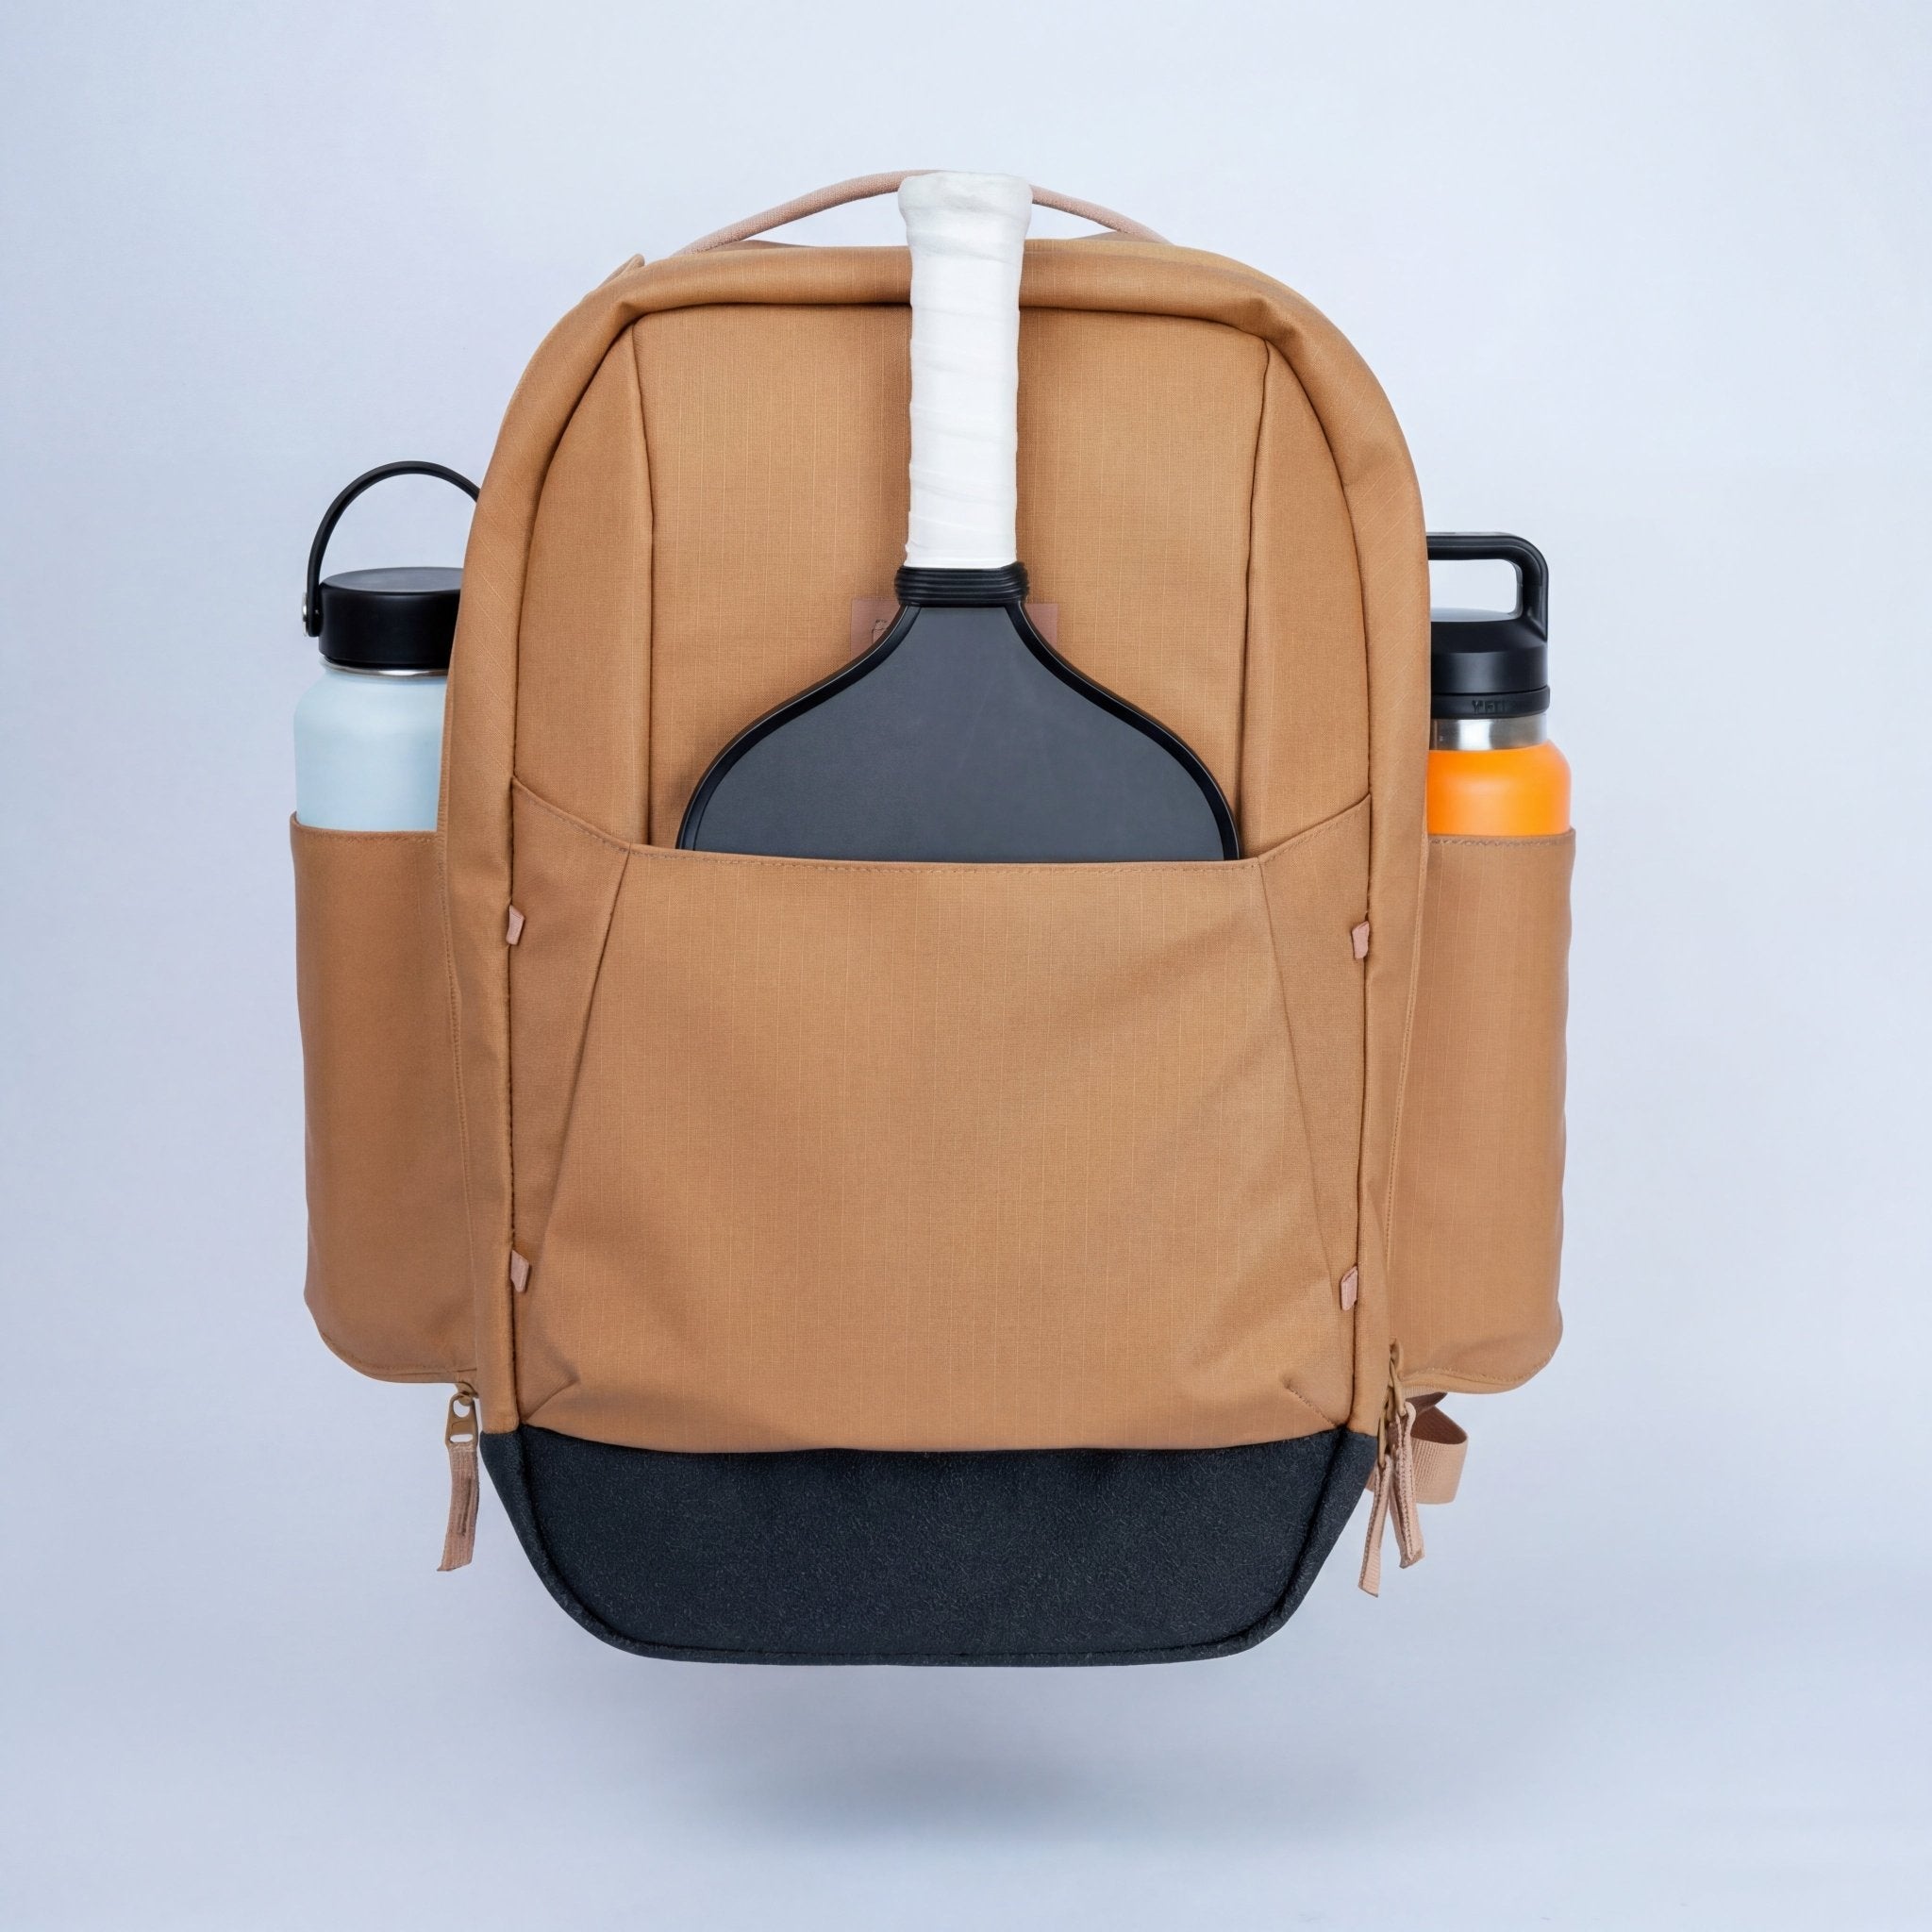
Ready to take your court game seriously? The FORWRD Court Caddy ($325) was built with input from 500+ real players for exactly this kind of dedicated practice routine — magnetic ball pockets, a 15" padded laptop sleeve, and organized compartments that don't slow you down between sessions. As featured in The Dink and Pickleball Effect. If you prefer a lighter everyday pack, the Court Ranger V2 ($195) keeps your drill kit organized without the extra real estate.

Leave a comment
This site is protected by hCaptcha and the hCaptcha Privacy Policy and Terms of Service apply.