

The wall doesn't return bad shots. That's what makes it unforgiving — and exactly what makes it the best solo training tool in pickleball. One focused session against a concrete surface reveals more gaps in your dinking mechanics than three casual hours with a partner who adjusts their shot to keep the rally alive.
Most players use a wall for five minutes, get frustrated by the fast returns, and quit. This guide is for the players who want to know what wall practice actually looks like when it's structured — a 5-level dinking progression, drive drills, serve practice guidelines, and a complete 20-minute solo session you can run any time you have a wall, a paddle, and a ball.
Last updated: October 2026
Disclosure: This post contains affiliate links to Pickleball Central. If you purchase through our links, FORWRD earns a small commission at no extra cost to you. We only link to products we'd recommend regardless.
Why the Wall Is Your Best Solo Practice Partner (and Why Players Quit Too Soon)
In a typical recreational game, the ball spends more time in transition than in active play. Your actual dinking practice — the touch-and-control repetitions that move your rating — might add up to 8–10 minutes in a two-hour open-play session if you're being generous.
A wall session at 7 feet produces roughly 4–5× more soft-game repetitions per hour than any recreational open play. Every return is immediate. Every error is penalized. There's no partner softening the ball to keep the rally going.
Players quit because the wall is genuinely harder than real dinking at first. The ball returns faster at close range than it would from across the kitchen. That's not a flaw — it's the mechanism. You're overloading your reaction time deliberately. When you return to a match, the kitchen feels slow and manageable by comparison.
"I used to skip wall practice because I thought it wasn't 'real' pickleball. Then I spent 30 days doing 15 minutes of wall dinking before every session. My reset success rate under pressure went from embarrassing to automatic. The wall doesn't lie to you — that's the whole point."
Setting Up Your Wall Practice Space
Not every wall works for pickleball drills. Here's what to look for and how to prepare the surface before your first session.
Surfaces That Work
Concrete, smooth brick, plywood, and smooth masonry all produce a consistent bounce. Smooth concrete is the gold standard — it gives the most predictable ball return, which lets you isolate your mechanics instead of guessing where the ball will go next. Most public parks have a suitable wall near a rec court if you ask the facilities staff.
Surfaces to Avoid
Rough stucco and heavily textured brick produce random sidespin and unpredictable rebounds. Chain-link fencing flexes too much to return a useful ball. Wooden fences with gaps send the ball through. If you're using a backboard at a public facility, check for surface cracks — an uneven wall mid-drill breaks your rhythm and turns the drill into chaos.
What to Mark on the Wall
Use painter's tape to mark a horizontal line at 34 inches from the ground — regulation net height at center court per USA Pickleball rules. In dinking drills, the ball should clear this line going out and land below it coming back. Anything above the line on return means you've popped it up — a shot your opponent would crush at the kitchen.
Distance Guidelines
- 7 feet: Dinking drills (kitchen-line equivalent distance)
- 10–12 feet: Transition zone drops and drives
- 20+ feet: Serve motion practice
Mark your standing position with chalk on the ground so you're consistent run to run. Consistency in setup means your progress is actually trackable.
The 5-Level Wall Dinking Progression
Most wall drill guides hand you a single drill and tell you to "do it until it feels natural." That's not a progression — it's hoping improvement happens. This 5-level system gives you clear pass/fail gates so you always know where you are and what to work on next.
Starting position for all levels: 7 feet from the wall, paddle in ready position at chest height, feet shoulder-width apart, weight slightly forward on the balls of your feet.
Level 1: Forehand Foundation — 10 Consecutive
Hit 10 forehand dinks in a row, keeping every shot below your 34-inch tape line. If you miss — ball above the line, missed the wall, off the frame — reset to zero. Pass condition: 10 consecutive without a single miss.
This sounds easy. First session, it isn't. The ball comes back faster than you expect at 7 feet, and the paddle face tends to drift open on the backswing under pressure. Focus on a compact finish, not a full swing.
Level 2: Alternating Dinks — 50 Consecutive
Alternate forehand and backhand on each return, still keeping every shot below the line. Pass condition: 50 consecutive alternating dinks without a miss. This is where most 3.5–4.0 players spend the majority of their wall time — and where the biggest consistency improvements happen.
Level 3: Lateral Movement — Dink, Shuffle, Dink
After each shot, take a shuffle step laterally (left, then right, alternating), then return to center to receive the next ball. You're simulating the micro-movement required at the kitchen line when an opponent changes the dink angle. Pass condition: 20 consecutive dink-shuffle-return sequences without stepping out of position or missing.
Level 4: Off-Speed Variation
Alternate between a soft touch dink (barely clearing the 34-inch line) and a firm, accelerated dink that drives into the wall harder and comes back faster. This forces your eyes to adjust to return speed mid-drill — the same read you need when an opponent speeds up at your feet. Pass condition: 30 consecutive alternating soft/firm dinks.
Level 5: Backhand-Only — 25 Consecutive
Pure backhand dinks, 25 in a row, all below the line. For most right-handed players, this is the hardest level — not because the skill is different, but because the backhand is the side that gets exposed under pressure first. Pass condition: 25 consecutive backhand dinks with no resets.
When you can clear all five levels in a single session, your dinking mechanics are genuinely solid. At that point, the wall won't challenge you further in the same way. That's the signal to add a rebounder (more on that below).
Carry your practice gear right → Shop the Court Caddy BackpackWall Drives: Building Power Consistency
Step back to 10–12 feet. Your target zone shifts: for drives, aim for the upper third of the wall, above the 34-inch line. The ball returns at pace, giving you the opportunity to work on either your reset or your follow-up attack.
The most common mistake in wall drive practice is prioritizing arm speed over paddle path consistency. Consistent drives come from a stable contact point and repeatable follow-through direction — not from swinging harder. If your drives are landing inconsistently on the wall, check your contact point first: are you making contact out in front of your body, or are you catching up with a late swing?
A useful drive drill sequence: 10 drives from 12 feet → step in to 7 feet for 10 dinks → back to 12 feet for 10 drives. The power-to-touch alternation is exactly what real points require, and it's what most solo sessions skip entirely.
Serve Practice Against a Wall (What Transfers and What Doesn't)
Wall serve practice is widely misunderstood. Here's what it actually gives you — and what it can't.
What transfers: Paddle face angle at contact, drop-and-strike timing, follow-through consistency, and muscle memory for the service motion. These are real gains. Twenty focused wall serves with attention on paddle face consistency will do more for your serve reliability than 100 casual in-game serves where you're thinking about the score.
What doesn't transfer: Trajectory arc and depth. The wall cancels your serve's natural flight path. You simply cannot train serve depth against a wall — for depth practice, use an open court or a fence that lets the ball travel. Don't confuse "wall serve reps" with "full serve practice." It's service-motion practice, which is valuable, but it's a subset of the complete skill.
Best wall serve drill: Stand 20+ feet away. Execute your full service motion — drop, strike, follow through — but focus on the feel of the motion rather than where the ball lands. 30 deliberate motion reps is worth more than 100 casual reps where you're watching the outcome instead of the mechanics.
Your 20-Minute Solo Wall Session
This session is optimized for density — maximum quality repetitions with minimal wasted time between drills. Three of these per week produces measurable soft-game improvement faster than one long, unfocused session.
| Time | Drill | Focus |
|---|---|---|
| 0–3 min | Light forehand volleys at 6 ft | Loosen up, get eyes on the ball |
| 3–8 min | Level 1–2 dinking progression | Consistency, soft hands |
| 8–13 min | Level 3–4 (lateral movement + off-speed) | Footwork + return-speed adjustment |
| 13–16 min | Drive drill sequence (10 drives + 10 dinks + 10 drives) | Power/touch alternation |
| 16–19 min | Serve motion reps at 20+ ft | Paddle face consistency, follow-through |
| 19–20 min | Level 5 challenge (backhand-only 25) | Pressure-test backhand consistency |
Players who track their Level 2 and Level 5 scores session over session — how many attempts before you hit the pass condition — see the fastest gains. Fewer attempts per pass = real progress. This is the only metric that matters for wall practice.
When to Graduate: Wall → Rebounder → Partner
The wall is exceptional for soft-game mechanics, but it has genuine limits. Here's how to know when you've outgrown each stage.
Stay on the wall until: You can clear Level 5 on demand, in your first attempt, without a warm-up set first. That's when your dinking mechanics are genuinely automatic under pressure — not just when you're fresh.
Add a rebounder when: You want angle variation the wall can't replicate. A rebounder returns balls at different heights and trajectories depending on net angle — much closer to what real opponents produce at the kitchen. The best training pattern pairs wall sessions (for volume and mechanics) with rebounder sessions (for variety and decision-making).
Step Up: NET PLAYZ 4FT Pickleball Rebounder

Angled net returns at realistic heights with adjustable tension — adds ball variation the wall simply can't produce, at a price point that makes sense for serious players.
Also Worth Considering: Franklin Sports Pickleball Rebounder Net

Portable and foldable — a good fit for players who travel between courts and need something that sets up and breaks down in minutes.
Bring in a partner when: Decision-making and live-ball trajectory are your next bottleneck. No wall or rebounder replicates a real opponent's shot selection, body language, or the pressure of a live score. Add partner drilling once your mechanics are automatic — otherwise you're reinforcing mechanical errors at match speed.
This sequence — wall mechanics → rebounder variety → partner decision-making — is how committed players structure their solo practice. Players who skip straight to partner drilling and wonder why they aren't improving are getting volume without quality. The variable that moves ratings isn't hours of practice; it's quality of repetitions.
For a full breakdown of drill sequences across all three stages, see our complete training resource: Pickleball Drills & Training: The Complete 2026 Guide.
Complete Your Setup
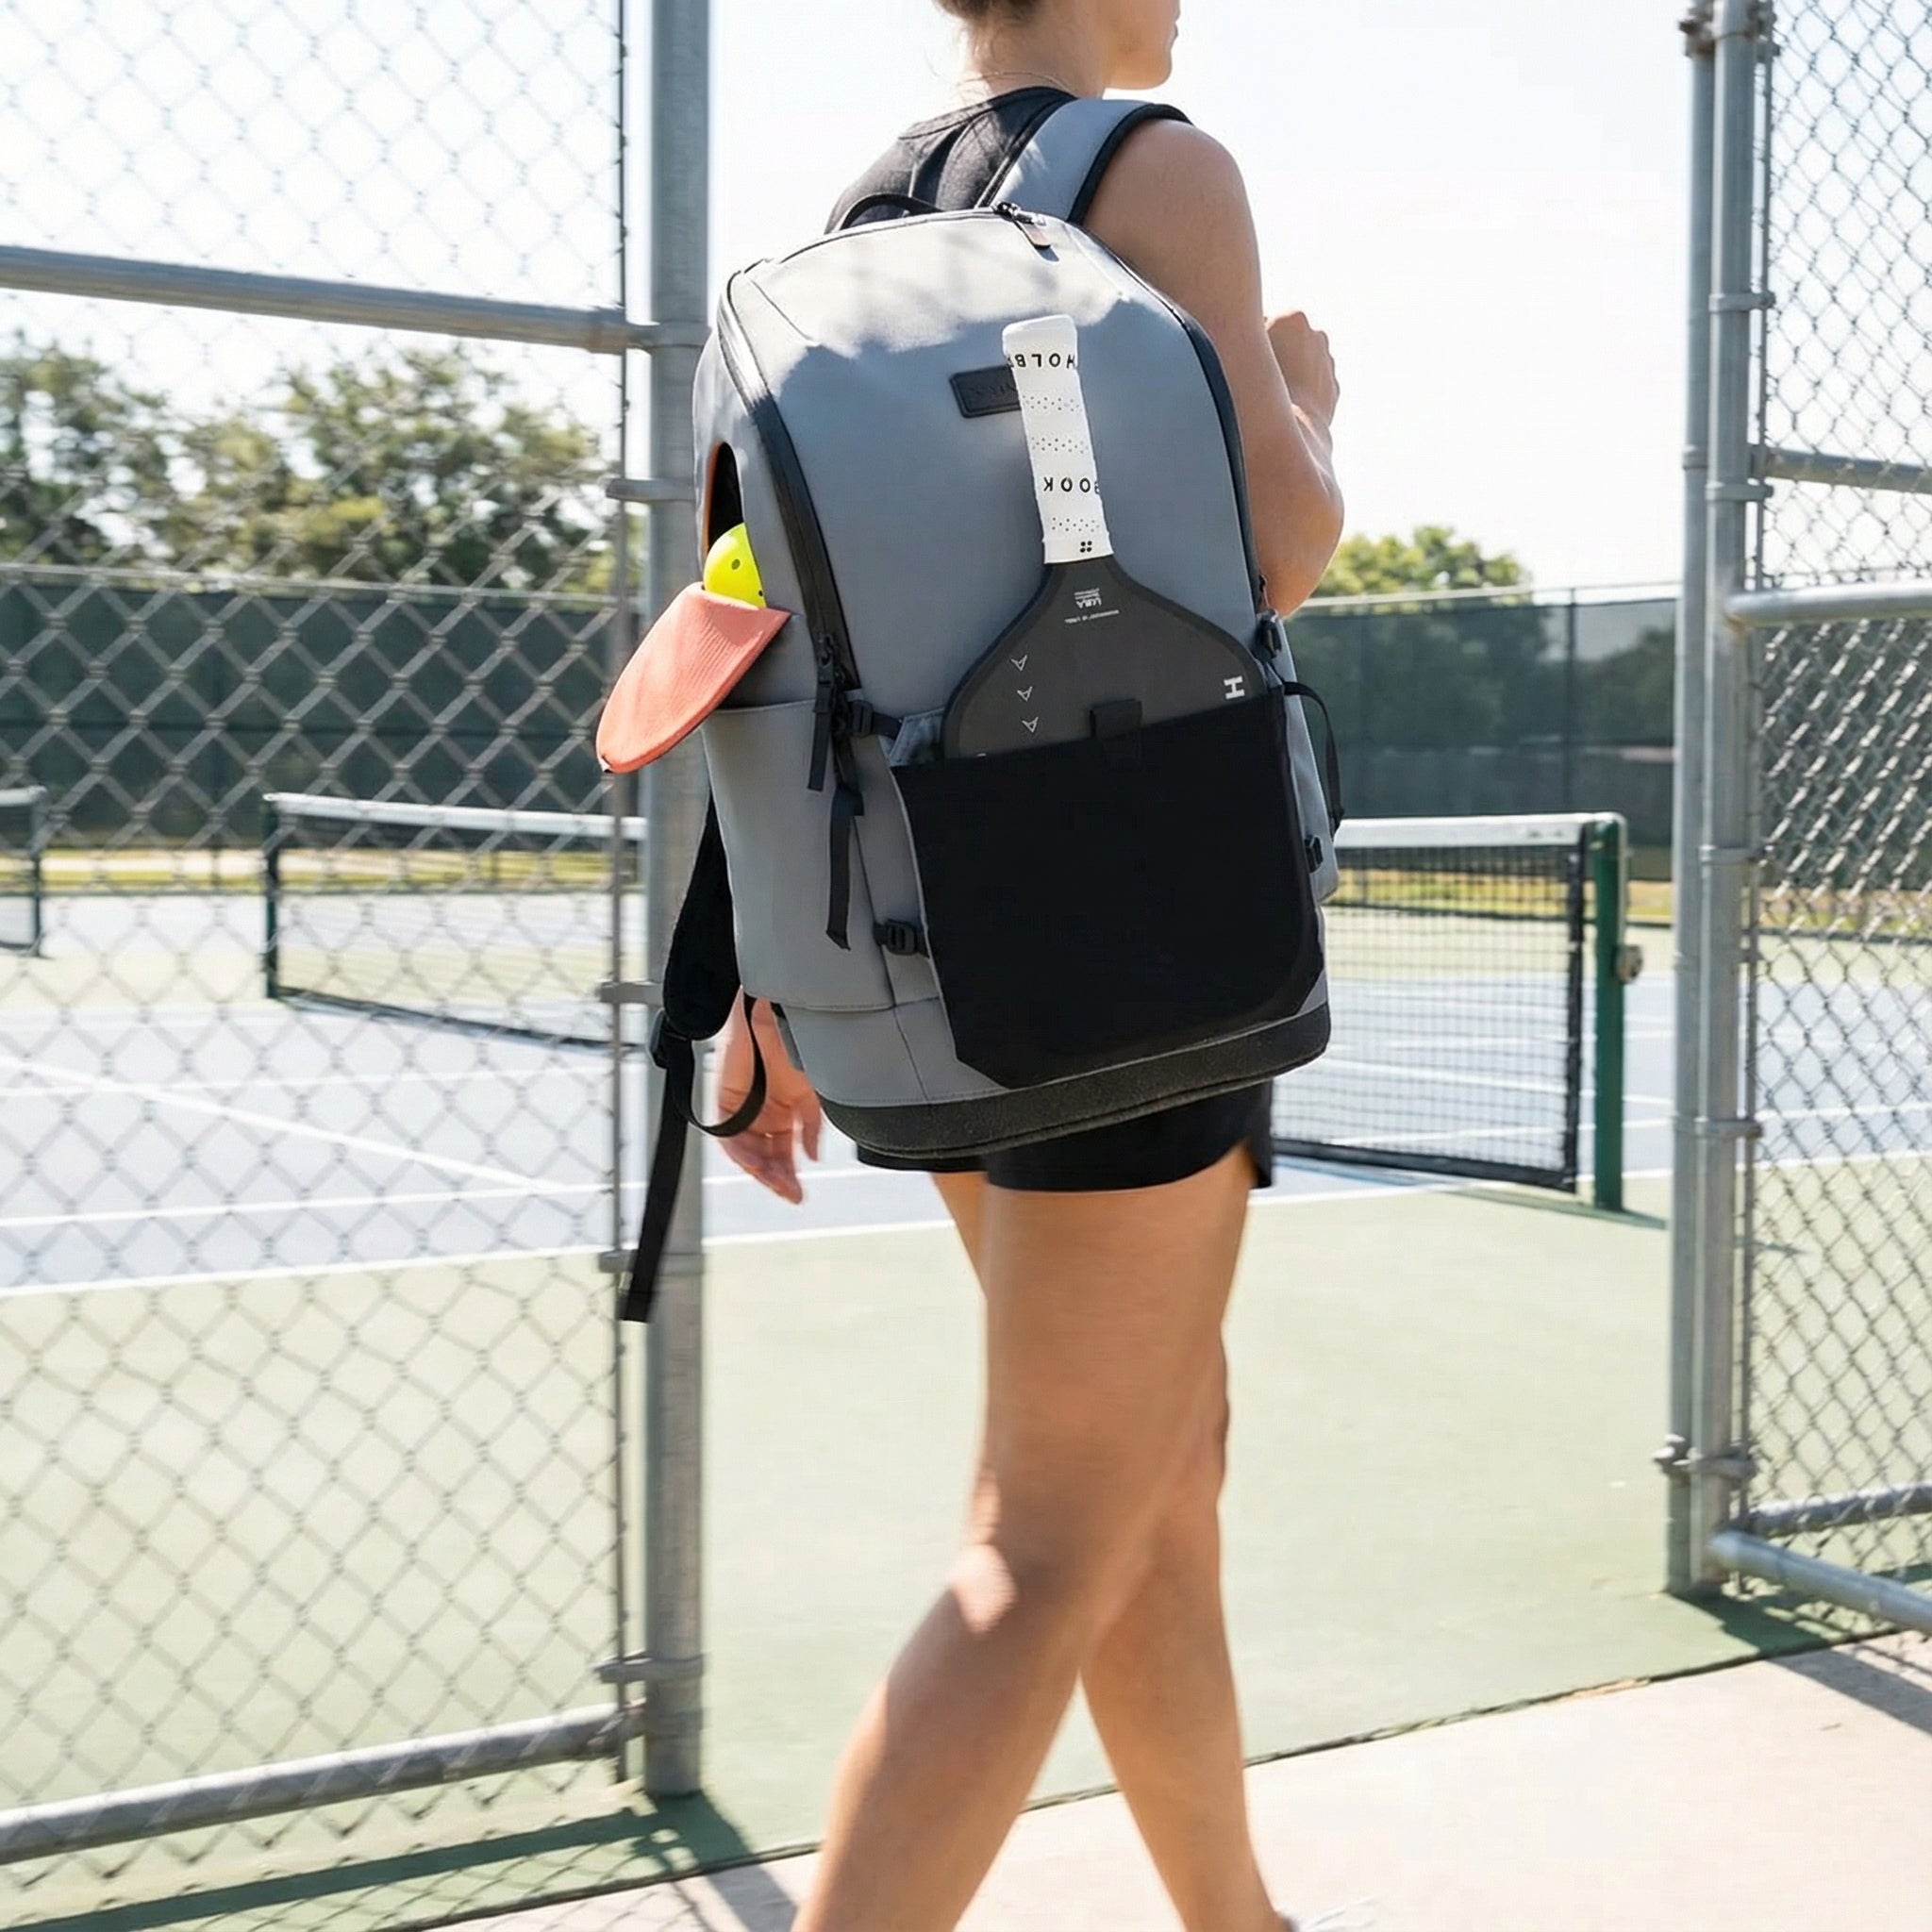
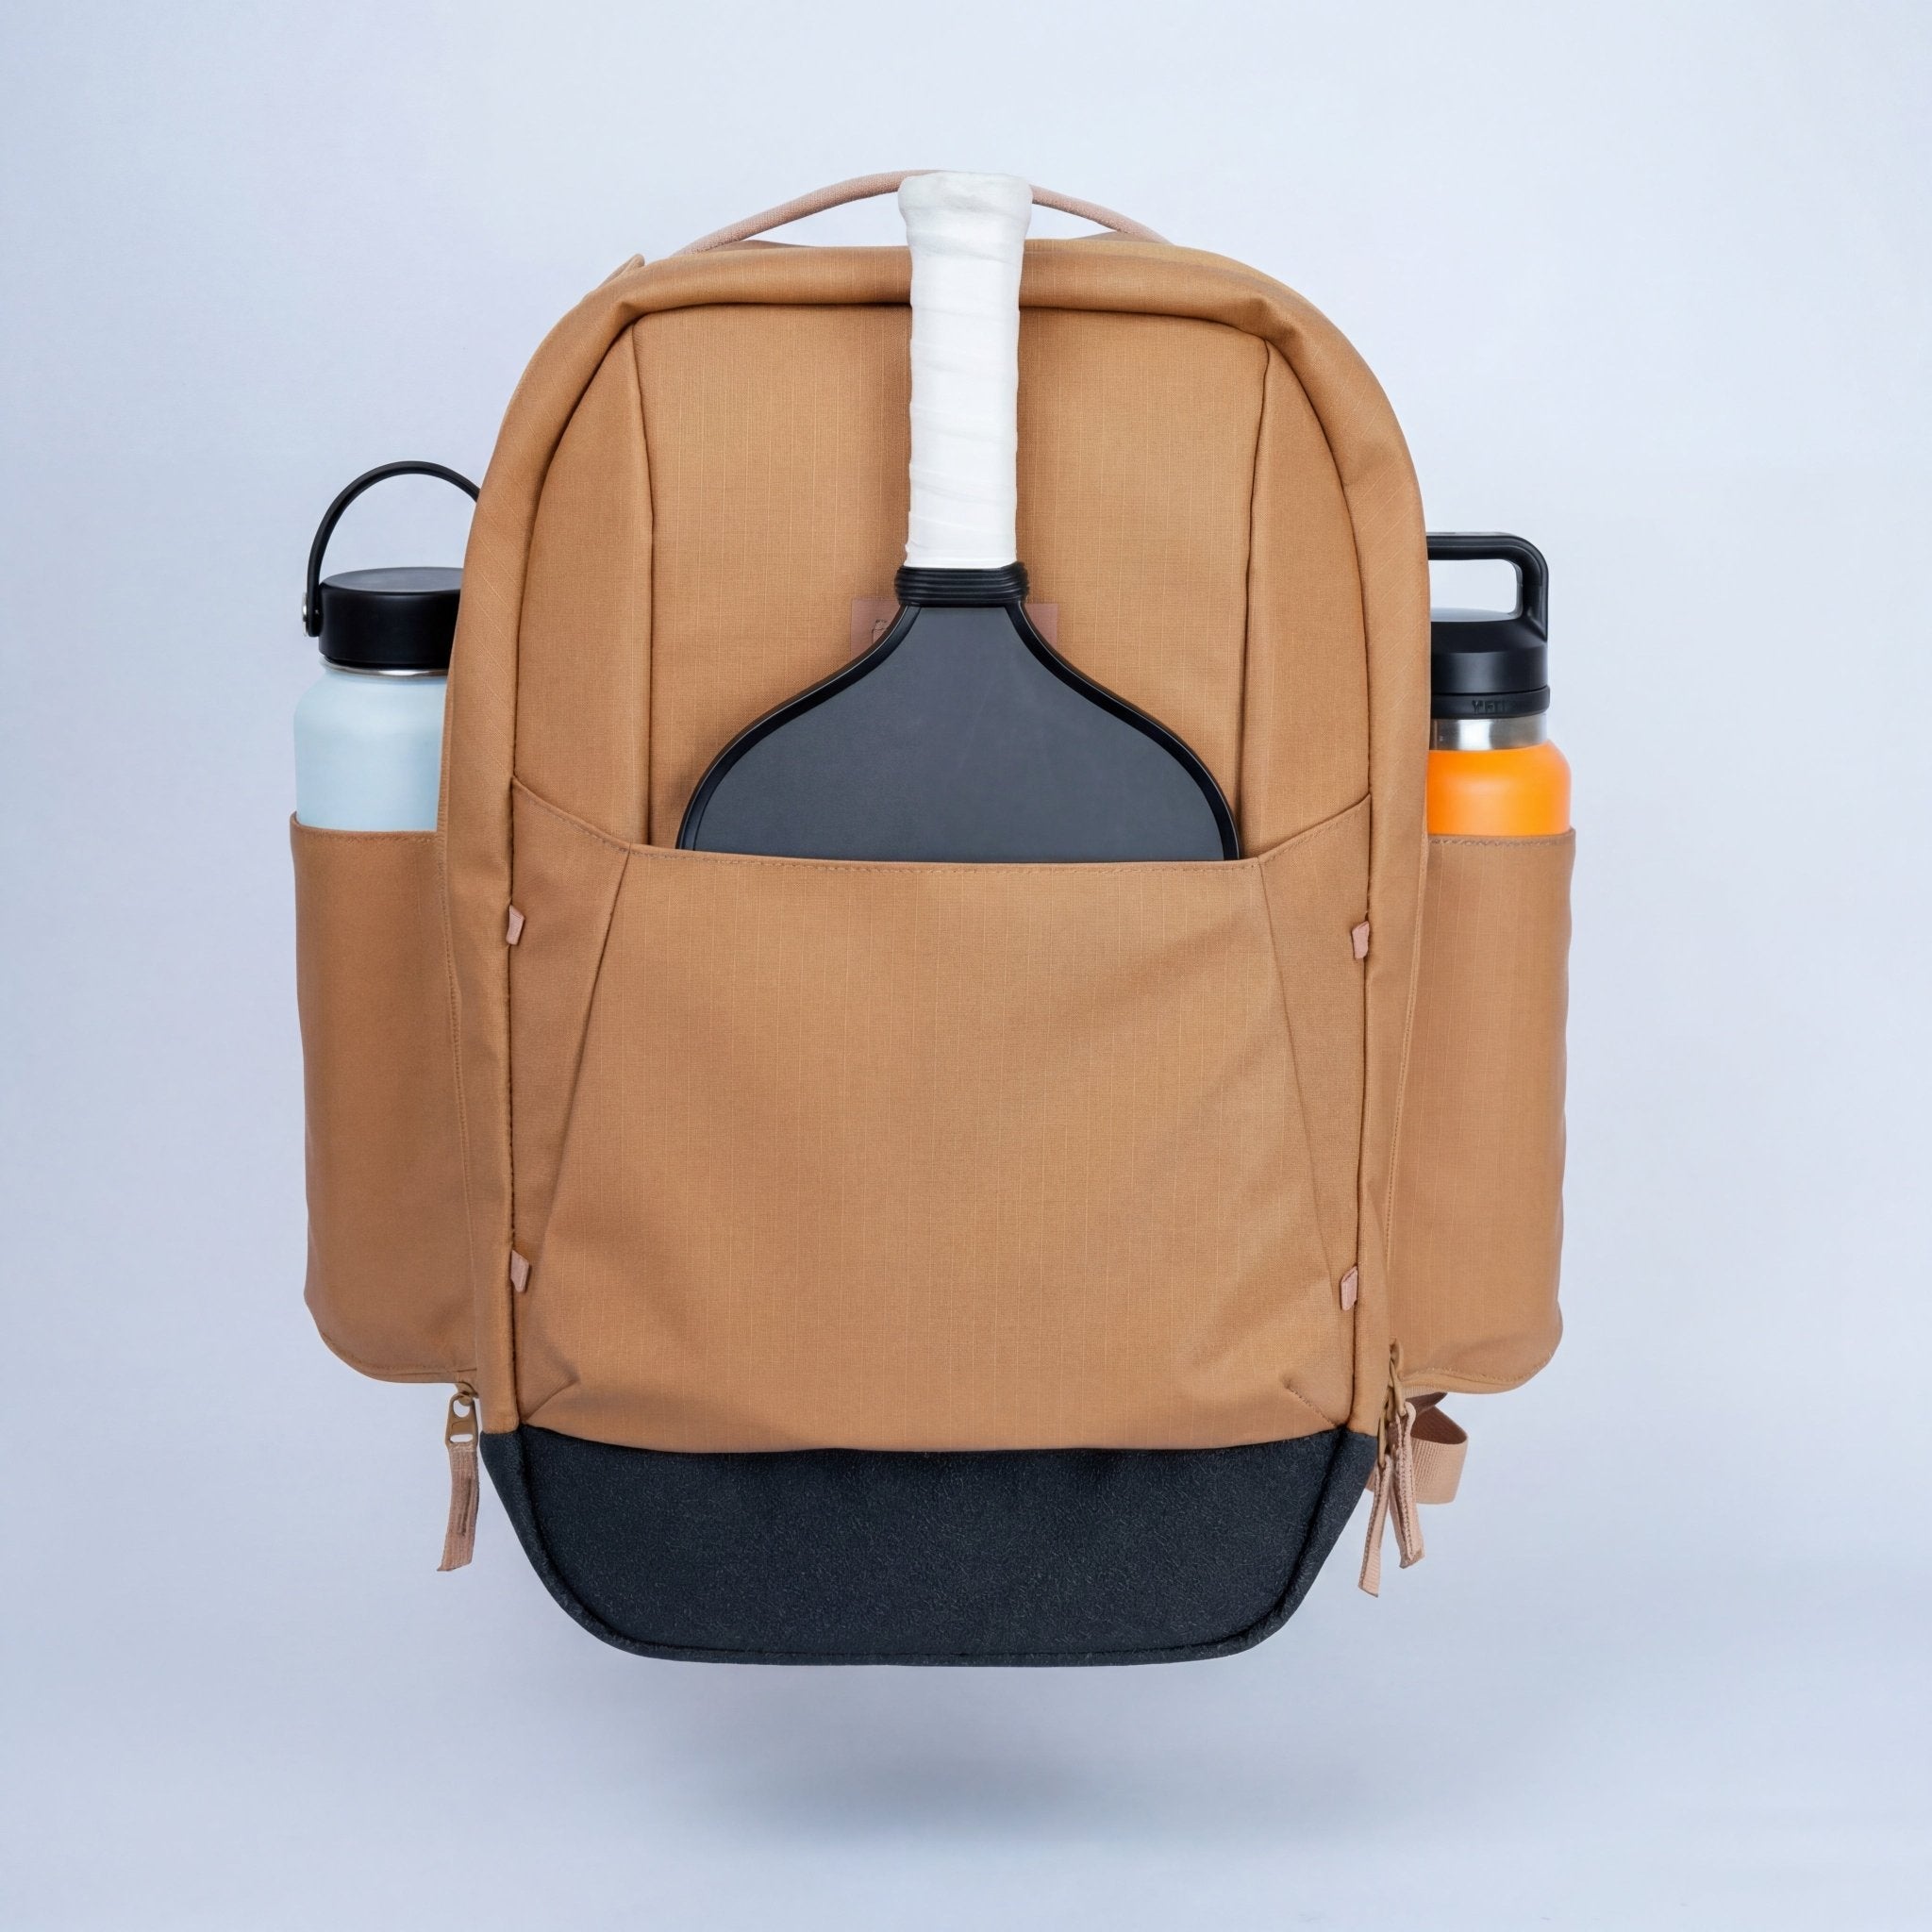
Serious wall sessions mean hauling paddles, water, a ball tube, and sometimes a hopper to wherever you can find a good wall. The Court Caddy Backpack fits up to 4 paddles in its modular sleeve system with dedicated compartments for everything else — so your gear is organized and ready when you arrive. Built for players who actually practice. Court Ranger V2 ($195) if you want something lighter for shorter sessions.

Frequently Asked Questions
What height should I mark on the wall for pickleball drills?
Mark a horizontal line at 34 inches from the ground — the regulation net height at center court. In dinking drills, your ball should clear this line going out and land below it on the return. Anything above the line on the return means you've popped the ball up — a shot any competent opponent would attack.
How far from the wall should I stand for wall dinking?
Start at 7 feet for dinking drills, which approximates the kitchen-line distance. Move to 10–12 feet for transition zone drops and drives. Stand 20+ feet away for serve motion practice so the ball has room to travel before hitting the wall.
Can you genuinely improve at pickleball practicing alone against a wall?
Yes — especially in your soft game. Wall dinking produces far more quality repetitions per hour than open play, and the immediate, honest feedback forces you to fix mechanics that partners often mask by accommodating your shots. Players who run a structured 5-level progression report consistent dinking improvement within 3–4 weeks.
How long should a solo wall practice session last?
20 minutes of focused, structured wall drilling outperforms 60 minutes of casual hitting. Three 20-minute sessions per week — using the structured session plan in this guide — will produce more measurable improvement than one 90-minute unfocused session for most recreational players at the 3.0–4.0 level.
What's the difference between a wall and a rebounder for pickleball practice?
A wall returns the ball at the same height and trajectory you sent it — consistent but limited. A rebounder returns the ball at varied angles and heights depending on where it strikes the net, which is closer to what real opponents produce. Walls build mechanics and repetition volume; rebounders add ball variation and reading reps. Both have a place in a complete training plan.
Is wall practice useful for 3.5 to 4.0 rated players specifically?
It's especially useful at 3.5–4.0, where dinking consistency is usually the primary ceiling. Players at this rating tend to lose points at the kitchen on unforced errors — soft-game breakdowns that wall drilling addresses directly. The 5-level progression in this guide is calibrated for exactly that improvement window.

Leave a comment
This site is protected by hCaptcha and the hCaptcha Privacy Policy and Terms of Service apply.