

Disclosure: This post contains affiliate links to Pickleball Central. If you purchase through our links, FORWRD earns a small commission at no extra cost to you. We only link to products we'd recommend regardless.
TL;DR: This guide covers every drill category in pickleball — solo, partner, and 3-person — organized by DUPR skill level (2.5 → 5.0). You'll find warm-up protocols, 20/45/90-minute session templates, a training equipment guide (when a rebounder is enough vs. when a ball machine actually pays off), and a breakdown of the most common drilling mistakes that keep players stuck. If you're willing to practice with intent instead of just playing more games, your DUPR will move.
Last Updated: October 2026
Table of Contents
- Why Drilling Beats Just Playing More Games
- Before You Drill: The 15-Minute Court Protocol
- Solo Drills: What You Can Practice Alone
- Partner Drills: The Kitchen & NVZ
- Partner Drills: Baseline to Kitchen (Transition Zone)
- 3-Player Drills: The Underrated Training Format
- Drills by DUPR Level (2.5 to 5.0)
- How to Build a Weekly Practice Schedule
- Training Equipment: What to Buy (and What to Skip)
- How to Know If Your Drills Are Working
- Common Drilling Mistakes
- FAQ
Why Drilling Beats Just Playing More Games
Most recreational players spend 95% of their pickleball time playing games and 5% drilling. The players who improve fastest flip that ratio during focused practice blocks — 60-70% intentional skill work, 30-40% game play.
Here's why games alone plateau you: in a typical recreational doubles game, you might take 200-300 shots. Of those, maybe 30 are third shot drops, 20 are serve returns, and the rest are a random mix of dinks, drives, and resets. You don't get enough reps of any single skill to build the neural pathway required for consistent execution under pressure.
A 30-minute dedicated drilling session can produce 300+ third shot drop attempts — 10x the reps of a full game, with immediate feedback on each one.
The research on skill acquisition is pretty clear: deliberate practice with specific feedback beats general play time at every skill level. The pros know this. Ben Johns reportedly drills more than he plays. Tyson McGuffin has spoken about the specific drill routines that took him from 3.5 to pro. The pattern holds from beginner to elite — intentional drilling is what moves ratings.
But drilling only works if you're practicing the right things at the right time. A 2.5 player drilling erne setups is wasting rep budget. A 4.5 player doing basic dink rallies isn't pushing their ceiling. This guide maps drills to levels so you're not guessing.
The Practice-to-Game Gap (Why Drills Don't Always Transfer)
Here's something most guides skip: drilling a skill to 80% consistency doesn't mean you'll execute it at 80% in a game. The game environment adds decision speed, emotional stakes, unpredictable ball placement, and fatigue. Your drilled skill typically performs at 60-70% of its training rate under game pressure — until you've explicitly practiced decision-making under game-like conditions.
The fix: don't just drill the shot mechanics. Add decision pressure. After 20 minutes of pure third-shot-drop mechanics drilling, run a competitive version where your partner can send you anything — short, deep, body shot — and you decide in real-time whether to drop or drive. That last 10 minutes of decision drilling transfers to your game better than another 20 minutes of pure mechanics.
Before You Drill: The 15-Minute Court Protocol
Drilling cold is a fast way to build bad muscle memory and hurt yourself. Your warm-up should activate the movement patterns you're about to use — not just loosen up. Here's the protocol our players use before every session:
Minutes 1-3: Dynamic movement. High knees across the baseline, lateral shuffles from sideline to sideline (4 lengths), backpedal from the kitchen to the baseline. This wakes up the exact court-movement muscles you'll use in play.
Minutes 3-6: Paddle warm-up. Stand 7 feet from a wall or have your partner drop-feed easy balls. Hit soft dinks, forehand and backhand, just to get the paddle in hand and reestablish your touch. No power. No spin. Just contact.
Minutes 6-10: Cross-court dink rally. Both players at the kitchen. Slow, cooperative cross-court dinks — 50 balls before you start any structured drilling. This is the most important part. Most players skip it and wonder why their first 10 minutes of drilling feels off.
Minutes 10-15: Short serve and return warm-up. 5 serves each from both sides. Not practicing serve — just getting the arm warmed up and calibrated. 5 return placements into deep zones.
Skip the warm-up and your first 20 minutes of drilling will be sloppy. Do it and you'll be ready to practice productively from minute one.
For the full 15-minute protocol with specific movement sequences, read our pre-pickleball warm-up guide →
Solo Drills: What You Can Practice Without a Partner
The biggest barrier to improvement most players cite is not having a partner to drill with. Here's the truth: some of the highest-ROI drills in pickleball require zero partners.
1. Wall Dinking — The Most Underused Solo Tool
Find a flat, smooth wall (gym wall, garage door, or a dedicated pickleball rebounder). Mark a line at net height — 34 inches at the center. Stand 7 feet back. Dink continuously to the wall, keeping every shot below the line.
The value: immediate feedback, unlimited reps, no partner scheduling. Your wrist snap, contact point, and follow-through all get honest feedback on every shot. Wall dinking for 15 minutes delivers more touch development than an hour of recreational play.
Progression: start with 10 consecutive shots below the line. Then 25. Then 50. When you can reliably hit 50 in a row, move back to 10 feet and start over.
2. Third Shot Drop Self-Feed
Drop a ball from your hip at the baseline, let it bounce once, and hit a controlled drop into the kitchen. The goal: the ball should peak on your side of the net and land softly inside the kitchen, not the transition zone.
Track your percentage. 50 attempts. How many land in the kitchen with appropriate pace? A 3.0 player should be at 50-60%. A 4.0 player should be at 80%+. A 4.5+ player shouldn't be below 90% on a self-feed.
The self-feed tells you something important: if your percentage drops dramatically when your partner is feeding you from the net, it means your decision-making under pressure is the gap — not your mechanics. That gap gets fixed with competitive partner drilling, not more self-feed reps.
Read our complete 5-level third shot drop solo drill progression →
3. Serve Consistency Drill
This drill has two targets: depth and width. Place a cone (or your water bottle) at the deep service box corner — the intersection of the service line and the sideline. Serve 10 balls aiming for the cone from each side.
Track percentage landing in the back half of the service box (closer to the baseline than the centerline). A deep, consistent serve eliminates easy third-shot attacks. Most recreational players serve to the center of the service box by habit. Moving that landing zone 3 feet deeper makes a measurable difference in how your opponents handle it.
For players working on topspin serves, add a spin qualifier: the ball should visibly kick off the court surface. If it doesn't, you're adding mild spin without generating enough rpm to create actual movement. See our topspin serve guide →
4. Footwork Ladder Patterns
You don't need an agility ladder — tape works fine, or just use the court lines. Three patterns that directly transfer to pickleball court movement:
- Kitchen shuffle: Side-step along the kitchen line, changing direction every 3 steps. 4 sets of 30 seconds. Builds the lateral weight transfer you need to cover the NVZ without crossing your feet.
- Split step timing: Stand at the kitchen, split step (small jump to a balanced, wide stance) on every imaginary ball contact. Build the habit without ball pressure. 3 sets of 20 split steps.
- Transition zone sprint-and-stop: Baseline to kitchen in 4-5 quick steps, then dead stop in a balanced athletic stance. Reverse. 6 reps. This builds the deceleration control that makes your transition zone shots stable.
See our full footwork technique guide → for the complete movement correction framework.
Partner Drills: The Kitchen & NVZ
Two players at the kitchen. This is where most pickleball points are decided — and where most recreational players have the most room to improve.
1. Cross-Court Dink Rally
The foundational partner drill. Both players dink only cross-court — no down-the-line, no speed-ups. Count consecutive shots. Goal: 50 in a row before any of the more complex drills.
Cross-court is the highest-percentage dink in pickleball because the net is lowest at the center and the diagonal court gives you more landing area. If you can't consistently rally cross-court with a partner, you're not ready for attack-decision drills.
2. Figure-8 Dinking
Player A dinks cross-court. Player B returns down-the-line. Player A returns cross-court. The ball traces a figure-8 pattern. Each shot requires a direction change, so both players are constantly adjusting their position and contact point.
Why this drill matters: it replicates real dinking exchanges where the ball direction changes unpredictably. Most recreational players can dink comfortably when the ball keeps coming to the same spot. The Figure-8 breaks that comfort.
3. Dink-to-Speed-Up Decision Drill
This is where intermediate players make the most progress. Start a cross-court dink rally. Either player can speed up the ball at any point — but only when the ball rises above the tape height on their side. The rule teaches you to wait for the right ball, not just speed up out of impatience.
The player who receives the speed-up must reset — return the ball soft and cross-court. No counter-attacks. The goal is to train the defender to absorb and reset, not panic and pop it up.
Run for 5 minutes, then switch roles (the resetter becomes the speed-up initiator).
For full dinking strategy including when to attack vs. reset: Pickleball Dinking Strategy: Win the Kitchen Line →
4. Reset Under Fire
Player A stands at the kitchen and speed-ups every ball — no mercy. Player B starts at the transition zone (halfway between baseline and kitchen) and must reset every ball soft and cross-court. 2 minutes per role, then switch.
This is uncomfortable. That's the point. You're building the neural pathway for absorbing hard shots under pressure — which is exactly what happens when your third shot drop lands short and your opponent attacks it.
The reset strategy guide → covers the exact grip pressure and contact technique that makes resets consistent.
Partner Drills: Baseline to Kitchen
The transition zone is the most punishing part of pickleball. You're between the baseline and kitchen — too far to dink, too close to drive, with a fast ball coming at your feet. These drills build the three shots that matter most from the baseline.
1. Zero-to-Sixty (Third Shot Drop Consistency)
Player A stands at the kitchen and soft-feeds a ball deep to Player B at the baseline. Player B returns a third shot drop. Player A lets it bounce in the kitchen, then feeds again. The only goal: consecutive drops in the kitchen.
Count your run. 10 in a row is solid for a 3.0 player. 20 in a row signals you're ready for random feeds. 30+ in a row means your mechanics are there — now add decision pressure.
2. Drop and Crash
Same setup as Zero-to-Sixty, but this time Player B doesn't wait. After the third shot drop, they immediately move to the kitchen. Player A catches the ball, drops another feed, and Player B must handle the return from mid-transition.
This is the full pattern you're building toward: hit the drop, don't admire it, get to the kitchen. Most players stop at the baseline after a third shot because they're not confident in the shot. This drill forces you to move regardless.
3. The 7-11 Competitive Drill
Player A starts at the baseline (trying to reach 7 points). Player B starts at the kitchen (trying to reach 11 points). They play points. Player A wins a point when they get both feet to the kitchen and are engaged in a dink exchange. Player B wins a point when Player A pops up a ball that goes out or gets attacked for a winner.
The scoring is asymmetric because the kitchen position is naturally advantaged. This drill forces Player A to actually execute the third shot drop-advance pattern, not just drill shots from the baseline with no movement.
4. Skinny Singles from the Baseline
Play singles using only half the court (one service box on each side). This creates a compressed version of the full game where every transition matters and there's nowhere to hide. One player starts at the baseline, the other at the kitchen — serve and play out points normally.
Our 45-minute skinny singles drill guide → has specific point structures for this format.
3-Player Drills: The Underrated Training Format
Three people at a court is usually seen as awkward — someone's always waiting, you can't play a normal game, rotation is weird. But 3-player drilling is actually one of the most efficient training formats available because one player can feed while the other two work specific patterns at full intensity.
1. The Feeder Drill (Isolation with Real Speed)
One player (the Feeder) stands at the baseline with a hopper of balls. Two players stand at the kitchen on opposite sides of the net. The Feeder hits balls to either kitchen player. Both kitchen players engage in real dinking exchanges. When the rally ends, the Feeder immediately sends another ball to start the next rally.
The advantage: no time lost between rallies. Feeder controls the tempo, ball type, and placement. The drilling players get 3-4x more reps per minute than a standard 2-person drill, and with more game-realistic pressure because they don't know where the Feeder is going.
2. 2-on-1 Attack and Defend
Two players at the kitchen on one side. One player at the kitchen on the opposite side. The single player defends — absorbing every ball, resetting, and dinking. The two-player team can speed up at will. Play to 5 points, then rotate the solo defender position.
This is brutal for the solo defender. It's also the fastest way to build defensive hands under real pressure — pressure that's actually more intense than doubles matches because two players generate attack angles a single partner can't.
3. Drop-Feed-to-Attack Pattern
Player A at the baseline. Player B at the kitchen on Player A's side. Player C at the kitchen on the opposite side. Player A hits a third shot drop over the net. Player C (the returner) attacks the drop if it's attackable, or dinks if it's good. Player B covers Player A's side and handles the return.
This isolates the third shot drop in a real game scenario — Player A must execute the drop against a real defender who is actively trying to attack poor drops. It's more honest than partner drilling where the feeder cooperates.
For doubles-specific teamwork drills in the 3+ player format, see our doubles teamwork drilling guide →
Drills by DUPR Level: Know What to Practice
The DUPR system gives players an objective measure of their level. Here's how to map your rating to a drilling focus — so you're not wasting reps on skills that don't have a meaningful impact at your current game level.
DUPR 2.0–3.0: Foundation First
At this level, the biggest gains come from consistency, not variety. Pick 3 drills and do them at every session:
- Cross-court dink rally: Get to 25 in a row before working on anything else
- Third shot drop self-feed: Track your kitchen percentage. Get to 60%+ before adding partner resistance
- Serve deep consistency: 50% of serves landing in the back third of the box
Skip: speed-up drills, transition zone work, erne setups. You can't compound a skill you don't have yet.
DUPR 3.0–3.5: Adding Complexity
Foundation is in place. Now add decision pressure:
- Dink-to-speed-up decision drill: Teach your hands to wait for the right ball
- Zero-to-Sixty third shot drop: Track consecutive successes; add movement with Drop and Crash
- Reset under fire: 2 minutes as the absorber in transition zone
- Return and advance: Practice returning deep then moving forward — most 3.0-3.5 players stay at the baseline after the return
DUPR 3.5–4.0: The Plateau Zone
This is the hardest transition in recreational pickleball. You've got solid mechanics but you're losing points to players who execute under pressure. What to drill:
- Pressure resets: The 2-on-1 attack and defend drill. Your resets need to work when your opponent is trying hard to attack, not just when your partner is drilling cooperatively.
- Transition zone decision: Play the Drop and Crash until you're advancing automatically after every third shot drop
- Speed-up defense sequence: Partner attacks, you block and reset, then look for the counterattack window — not immediately, but after establishing position
- Singles drilling: Singles drills → expose weaknesses that doubles play lets you hide
DUPR 4.0–4.5: Precision & Patterns
At this level, isolated skill drilling matters less than pattern construction. You're not building shots — you're building sequences:
- ATP setup drilling: Practice the wide dink that sets up the around-the-post opportunity — not just the ATP itself
- Stack and poach drilling: Rehearse specific movement patterns with your doubles partner
- Feeder drill at speed: Full-speed attack-and-defense with a feeder setting game-realistic pace
- Backhand drill plan: Many 4.0 players have a forehand-dominant game that opponents exploit. See our 30-day backhand drill plan →
DUPR 4.5+: Competitive Pressure Training
At this point you should be running scored competitive drills at every session — not cooperative drills. The 7-11, the 2-on-1, and point construction drills dominate. You're drilling to prepare for specific opponents and specific tendencies, not general skill building.
The full beginner progression is covered in our 12-week beginner drill progression →
Building a Weekly Practice Schedule
Drilling without a structure is slightly better than just playing games. Drilling with a weekly structure is 3-4x more effective because your body and brain know what to expect and can consolidate practice sessions appropriately.
Here's what two different commitment levels look like:
3x/Week Template (Most Common for Recreational Players)
| Day | Focus | Time Split |
|---|---|---|
| Day 1 | Kitchen (dinking, resets, speed-up decisions) | 15 min warm-up / 25 min drills / 20 min game |
| Day 2 | Baseline to kitchen (serve, return, 3rd shot, transition) | 15 min warm-up / 25 min drills / 20 min game |
| Day 3 | Competitive / pressure (7-11, 2v1, skinny singles) | 10 min warm-up / 15 min drills / 35 min competitive game |
5x/Week Template (Serious Improvers)
| Day | Focus | Duration |
|---|---|---|
| Mon | Solo drills (wall, serve, self-feed third shots) | 30 min |
| Tue | Kitchen partner drills | 45 min drill / 15 min game |
| Wed | Rest or light fitness (footwork, strength) | — |
| Thu | Baseline to kitchen + transition zone | 45 min drill / 15 min game |
| Sat | Full session: warm-up + all zones + competitive play | 90 min |
The off day on Wednesday matters. Skill consolidation happens during rest, not during practice. Players who drill 7 days a week without rest often plateau because the neural pathways don't have time to solidify.
See our weekly training schedule templates → and 3x and 5x/week practice routines → for more structured options.
Training Equipment: What to Buy (and What to Skip)
Training equipment exists on a spectrum from "genuinely game-changing" to "nice-to-have" to "waste of money." Here's the honest breakdown.
Ball Hopper / Caddy — Essential ($30–$90)
If you're drilling seriously, you need a ball hopper. Picking up 30 balls off the court after every rep break kills session momentum. A hopper holds 50-100 balls, and you can feed yourself or your partner without chasing balls every 2 minutes.
The Deluxe Pickleball Caddy with Wheels ($69 at Pickleball Central) is our recommendation for anyone who drills more than twice a week. The wheels matter if you're carrying it from a car or across a facility. The Franklin Sports Rolling Hopper is a compact option at under $40 if you're traveling to courts.
Rebounder — Good for Solo Practitioners ($75–$200)
A rebounder gives you a partner-free alternative for dinking and drive consistency. The ball comes back at you, you hit it again. The feedback loop is immediate. The limitation: rebounders return the ball at a consistent trajectory, which is less realistic than a human partner who'll send the ball to different spots.
Good rebounders: NET PLAYZ 4FT Rebounder (~$180) is solid for solo kitchen work. The OnCourt OffCourt Deluxe Rebounder has a larger surface and adjustable angle, which adds some variety to the return trajectory.
Our take: if you have a flat wall (garage door, gym wall, smooth fence), you don't need a rebounder. The wall is free and returns the ball more reliably. Rebounders make sense when you don't have wall access and want something portable.
Ball Machine — For Committed Improvers ($1,200–$3,500+)
This is where the ROI question gets serious. A ball machine delivers balls at programmable pace, spin, and trajectory — simulating specific opponent patterns with unlimited reps and zero partner fatigue.
The honest answer on whether you need one: if you're drilling 3+ times a week and you've hit the ceiling of what partner and solo drills can give you, a ball machine is worth it. If you're drilling once a week, the math doesn't hold.
For most recreational players:
- Best entry-level: Pickleball Tutor Plus — oscillation, two-line feed, reliable. Good for 3.0-3.5 players building consistency.
- Best mid-range: Lobster Pickle Two — adds spin and random two-line oscillation. The Lobster line has the best track record for reliability in the field.
- Best for serious players: Lobster Pickle Champion — adds a third feed line, topspin/backspin, and remote control. This is the machine club pros and advanced coaches use.
Full comparison in our ball machine buyer's guide → and our full training equipment ranking by ROI →
Packing Your Practice Bag
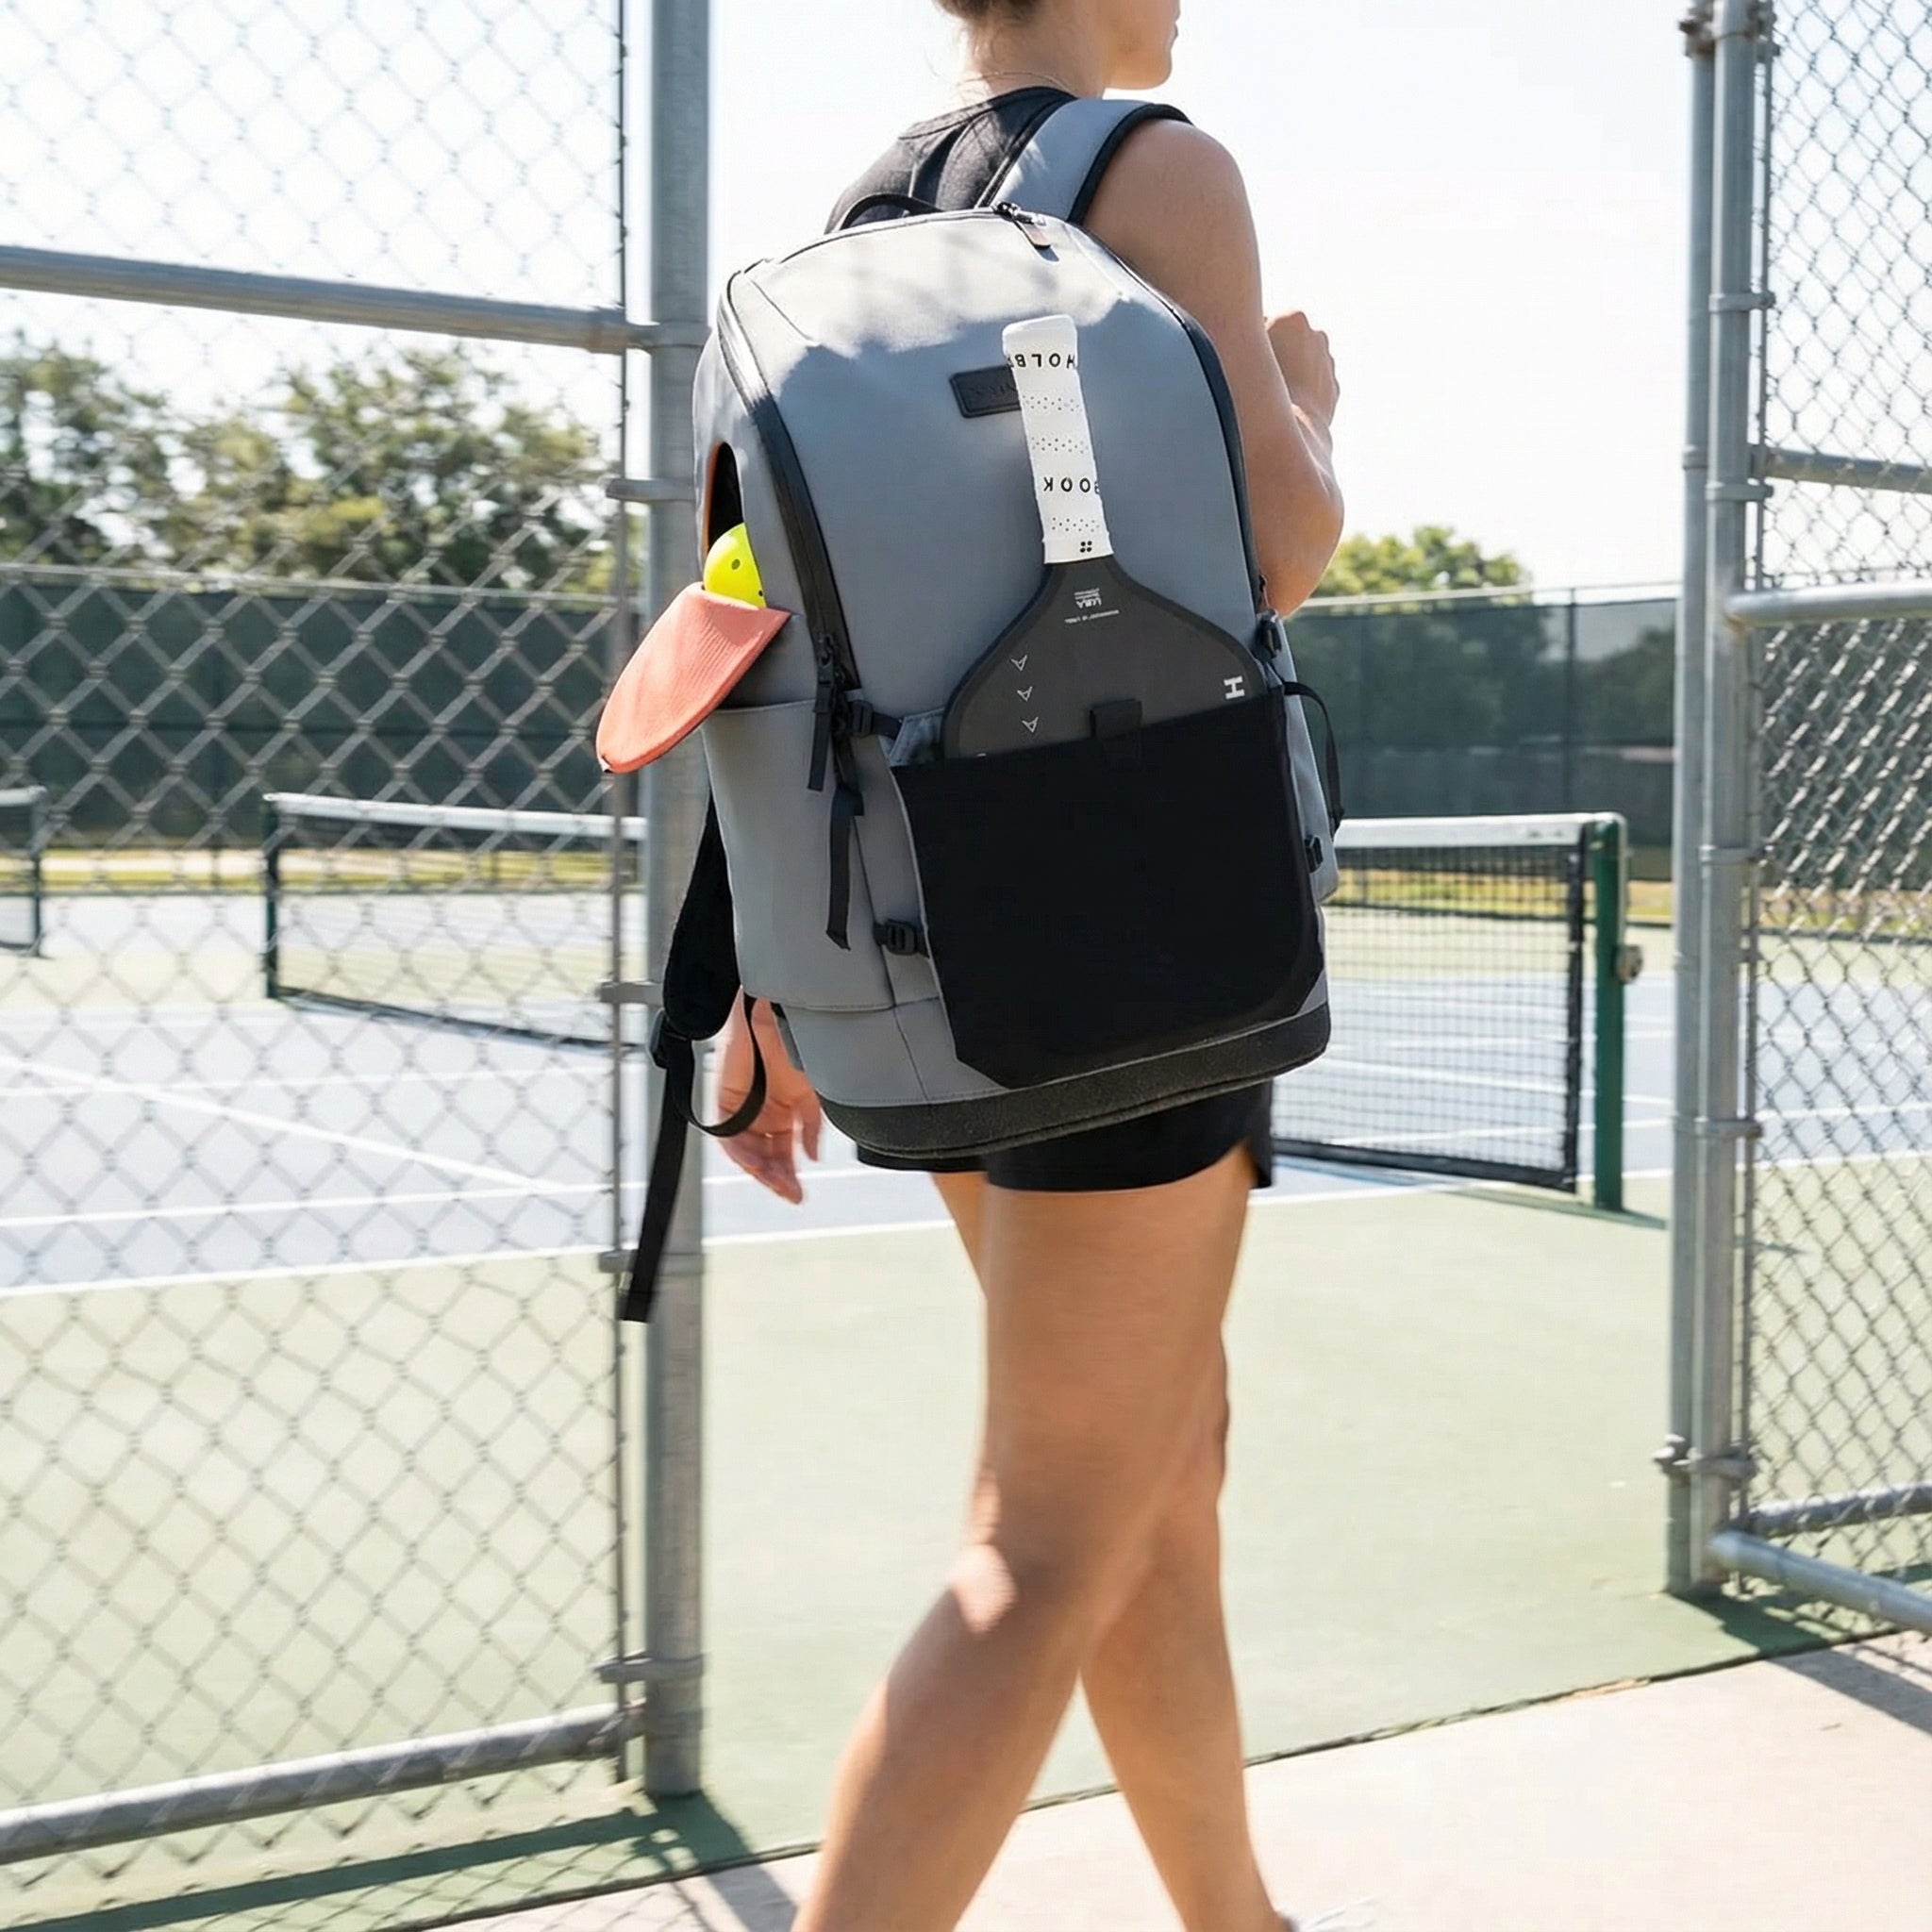
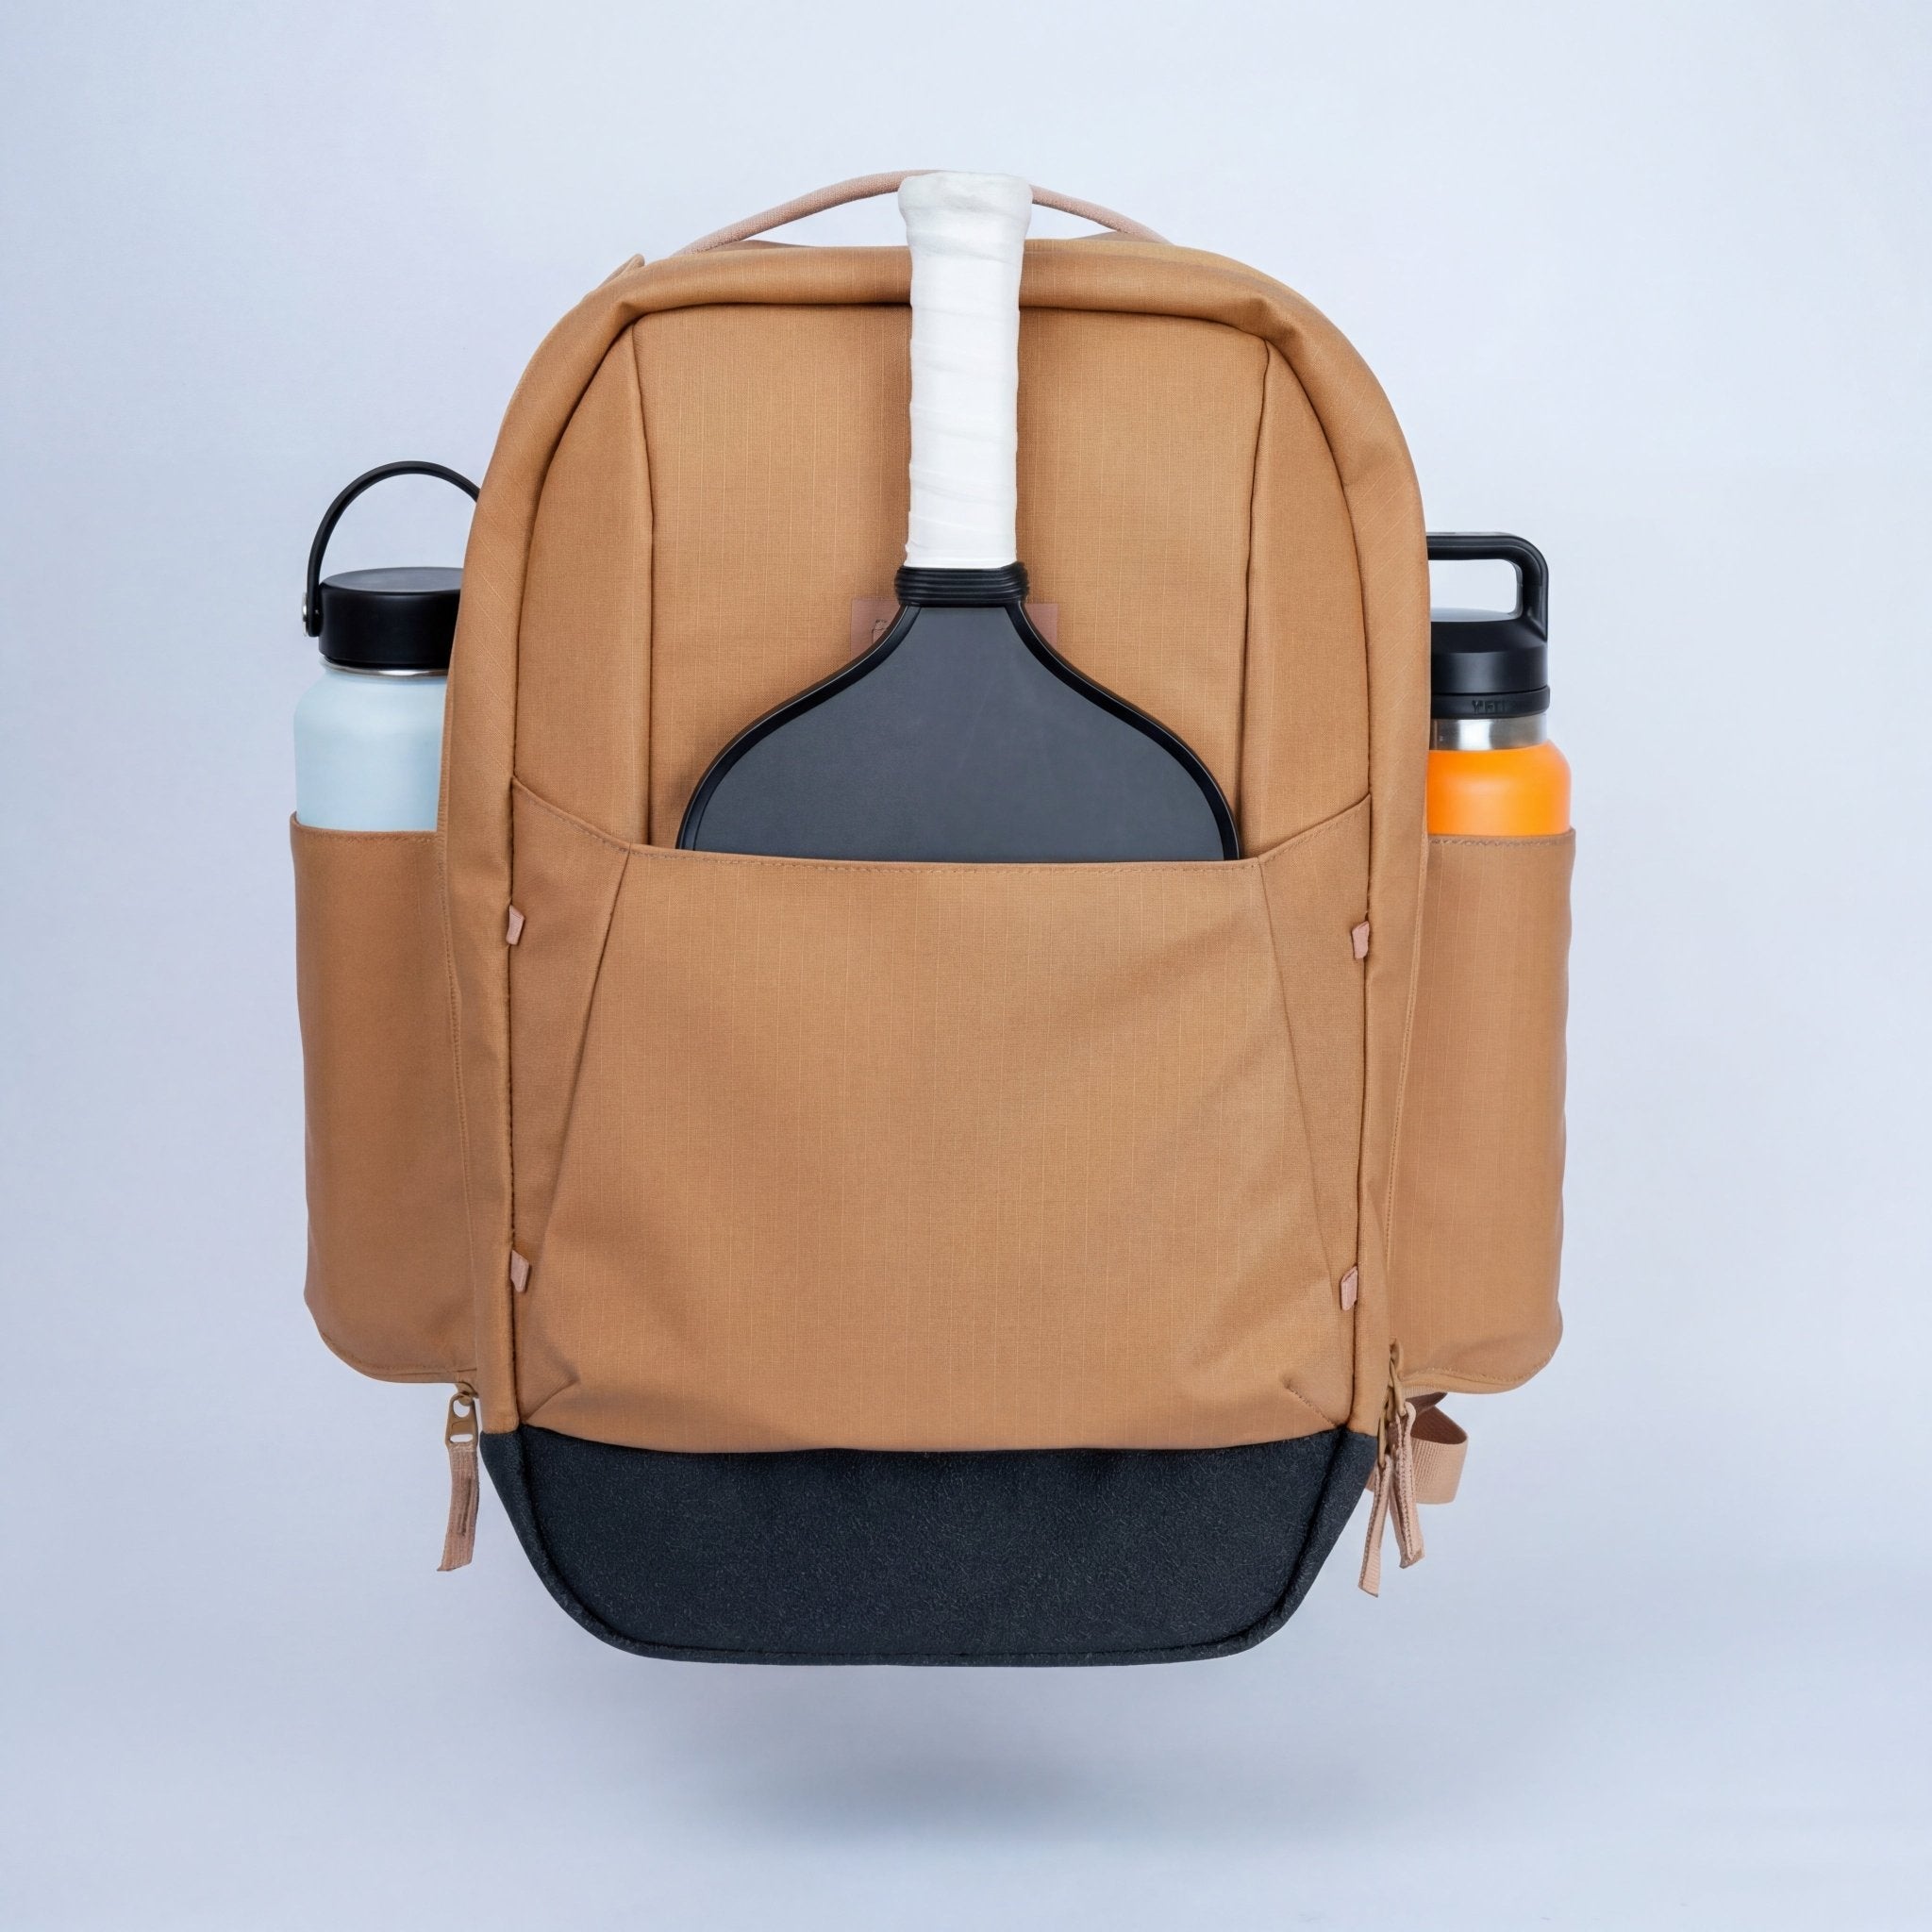
Serious drillers bring more to the court than a recreational player: extra balls (30+ if drilling), a hopper, extra grip tape, a towel, water, and often an extra paddle in case of a broken string or cracked edge guard. That's a lot of gear — and it's where a bag with organized compartments actually matters.

Our Pick: FORWRD Court Ranger V2
Dedicated modular paddle sleeve keeps up to 4 paddles protected, 16" laptop sleeve doubles as an extra-ball storage zone, and YKK AquaGuard zippers handle outdoor courts without complaint.
How to Know If Your Drills Are Working
Most players can't tell if they're improving from drilling because they have no baseline to compare against. Games don't give you clean data — you win and lose for a dozen different reasons. Here are 4 specific metrics you can track in drilling sessions:
1. Third Shot Drop Kitchen Percentage
50 self-feed attempts. Track how many land inside the kitchen. Measure this every 2 weeks. If the percentage isn't moving after 4 weeks of consistent drilling, you have a mechanics problem — not a rep problem. Get video feedback or take a lesson.
2. Dink Rally Length
Cross-court dink rally with a partner. Count consecutive shots before either of you misses or attacks. Track your median (not your best — your median). If your median rally length goes from 12 → 20 over 6 weeks, your touch is improving. If it stays at 12, you're not drilling with enough focus on placement.
3. Reset Percentage Under Pressure
In the Reset Under Fire drill: how many of the 20 attacks per 2-minute round do you return soft and cross-court? Track the percentage. A 50% reset rate means half your resets are going to the wrong spot or floating up. A 75%+ reset rate means you're ready to add more speed to the attack.
4. DUPR Movement
Give it 90 days of consistent drilling. DUPR updates after every rated match, so you need enough sample size. If you're drilling with intent 3x/week and your DUPR doesn't move in 90 days, you're either drilling the wrong things for your level or the skills aren't transferring because you're not practicing decision-making under game pressure.
Learn how your DUPR is actually calculated in our DUPR rating explained guide →
Common Drilling Mistakes That Keep Players Stuck
After watching hundreds of recreational players drill, these are the five mistakes we see most often:
1. Drilling to Your Comfort Zone
If your backhand dink is weak, you'll naturally favor your forehand in drills. The gap widens. Your opponents figure it out by the third game. Force yourself to run drills where the weaker stroke is the primary contact — not the occasional one.
2. Keeping Score in Cooperative Drills
If you're doing a cooperative dink rally and your partner keeps hitting attackable balls because they're focused on the count, you're both drilling bad patterns. Cooperative drills should be cooperative — both players actively helping each other get quality reps. Save the competitive scoring for the scored drills at the end of the session.
3. Too Many Drills, Too Little Depth
A 45-minute session trying to cover 8 different drills leaves you with 3-4 minutes per skill — not enough to build anything. Pick 2-3 drills per session, run them until you've hit a rep threshold, and then run one competitive drill to apply what you practiced. Depth beats variety every time.
4. Skipping the Warm-Up
Covered earlier, but worth repeating: cold drilling produces bad reps. The first 15 minutes of a cold session are often counterproductive. Warm-up isn't optional.
5. No Transfer Practice
Drilling a skill and then immediately going to a game is only slightly better than not drilling at all. You need a "bridge drill" between the isolated skill work and the game — something like the 7-11 drill or skinny singles, where the skill you just drilled gets used in a real-ish game context with decision-making. That's the transfer practice that locks the skill in.
Frequently Asked Questions
How long should I drill before seeing improvement?
Realistically, 4-6 weeks of consistent drilling (3x/week) before you see measurable metric improvement, and 8-12 weeks before it shows up clearly in your DUPR. Impatience is the main reason players abandon drilling before it pays off.
Can I improve without a regular drilling partner?
Yes. Solo drills — wall dinking, serve consistency, self-feed third shots — address real skill gaps without a partner. A rebounder adds variety. A ball machine adds unlimited rep volume. You won't develop game-realistic decision-making skills from solo work alone, but you can build the underlying mechanics significantly.
How many balls do I need for a proper drilling session?
30-50 balls is enough for most drilling sessions. Below 30 and you're spending too much time picking up balls. Above 60 and you're creating a logistical hassle without a corresponding rep benefit. A hopper that holds 50-60 balls hits the sweet spot.
Are pickleball clinics worth it vs. self-directed drilling?
Clinics are valuable for specific technical corrections that you can't identify yourself — grip, swing path, contact point errors that video and self-assessment miss. They're not a substitute for volume drilling. The ideal combination: a clinic to identify your technical gaps, then self-directed drilling to build reps on the correct pattern. See our clinic format and cost guide → for what to look for.
What's the difference between drilling and just rallying?
Rallying is unstructured — whoever hits whatever comes to them. Drilling has a specific skill target, rep counting, and often constraints (cross-court only, below net height, etc.). Rallying is valuable for touch maintenance. Drilling is what builds new skills. You need both, but don't confuse them as equivalent.
Should I drill before or after regular play?
Before, when possible. You want to practice the skill when your focus is sharpest — not when you're fatigued after 2 hours of rec play. If your schedule forces drilling after play, keep the session short (15-20 minutes) and focus on one specific skill that came up in the games you just finished.
How do I drill the kitchen without a kitchen partner?
Wall dinking at 7 feet is the best solo kitchen substitute. Mark a line at 34" (net height at the center). Dink below the line continuously. You won't replicate the cross-court angle of real partner dinking, but you'll build touch and contact consistency that directly transfers.
What's a good drill for improving consistency under pressure?
The Reset Under Fire drill and the 2-on-1 attack-and-defend. Both create genuine pressure — you're defending against someone actively trying to win the point, not cooperating with your practice. Pressure drills transfer to games; cooperative drills transfer to cooperative situations (which don't exist in matches).
How do I know which drills are right for my skill level?
Use the DUPR-banded section in this guide as your starting point. If you find a drill too easy (you're making 90%+ consistently from session one), move to the next-level drill. If you're below 40% success rate on a drill, you may be drilling above your current ceiling — drop back one level and build the foundation first.
Do I need a ball machine to improve significantly?
No. Most players below 4.0 will improve faster with more partner drilling than with a ball machine. Ball machines earn their cost above 4.0, when you need high-volume, specific-placement reps that a tired partner can't sustain for 90 minutes. For players below 4.0, invest in a ball hopper and schedule more partner sessions — that ROI is higher than any machine.
How do I drill when courts are busy and I can't set up structured drills?
Use the warm-up court time (while players are rotating in/out) to get 5-10 minutes of quality dink reps. Even 10 minutes of focused kitchen drilling before open play is worth more than nothing. For full session drilling, try arriving 30 minutes before open play starts — courts are usually empty during that window.
Can I drill by myself with just a wall?
Absolutely. Wall dinking builds touch. Serves can be practiced against a fence. Self-feed third shots require nothing but a ball and a court. The only limitation is game-realistic decision-making — you can't build that alone, but you can build the mechanics that decision-making runs on.
Related Articles — Pickleball Drills & Training
- Third Shot Drop Solo Drills: A 5-Level System →
- Pickleball Drills for Beginners: 12-Week Progression →
- How to Warm Up Before Pickleball: The 15-Minute Protocol →
- Pickleball Practice Routine: 3x & 5x/Week Templates →
- Pickleball Training Schedule: Templates for Every Level →
- Pickleball Dinking Strategy: Win the Kitchen Line →
- Cross-Court Dink Strategy: The Geometry That Wins →
- Pickleball Reset Strategy: When to Absorb Instead of Attack →
- Pickleball Footwork Guide: 4 Movement Fixes →
- Pickleball Forehand Technique: Mechanics & Drills →
- Pickleball Backhand Guide: 30-Day Drill Plan →
- How to Improve Your Pickleball Serve →
- How to Add Topspin to Your Pickleball Serve →
- Skinny Singles Pickleball: 45-Minute Drill Guide →
- Singles Pickleball Drills: Footwork, Accuracy & Match Fitness →
- Doubles Teamwork Drills: Chemistry, Communication & Court Control →
- How to Train for a Pickleball Tournament: 8-Week Plan →
- Off-Court Strength Training for Pickleball Players →
- Best Pickleball Ball Machines 2026: Every Budget Covered →
- Pickleball Training Equipment 2026: Ranked by ROI →
- Pickleball Clinics for Adults: Formats, Costs & Red Flags →
- DUPR Rating Explained: The Pickleball System That Matters →

Leave a comment
This site is protected by hCaptcha and the hCaptcha Privacy Policy and Terms of Service apply.