

The six most effective pickleball transition zone drills are: Drop and Crash, the 3-Step Advance, Transition Zone Reset, Half-Court Transition Singles, the Feeder Drill, and the No Man's Land Penalty Game. Work through them in order — each one builds the physical habit that makes the next one possible.
Last updated: October 2026
Here's what's actually happening when you lose a point in the transition zone: you're not there because you're dumb or inattentive. You're there because the third shot drop wasn't deep enough, and instead of making a disciplined decision about the three contacts available to you, you froze. You didn't drill the decision. You only drilled the shot.
This guide fixes that. Six drills, in order, with full setups. No filler.
What the Transition Zone Actually Is (And Why It's More Dangerous Than You Think)
The transition zone runs from roughly the service line to about 7 feet from the net — the no-man's-land between the baseline and the non-volley zone. You already know this. What most players don't internalize is why it's so punishing at the 3.0–4.0 level.
Standing in transition means every ball comes at your feet. You can't fully volley — you're too far from the net for a reliable punch, too close for a comfortable groundstroke. Your opponents at the kitchen can drop the ball at your ankles, and at mid-court, bending down to dig that ball back up consistently is one of the hardest mechanical skills in the game.
The real problem isn't being in transition. It's stopping there. Transition is a tunnel, not a campground. The whole point of the third shot drop is to buy enough time for you to sprint through that tunnel and arrive at the kitchen. When the drop lands short or high and your opponents can attack it, you're stuck camping under fire.
Every point you lose mid-court is either a bad drop (gave up your travel pass) or a movement error (stopped when you should've kept going, or rushed when you should've reset). The drills below train both. For reference, USA Pickleball's official rulebook defines the non-volley zone boundaries and kitchen rules in full — useful if you want the exact dimensional specs of what you're working to reach.
For a deeper look at why footwork is the root cause of most transition errors — not shot mechanics — that guide is worth reading first if footwork is your weak link.
The 3-Contact Decision Framework (Know This Before You Drill)
Every ball you receive in the transition zone falls into one of three categories. If you don't identify the category before you swing, no drill will save you.
- Contact Type 1 — Low (below net height): Drop it softly into the kitchen. Do not attack. This is a reset ball. Get it back neutral and keep advancing.
- Contact Type 2 — Medium (net height to 6 inches above): Drive through with a controlled punch volley or a muted roll. You can be aggressive but stay controlled. This is a "move the ball" contact, not a winner attempt.
- Contact Type 3 — High (above shoulder, slow incoming pace): Attack. Punch volley cross-court or angle volley at their hip. This is the only contact type where you're swinging for a winner from transition.
Most 3.0 players try to attack Type 1 and Type 2 balls. Most 4.0 players try to attack Type 1 balls. Train the decision before you train the swing — and that's exactly what the drills below do.
Drill 1: Drop and Crash
Players needed: 2 (feeder at kitchen, you at baseline)
Time: 10 minutes
Goal: Connect third shot drop → immediate forward movement with no pause
Start at the baseline. Your partner stands at the kitchen and feeds you a mid-depth ball. You hit a third shot drop, then immediately crash toward the net — no split step, no pause, no waiting to see where the ball lands. Your partner catches it and feeds again. Repeat for 5 reps, then switch.
The thing this drill trains: most players drop the ball and then watch it. The drop earns you 3 steps of forward movement. If you stop to evaluate, you squander those steps. The "crash" in Drop and Crash is automatic — the drop triggers the movement. Don't think. Move.
Progression: After 5 reps of automatic movement, add a feeder catch-and-return so you're actually volleying in transition. Now you have to drop, crash 2-3 steps, split-step, and handle a live ball in the transition zone. That's the real game.
"The drop and the movement are one motion. Players who separate them are always late. We built that into every practice session from day one." — Grub, FORWRD co-founder
Drill 2: The 3-Step Advance Drill
Players needed: 2
Time: 12 minutes
Goal: Build the "drop, advance, drop, advance" rhythm that gets you to the kitchen in 2-3 shots
Here's the full sequence: you hit a third shot drop from the baseline and take 3 steps forward. Your partner dinks it back from the kitchen — low, below net height. You're at mid-court. Hit a fifth shot drop (same mechanics, same intention), take 3 more steps forward. You should now be at or near the NVZ line. Your partner feeds a playable dink. Now you're having a kitchen rally.
Why this matters: Recreational players think the third shot drop is the move that gets them to the kitchen. It's not. It's the shot that earns them the right to advance toward the kitchen. At the 3.5 level, you're looking at 2–4 "drops" before you actually arrive. Each one has to keep your opponents from attacking. The 3-step advance drills that multi-drop rhythm until it's automatic.
Run 8 full sequences per person. Track how often you make it to the kitchen in 3 contacts vs. 4+. That number improves fast — within a week of consistent work, most players cut their transition time by 1–2 contacts.
Drill 3: Transition Zone Reset
Players needed: 2
Time: 10 minutes
Goal: Train the low-ball dig from mid-court before you're under pressure in a real point
Position: you stand at the kitchen line. Your partner stands 3 feet behind the transition zone (baseline-ish). Switch — now your partner is at the kitchen, you're in the transition zone. Your partner attacks at your feet from 12–14 feet. Your job: absorb the pace, reset the ball into the kitchen, stay balanced.
This drill isolates the hardest thing in transition: the ball coming at your feet when you're already moving. Most players top-swing on this ball — they try to hit up and over, they send it long. A reset from this position requires an open paddle face, soft hands, and almost no backswing. You're redirecting pace, not generating it.
Success metric: 7 consecutive resets that land in the kitchen without popping up. That's the standard. Below that and you're not stable enough to move forward in live play.
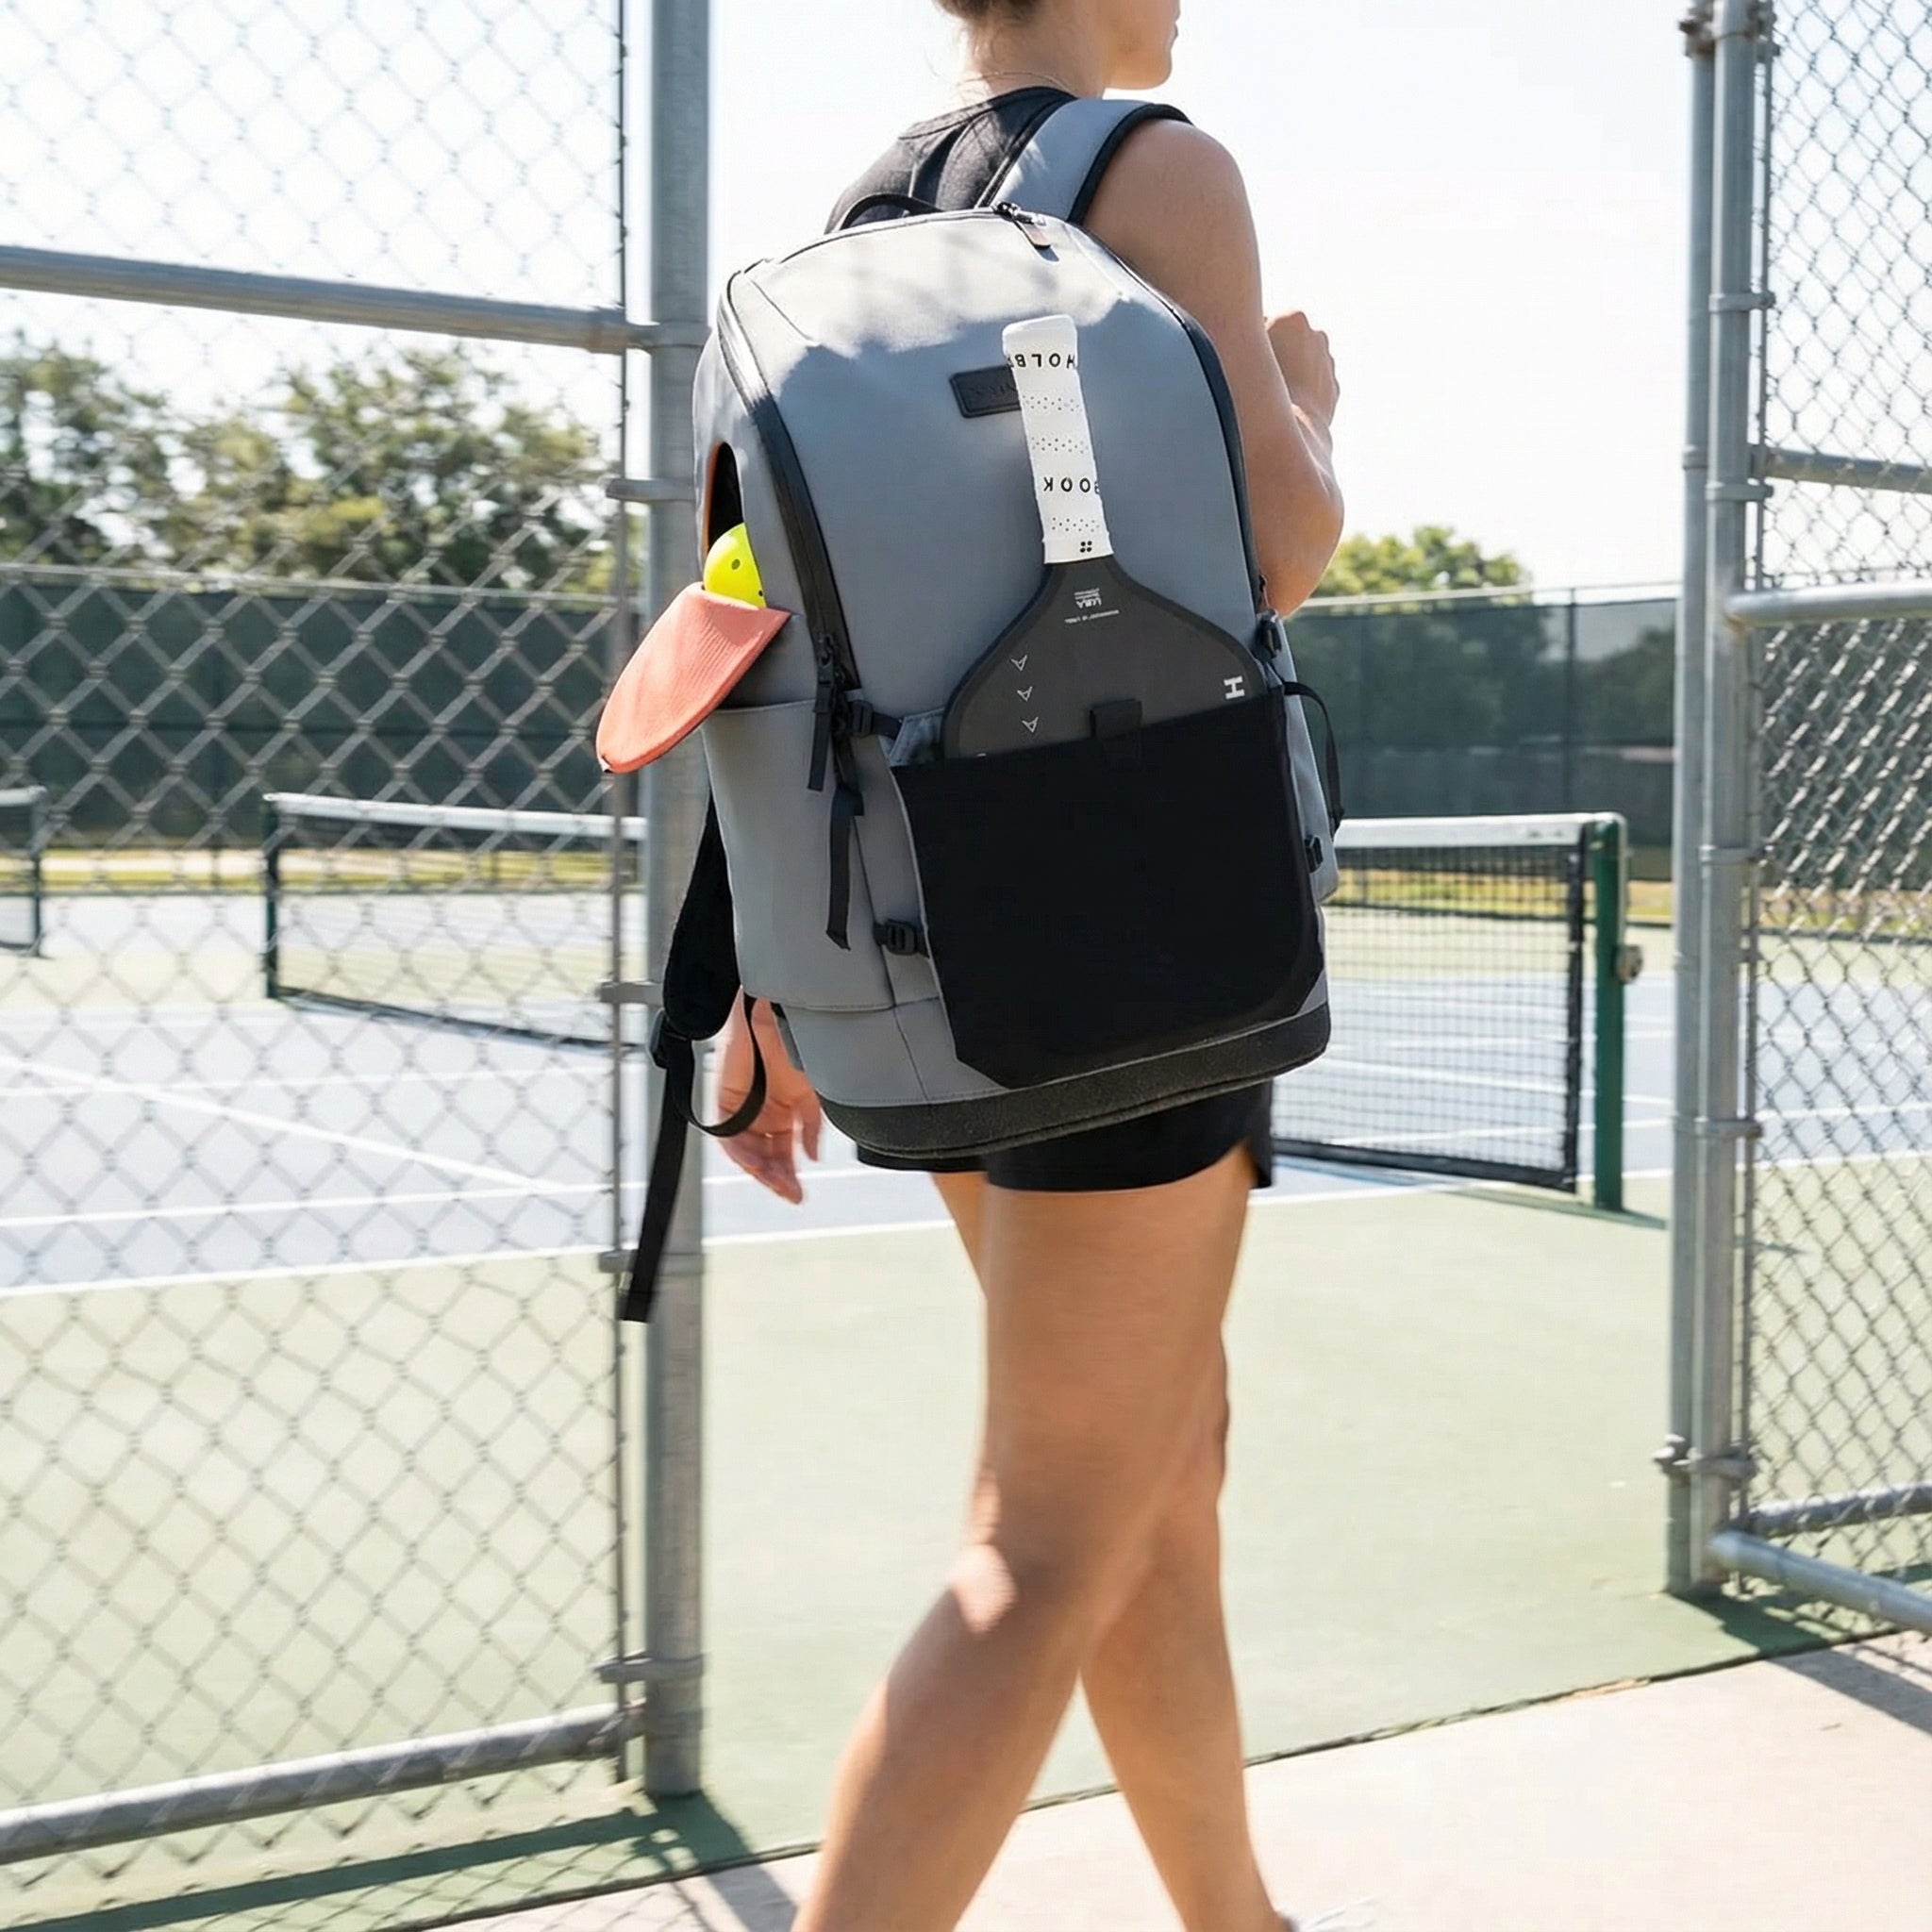
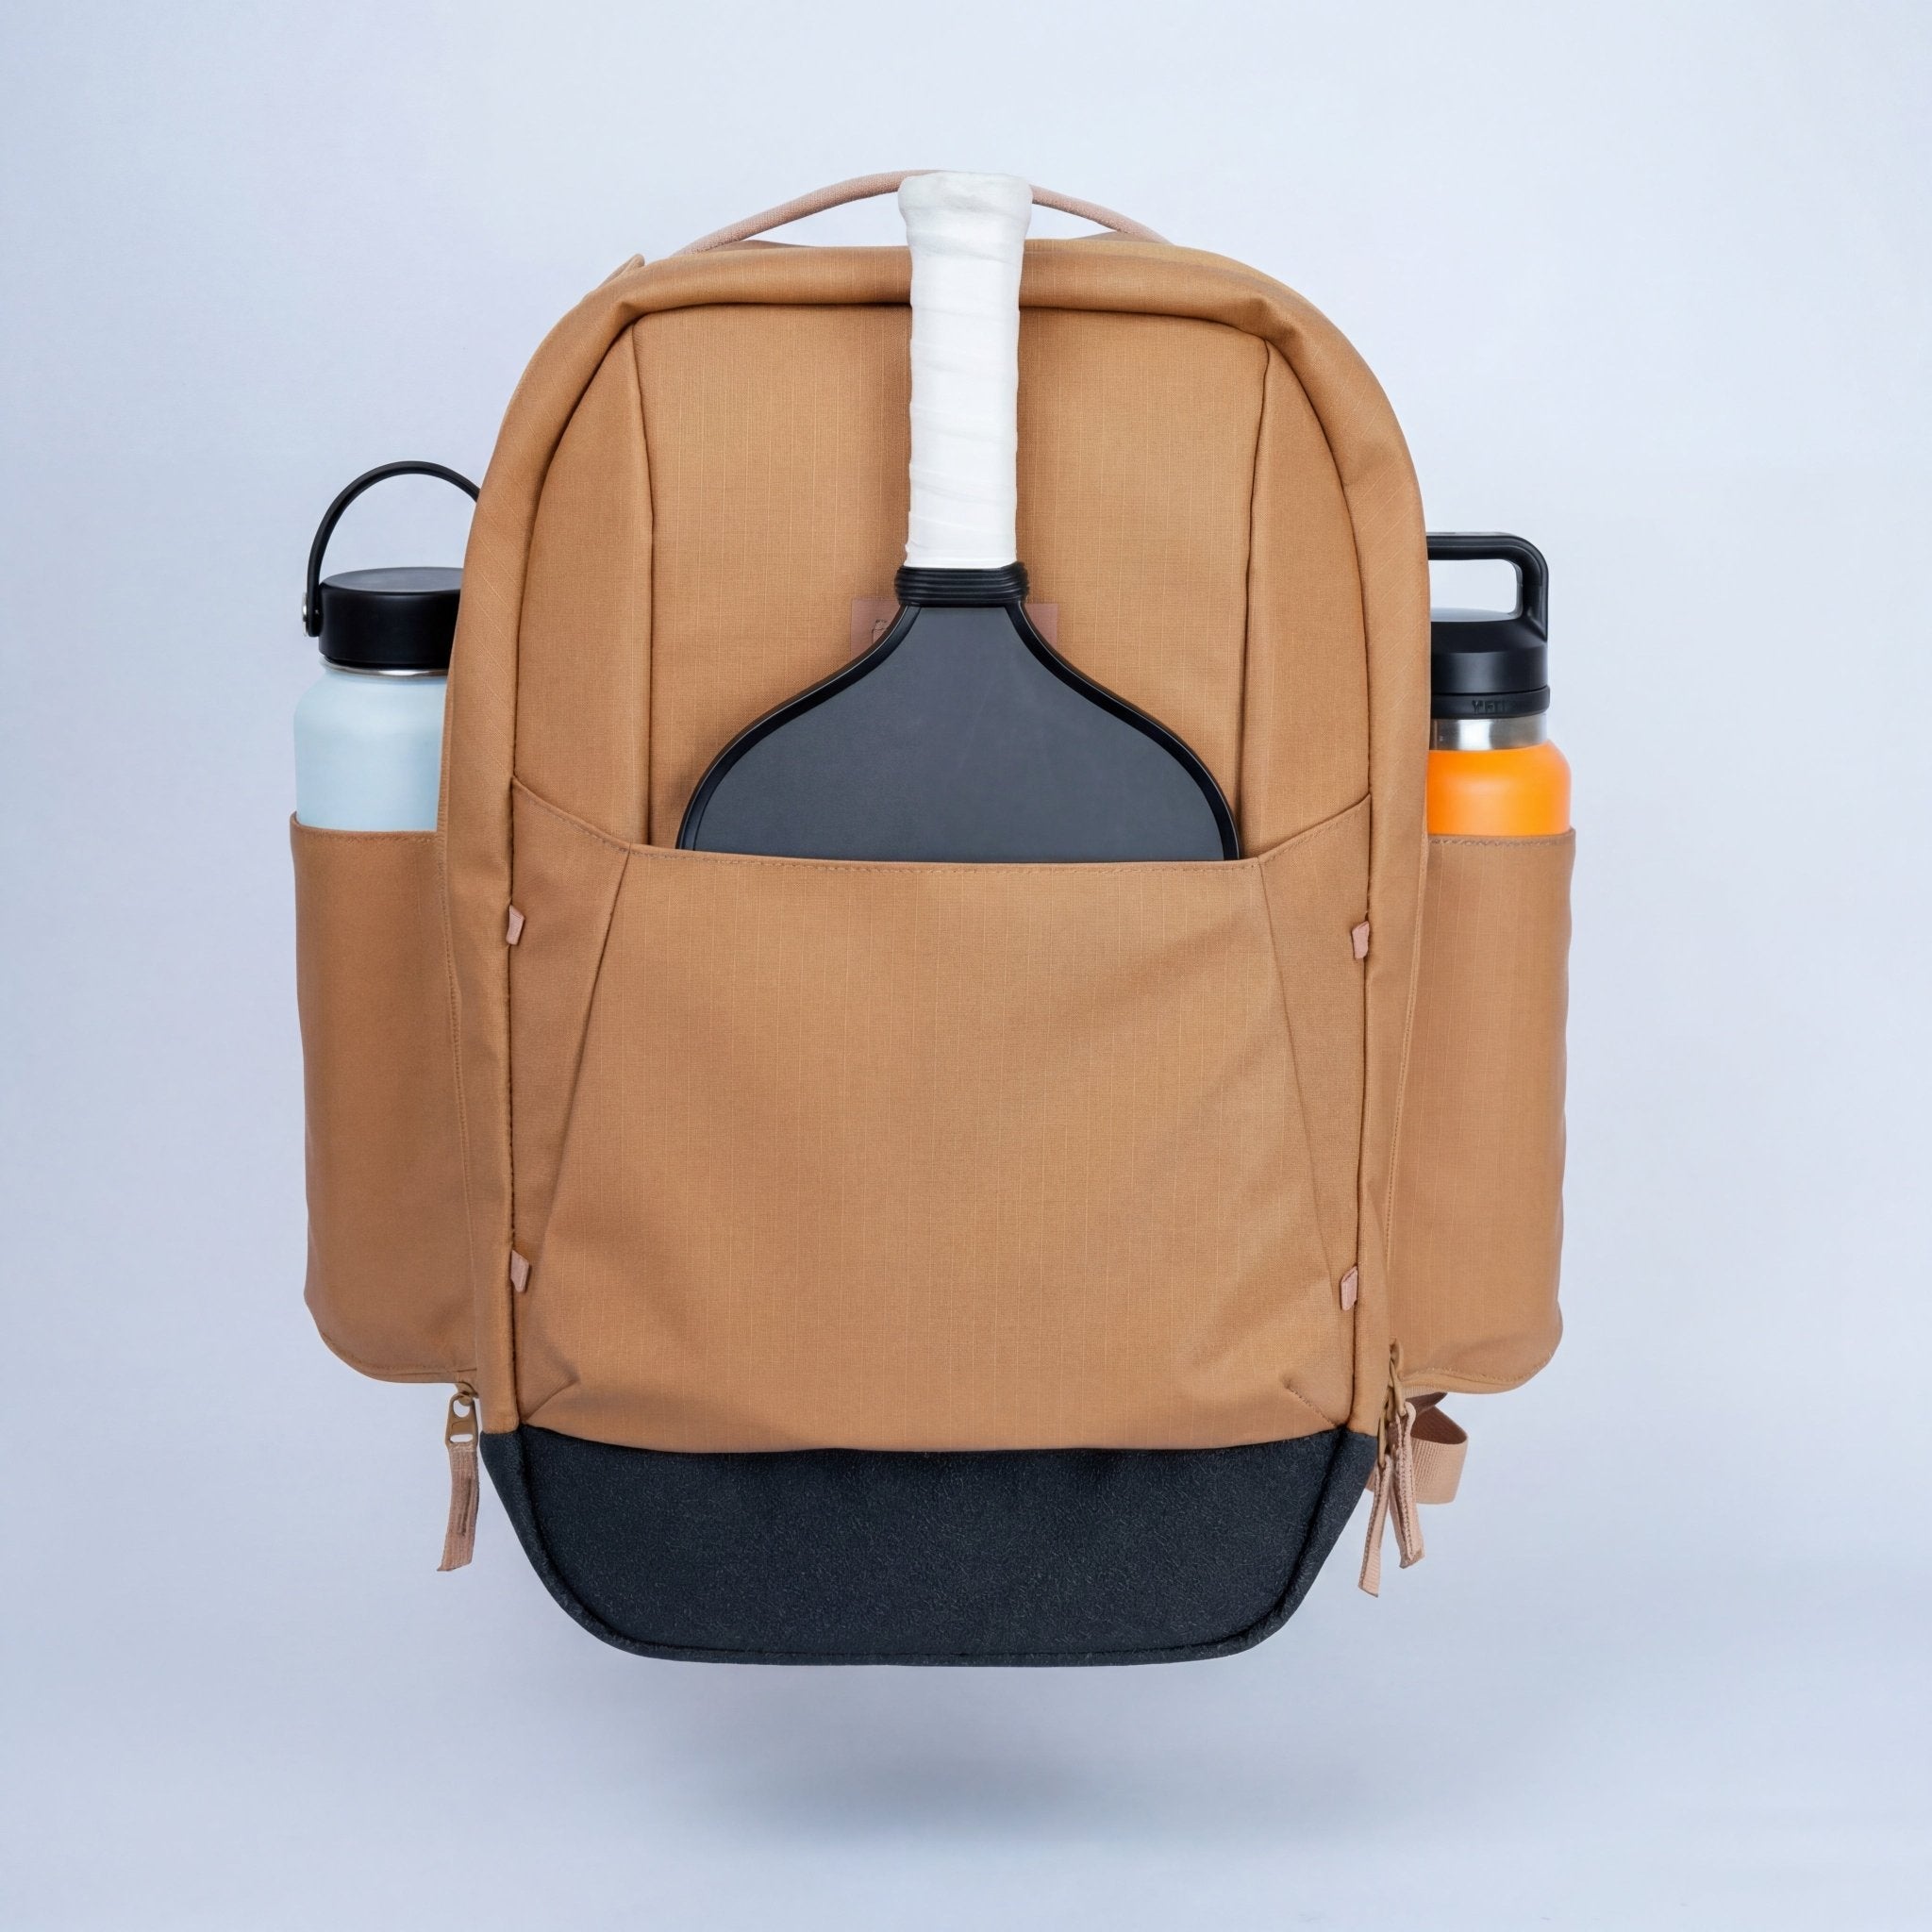
If you're running these drills 3–5x per week, your gear is earning its wear. The Court Ranger V2 ($195) was built for players who practice seriously — modular paddle sleeve, 16" laptop compartment, YKK AquaGuard zippers. Designed with feedback from 500+ players, not tested once and called done.
Drill 4: Half-Court Transition Singles
Players needed: 2
Time: 15 minutes
Goal: Practice mid-court decisions in a competitive context
Play points cross-court only, using half the court width. Scoring: normal pickleball rules, rally scoring. Both players start at the baseline. Normal play — except the kitchen is live, so the objective for both is to eventually get to the net.
Because the court is narrowed, you're forced to drop cross-court (the higher-percentage line anyway) and advance on a tighter path. The compressed width removes the "run around it" option that wider courts allow. Every ball that arrives in transition has to be dealt with — no punting wide.
Play to 7, best of 3. Track which points you win vs. lose based on whether you made it to the kitchen before the rally ended. That tracking is the real data from this drill.
See also: kitchen strategy at the 4.0 level — the positioning principles there apply directly to where you're trying to arrive from transition.
Drill 5: The Feeder Drill
Players needed: 2 (or 1 with a ball machine)
Time: 10 minutes
Goal: Train the contact-type decision under random-depth pressure
You stand at the transition zone. Your partner is at the kitchen with a bucket of balls. They feed balls at random depths — some at your feet, some chest high, some pushing you back a step. Your job: correctly categorize each contact (low = reset, medium = punch, high = attack) and execute the appropriate response.
This is the most important drill in the sequence because it replicates the actual cognitive demand of live play. Drills 1–4 build physical patterns in controlled conditions. Drill 5 makes you apply the 3-contact decision framework under variable pressure. If you skip this one, the framework stays theoretical.
Run 3 sets of 15 balls each. After each set, your partner tells you how many contact decisions they thought were correct based on what they fed. Honest feedback here is worth more than any compliment.
Drill 6: The No Man's Land Penalty Game
Players needed: 2
Time: 15 minutes
Goal: Build the automatic instinct to keep moving through transition, not stop in it
Play normal points. Add one rule: if either player is caught standing in the transition zone when a ball lands on their side — not moving through it, genuinely camped there — the other player wins the point automatically. Your partner calls it. You call it on them.
This sounds harsh. It should. Within 3-4 points you'll notice a hard mental shift: every time your feet think about stopping mid-court, a small alarm goes off. That alarm is the habit you're trying to build. It doesn't come from knowing you shouldn't stop — it comes from being penalized for it enough times in a safe practice context.
Play to 11, call it strictly. After the game, debrief: how many times did you feel the urge to stop mid-court and fight it? That number should shrink across 3 weeks of consistent play with this rule active.
How Long Does It Take to Fix Transition Zone Problems?
Honest answer: the decision framework (3 contact types) can be internalized in 2–3 sessions. The physical habits — especially the reset mechanics and the automatic post-drop movement — typically take 3–6 weeks of deliberate practice 3x per week before they hold up in competitive play.
The sign that transition is genuinely fixed: you stop thinking about it during points. The reset happens, the advance happens, the contact decision happens — all without a conscious deliberation pause. When you're still thinking about it, you're still in the learning phase. That's fine. Keep drilling.
Most recreational players who commit to this 6-drill sequence see DUPR movement of 0.1–0.2 within 4–6 weeks, primarily from reducing unforced errors in mid-court rallies. The errors don't disappear completely — but the frequency drops enough to shift game outcomes consistently.
For a structured weekly practice framework, the complete pickleball drills & training guide for 2026 integrates these transition drills into a full weekly schedule with the rest of your practice work.
Gear That Goes the Distance
If you're drilling this seriously, you're probably playing 3–5x per week. That means paddles, shoes, and water bottles in and out of your bag every single day. The Court Ranger V2 ($195) holds two paddles in its modular sleeve with a 16" laptop compartment — built for players who treat pickleball like the sport it is, not the leisure activity it used to be. The Court Caddy ($325) if you're hauling more gear or doing multi-session days.

FAQ: Pickleball Transition Zone Drills
What is the transition zone in pickleball?
The transition zone — also called no man's land — is the area between the non-volley zone line and the service line, roughly 7 to 14 feet from the net. It's the most vulnerable court position in pickleball because balls arrive at awkward heights and your opponents at the kitchen can easily target your feet.
What's the best shot to hit from the transition zone?
For low balls (below net height), your best shot is a soft reset into the kitchen — no pace, open paddle face. For medium balls (near net height), a controlled punch volley through the court. For high balls with slow incoming pace, an aggressive punch volley aimed cross-court or at the opponent's hip. Contact type determines shot type — there's no single "best" shot from mid-court.
How do I stop camping in no man's land?
The No Man's Land Penalty Game (Drill 6 above) is the fastest fix. Add a rule in your practice games: if you stop in the transition zone without actively hitting a ball, you lose the point. The mild competitive pressure rewires the instinct to pause mid-court faster than any amount of strategic knowledge.
Can you stay in the transition zone in pickleball?
Technically yes — there's no rule preventing you from standing anywhere outside the non-volley zone. Strategically, no. The transition zone is a position of mechanical disadvantage. Every point you win there, you're fighting uphill. Get through it to the kitchen or retreat to the baseline — staying mid-court is almost always the worst option.
How many sessions does it take to fix transition zone problems?
The 3-contact decision framework (low = reset, medium = punch, high = attack) clicks in 2–3 focused sessions. The physical habits — especially clean resets from mid-court — take 3–6 weeks of deliberate practice at 3x per week before they're reliable under match pressure. Most players see meaningful DUPR improvement within 4–6 weeks.
What comes after fixing the transition zone?
Kitchen play. Once you're reliably arriving at the non-volley zone, the next bottleneck for most 3.5–4.0 players is kitchen positioning and dink consistency. Getting to the net doesn't help much if you're giving it back on the third dink. That guide covers the positioning and decision-making that converts net arrival into held net position.

Leave a comment
This site is protected by hCaptcha and the hCaptcha Privacy Policy and Terms of Service apply.