

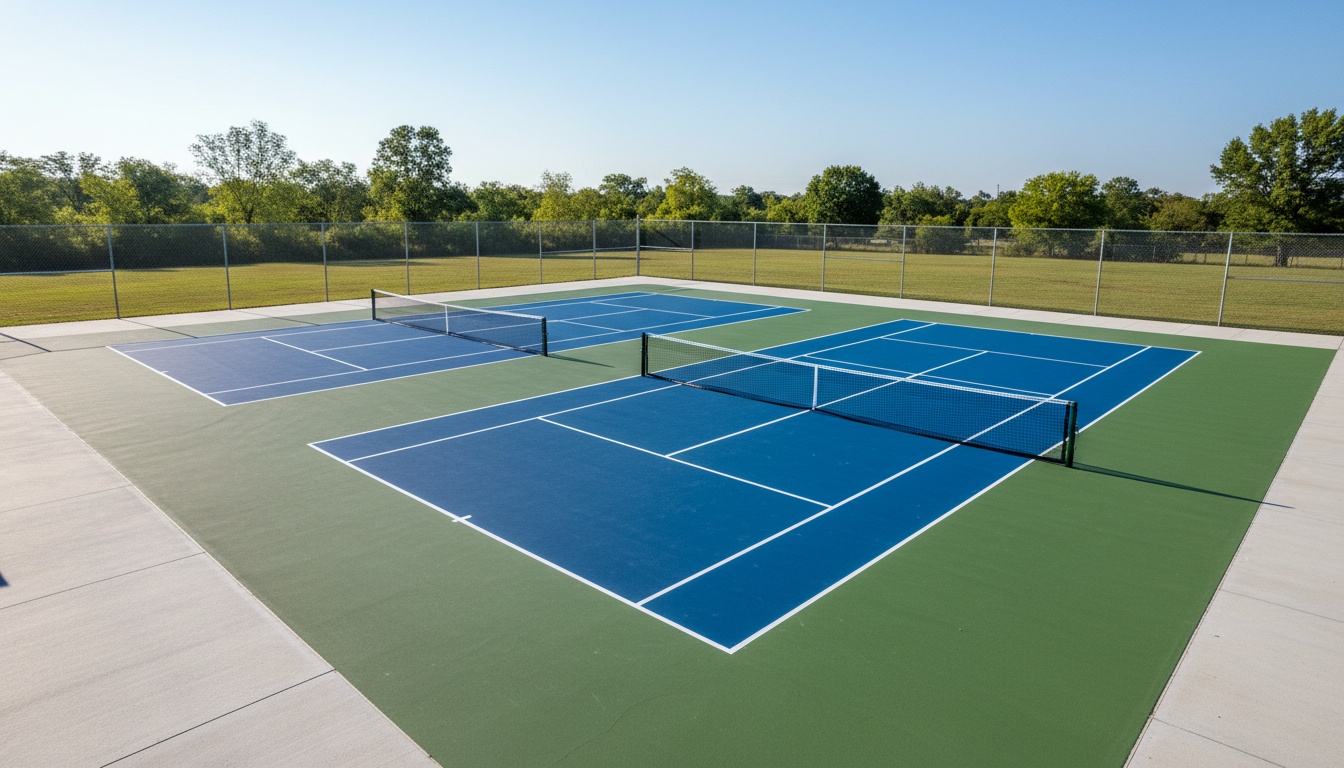
One tennis court hides four pickleball courts inside it — you just haven't marked them yet. The conversion is faster and cheaper than almost anyone expects. Tape lines and a portable net run under $200 total and you're playing the same afternoon. Full professional striping with permanent nets lands around $2,000–$4,000. Neither requires a contractor, a permit, or months of planning.
Here's everything that actually matters: how to lay it out correctly, which net option to use, how to handle HOA and surface issues, and what trips up first-time conversions.
Last updated: July 2026
For official court dimensions and buffer zone requirements, see our Complete Pickleball Court Knowledge Guide.
How Many Pickleball Courts Fit on a Tennis Court?
Four. That's the standard answer and it's correct — a standard tennis court (60 × 120 feet with recommended out-of-bounds runoff) divides cleanly into four regulation pickleball courts using USA Pickleball's recommended 30 × 60 foot total footprint per court.
Two courts wide, two courts deep. The math works exactly: 60 feet / 30 feet = 2 courts across, 120 feet / 60 feet = 2 courts deep. No overlap, no wasted surface.
One thing nobody mentions in the basic guides: the pickleball courts run perpendicular to the original tennis court orientation. The pickleball nets run parallel to the tennis net — you're essentially subdividing the court into a 2×2 grid, not laying courts the same direction as the existing tennis court. This affects sun exposure and matters for net positioning. More on that in the multi-court section.
Some facilities with tight buffer requirements squeeze out 4 courts at minimum dimensions (20 × 44 ft playing area + 5 ft buffers). This is acceptable for casual play but falls below USA Pickleball tournament standards. Know the tradeoff before you paint.
Which Option Is Right for You?
Three questions narrow it down fast:
- Do you want to keep the court dual-sport (both tennis and pickleball), or is this a dedicated pickleball conversion?
- Who owns or manages the facility — private homeowner, HOA, or municipality?
- What's the budget per court?
Quick-Decision: Match Your Situation
| Your situation | Best approach | Cost range |
|---|---|---|
| Testing before committing | Tape lines | $50–$200 |
| HOA court, keep both sports | Professional paint (contrasting colors) | $800–$2,000 |
| Club, school, or heavy use | Sport tile overlay | $12,000–$26,000 for 4 courts |
| New build or dedicated facility | Full resurfacing + stripes | $4,000–$12,000+ |
Option 1: Tape Lines ($50–$200)
This is where most backyard conversions start, and there's nothing wrong with it. Sport court tape (1.5–2 inch width, designed for outdoor use) costs $50–$100 per court set. Roll it out, press it down, and you're playing today.
Durability is the honest limitation. Outdoor tape in direct sun lifts at the edges within 2–4 weeks. Heat accelerates adhesive failure — a 95°F court surface in July will peel tape faster than spring conditions. The edges can curl up and become a trip hazard if you ignore them.
For a quick test run or a low-commitment seasonal setup, tape is the right call. Don't invest in paint until you've confirmed the court position works and people are actually using it. Tape buys you a real-world pilot before any permanent decision.
Chalk powder with a string line is even cheaper — essentially zero cost, works great for measuring and marking, and washes away in rain. Not durable enough for regular play, but useful for testing your layout before committing to tape or paint.
Option 2: Professional Paint Lines ($150–$2,000)
This is the most common permanent solution and where most HOA and club conversions land. You stripe pickleball lines in a different color than the existing tennis lines — the court stays dual-sport, and players just reference whichever color applies.
Color choice matters more than most guides admit. Blue pickleball lines on green or red clay surfaces are the clear industry standard — they contrast sharply against both common tennis surface colors and against white tennis lines. Avoid yellow (matches some tennis line paint) and white (no contrast against tennis lines). Orange works on green surfaces but can look chaotic on courts with existing multi-colored markings.
DIY paint cost: Athletic court striping paint runs $40–$80 per gallon. One full pickleball court requires roughly one gallon. For 4 courts, budget $150–$300 in paint. You'll also need a chalk snap line ($15–$20) and an athletic paint roller or sprayer ($40–$80) for clean lines.
Hired painters: Professional court stripers charge $600–$2,000 to line all four courts on a tennis conversion, depending on region and whether any surface prep is needed. That's still a fraction of resurfacing costs and you get sharp, straight lines without the learning curve.
Option 3: Sport Tile Overlay ($2,000–$5,000 per court)
Snap-together sport tiles — from SnapSports, VersaCourt, or Connor Sport Court — install over an existing surface and create a new pickleball-specific playing layer. They handle drainage, provide consistent surface texture, and look professional. This is popular in school gymnasiums and facilities where surface condition is inconsistent.
Outdoor tile systems handle freeze-thaw cycles well on flat, stable surfaces. On cracked or heaving asphalt, they'll shift at the seams over time. Surface condition evaluation (covered in a later section) matters here more than any other option.
Cost reality for a tennis-to-pickleball conversion in tiles: $2,500–$5,000 per court in materials, plus $800–$1,500 installation per court if you hire it out. A full 4-court installation runs $12,000–$26,000 fully installed. That's meaningful money for what is essentially a non-destructive overlay — the tennis court underneath remains intact.
Option 4: Full Resurfacing + Pickleball Lines ($4,000–$12,000+)
For serious facilities: crack repair, resurfacing compound (acrylic-based), color coat across the full surface, and pickleball-specific striping. This is the approach for municipal parks, club courts, and competitive venues.
The cost range is wide because it's entirely dependent on surface condition. A sound tennis court that just needs a color coat and pickleball lines runs $4,000–$8,000. A court with significant cracking, drainage issues, or asphalt heaving can reach $12,000–$25,000 with full structural repairs.
Get three quotes. Regional pricing varies dramatically — a contractor in Southern California may quote double what a contractor in the Midwest quotes for identical work. Online estimates are useless without an on-site surface inspection.
Step-by-Step: Marking the Courts
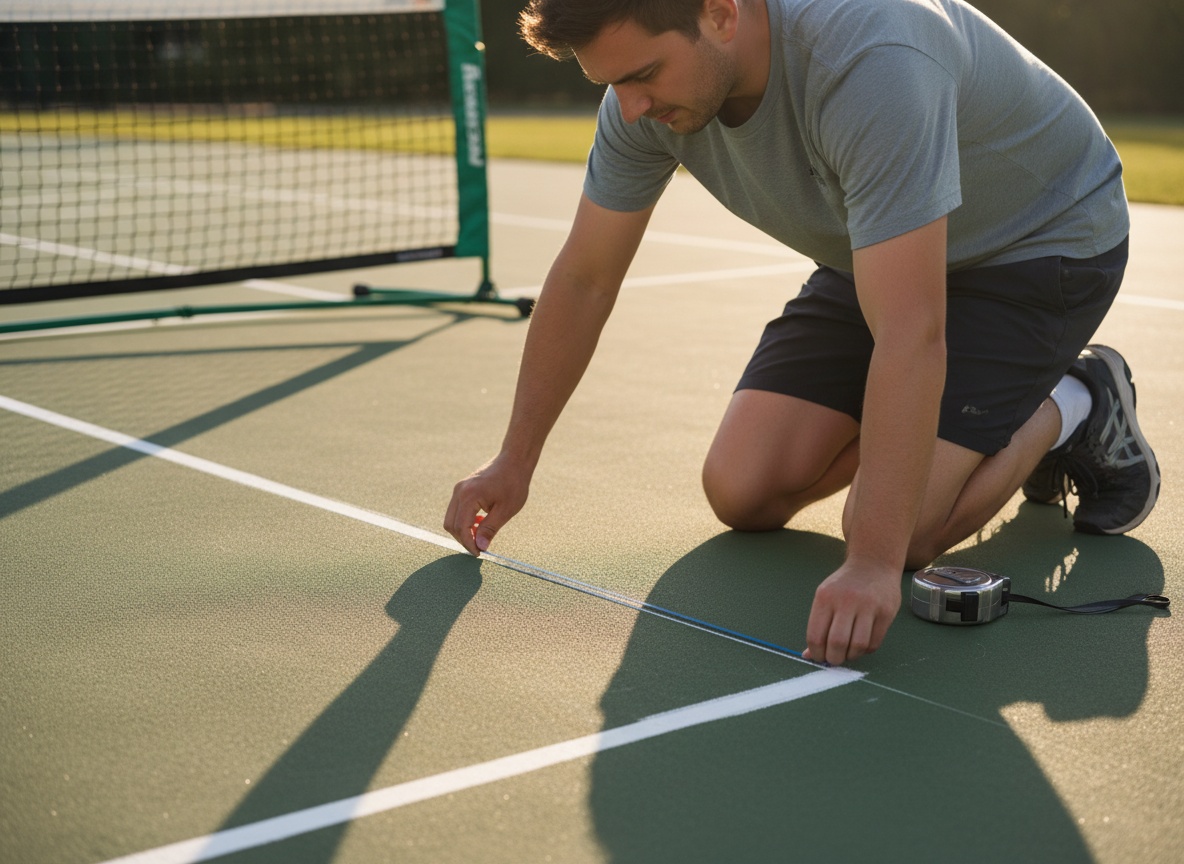
Whether you're using tape, chalk, or paint, the layout sequence is the same. Here's the court spec and the marking order that minimizes errors.
Official pickleball court dimensions:
- Playing area: 20 ft wide × 44 ft long
- Kitchen (Non-Volley Zone): 7 ft from net on each side
- Service areas: 15 ft deep × 10 ft wide (divided by centerline)
- Recommended total footprint with buffers: 30 ft wide × 60 ft long
Marking sequence for a 4-court overlay:
- Establish your reference corner. Use one corner of the tennis court baseline as your anchor point. Everything flows from this point.
- Mark the first court width. Measure 20 ft parallel to the baseline (add your side buffer on each side to get to 30 ft total). Snap a chalk line. This is your first court's sideline.
- Mark the baselines. From your anchor, measure 44 ft perpendicular (toward the net for court 1's opposite baseline, which runs along what would be the tennis court's depth). Remember: these courts run perpendicular to the tennis court's original orientation.
- Mark the kitchen lines. From each baseline, measure 15 ft toward the net position. The kitchen line runs the full 20 ft width of the court.
- Mark the centerline. From the center of the baseline, draw a line straight to the center of the kitchen line. This divides each service box.
- Repeat for all four courts. Courts 1 and 2 share one half of the tennis court width; courts 3 and 4 use the other half.
Verify every measurement before you mark permanently. A 1-inch baseline error means every service box is off. A chalk snap line is worth the $15. Don't eyeball it.
"The most common mistake I see on DIY court conversions is people marking the courts running the same direction as the tennis court instead of perpendicular. That gives you two long narrow rectangles instead of four proper courts — and nobody realizes it until they're standing in a service box that's obviously the wrong shape." — Grub, FORWRD co-founder
Net Options: Portable vs. Permanent Posts
The tennis net is in the wrong position for any of the four pickleball courts in a standard 4-court overlay. It sits at 39 feet from either baseline — the pickleball net needs to sit at 22 feet. You have two real options:
Portable pickleball nets ($80–$250 each): The practical choice for most conversions. You buy four nets, set them up before play, break them down after. Steel-frame designs hold regulation height (36 inches at posts, 34 inches at center) reliably. Shop for portable nets at Pickleball Central — they carry multiple options across price points: portable pickleball nets at Pickleball Central.
Permanent posts ($400–$800 installed per net): Appropriate for high-traffic club and municipal courts. Requires drilling anchor sleeves into the court surface — not reversible without resurfacing. For 4 courts, you need 12 anchor points (3 per court, sharing center posts between adjacent courts). If this court is going to host regular league play, permanent posts pay for themselves in convenience within a season.
Modified tennis net (for 2-court overlay only): If you're running just 2 pickleball courts with courts running parallel to the tennis court, the tennis net works with one adjustment — lower the center to 34 inches using a strap adjuster. Tennis nets run 36 inches at center; pickleball requires 34 inches. A center strap adjuster costs $10–$30 and clips to the existing center anchor. This gives you 2 courts instead of 4 but requires zero additional equipment beyond the adjuster.
Surface Conditions: What to Check First
Walk the court before spending anything. Surface issues you ignore now become bigger problems after you've painted or taped.
Cracks: Hairline cracks under ¼ inch are cosmetic — paint over them without concern. Cracks between ¼ and ½ inch wide need crack filler before paint; otherwise the paint traces the crack and looks bad within months. Cracks over ½ inch, or any vertical displacement where one edge of the crack is higher than the other, indicate structural issues. Get a professional assessment before investing in any surface work.
Drainage: Standing water pooling anywhere on the court after rain signals drainage problems — either the surface has settled unevenly or drainage channels are blocked. A puddle in the kitchen area creates a real slip hazard. Fix drainage before adding lines.
Surface grip: Older asphalt loses texture over time. Run your hand across the surface — if it's smooth and almost polished-looking, the grip has degraded. This matters more for pickleball's lateral stopping demands than for tennis. A textured resurfacing coat ($2,000–$4,000 for a full tennis court) restores grip and extends the surface life by a decade or more. Worth it if the surface is already borderline.
Multi-Court Layout: Details That Actually Matter
The 4-court overlay is efficient — but a few specifics trip up first-time conversions:
Sun angle: USA Pickleball recommends north-south court orientation for both tennis and pickleball to minimize sun glare. In the 4-court overlay, pickleball courts run perpendicular to the tennis orientation. If the tennis court runs north-south (ideal), the pickleball courts run east-west — which creates afternoon sun problems for players facing west. This isn't a dealbreaker for recreational play, but it's worth noting if the court gets heavy use in late afternoon.
Shared sidelines: In the 4-court layout, adjacent courts share a sideline. Using different line colors for adjacent courts (blue for courts 1 and 3, orange for courts 2 and 4, for example) dramatically reduces mid-rally confusion about which lines apply to your game.
Buffer zones: USA Pickleball recommends 10 feet behind each baseline and 5 feet on each side for safe play. In a tight 4-court tennis overlay, you'll often achieve only 5 feet behind baselines. Acceptable for recreational play, not for sanctioned tournament use. Know this limit before advertising the facility as tournament-ready.
Divider netting between courts: Without it, balls from one court roll freely into neighboring games constantly. Temporary net dividers (simple portable poles with mesh) run $200–$500 per divider for 3 dividers separating 4 courts — a $600–$1,500 investment that most multi-court operators eventually make.
HOA Approvals, Permits, and Noise
Private courts and homeowner-owned backyard courts usually have few hoops to jump through. HOA courts and neighborhood facilities are a different situation.
HOA approval: Get written confirmation from the HOA board before doing anything to the surface. Tape setups that don't permanently alter the court are typically exempt from formal approval. Painted lines almost never are — most HOA agreements require board approval for any surface modification. An email thread saying "approved" is sufficient documentation. A verbal "yeah, go ahead" from a board member is not.
Noise: Pickleball generates a distinctive percussive impact sound — roughly 70–80 decibels at 30 feet, similar to normal conversation but sharper and more repetitive. This has become a genuine point of friction at courts near residential properties. If your court is within 50 feet of neighboring homes, noise complaints are a realistic possibility. Address it proactively — talk to neighbors before launch, establish court hours, and consider sound barriers if the situation requires it.
Permits: In most U.S. jurisdictions, no permit is required for court resurfacing or line painting on an existing surface. Installing permanent net posts or adding structural elements (shade structures, bleachers) may trigger local building permits. Check with your local building department before drilling anything. A quick call takes 10 minutes; permit violations take much longer to resolve.
ADA compliance: Municipal facilities open to the public must maintain ADA accessibility standards. A court conversion doesn't change your ADA status, but any new added structures must follow ADA spacing and accessibility rules.
FAQ: Tennis Court to Pickleball Conversion
How many pickleball courts fit on a tennis court?
Four regulation pickleball courts fit on one standard tennis court using the recommended 30 × 60 foot total footprint per court. The math works exactly: 60 feet wide / 30 feet per court = 2 courts across; 120 feet long / 60 feet per court = 2 courts deep. Some facilities fit 4 courts at minimum dimensions (20 × 44 ft playing area + tight buffers), but this reduces safety runoff below USA Pickleball's recommended standards.
How much does it cost to convert a tennis court to pickleball?
DIY tape lines run $50–$200 total. Professional paint striping on an existing surface costs $800–$2,000 for four courts hired out, or $150–$400 in materials for DIY. Sport tile overlays run $12,000–$26,000 for four courts fully installed. Full resurfacing with pickleball stripes starts around $4,000 on a sound surface and climbs to $12,000+ on damaged asphalt. The surface condition drives the cost more than anything else.
Can I use the existing tennis net for pickleball?
Yes, but only in a 2-court overlay where pickleball courts run parallel to the tennis court orientation. Lower the center to 34 inches (pickleball regulation) using a center strap adjuster — available for $10–$30. For a 4-court overlay where courts run perpendicular to the tennis orientation, the tennis net isn't in the right position for any of the pickleball courts. You'll need separate portable pickleball nets for each court.
What color pickleball lines should I use on a tennis court?
Blue. It contrasts clearly against both green and red clay tennis surfaces and reads distinctly from white tennis lines. Avoid white (matches tennis lines), yellow (matches some older tennis line paint), and any color already present in the existing striping. For four-court overlays, consider using two alternating colors for adjacent courts — it reduces mid-rally confusion about which court's lines apply.
Do I need a permit to convert a tennis court?
For line painting on an existing surface: typically no permit required in most U.S. jurisdictions. For permanent net post installation or structural additions: check your local building codes first. HOA courts require board approval regardless of permit status — get it in writing before starting. Municipal or publicly accessible courts may have additional requirements around ADA compliance and liability signage.
How do I lower a tennis net for pickleball?
Use a center strap adjuster, which attaches to the center strap anchor already built into most tennis courts. Pull the center of the net down to 34 inches — pickleball's regulation center height — and clamp or tie it at that position. The posts stay at 36 inches, which matches pickleball's post height exactly. Total cost is $10–$30 and it takes about 5 minutes. This only works for a 2-court overlay using the existing net position.
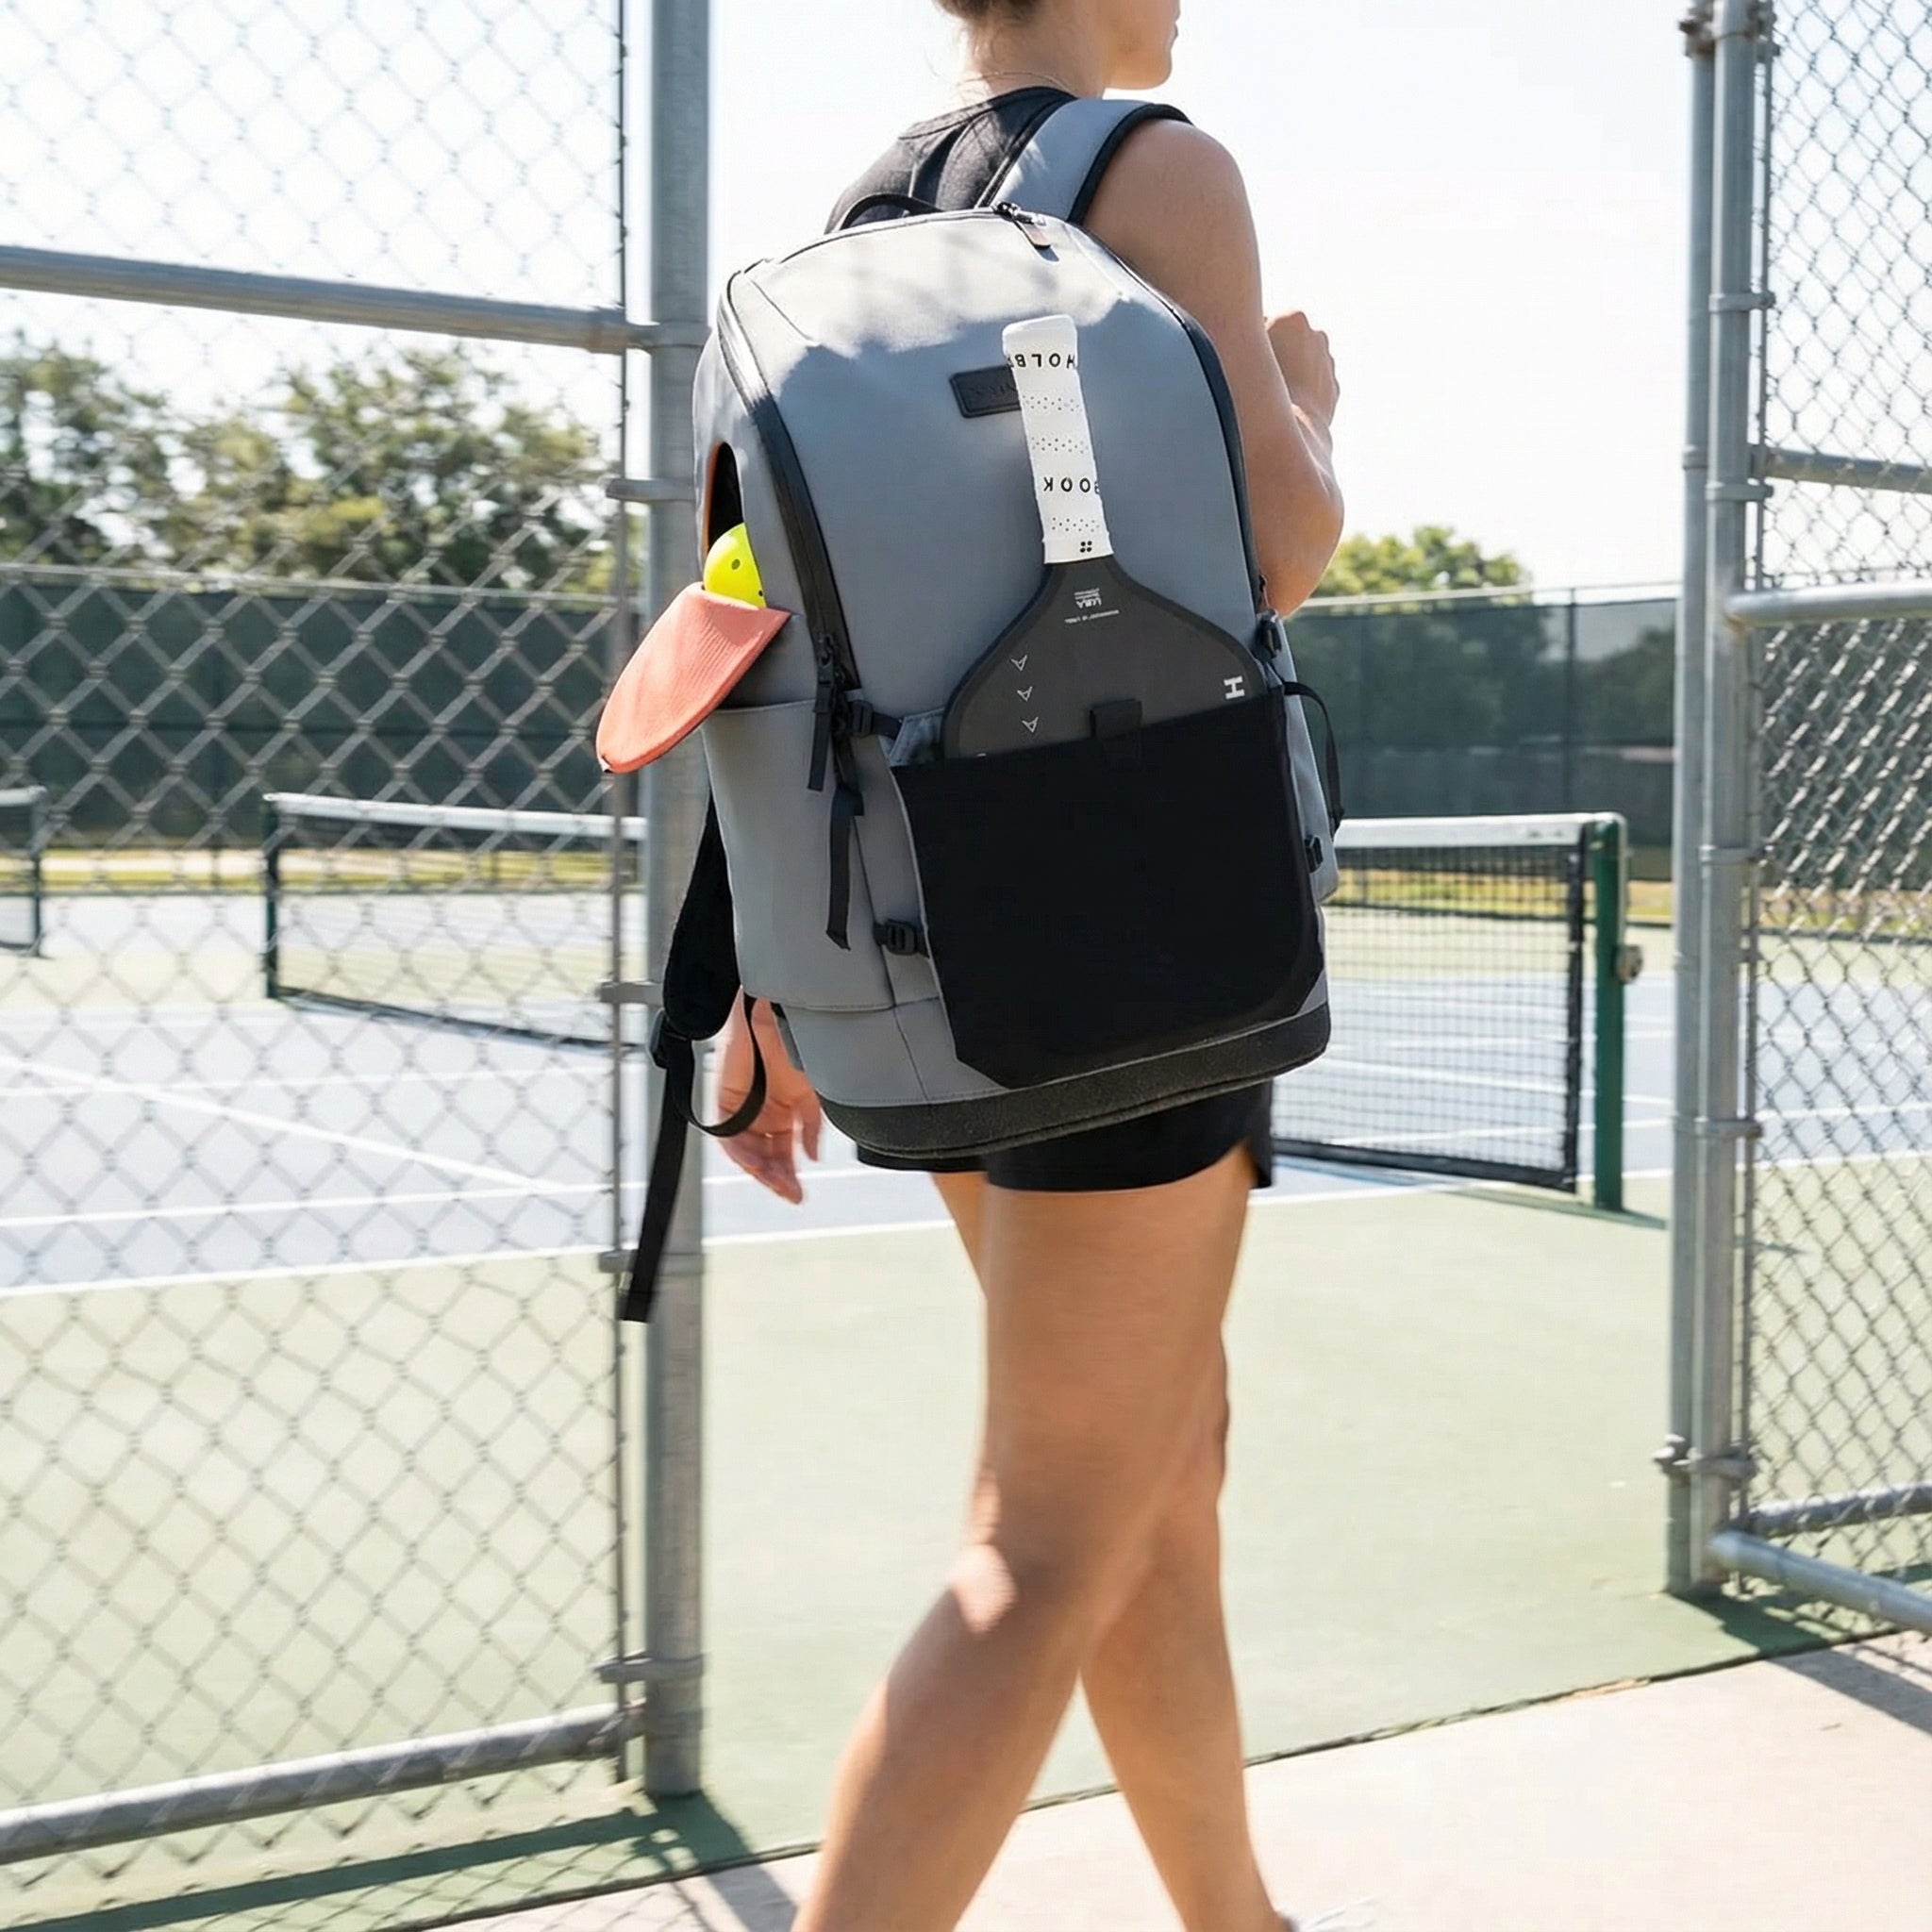
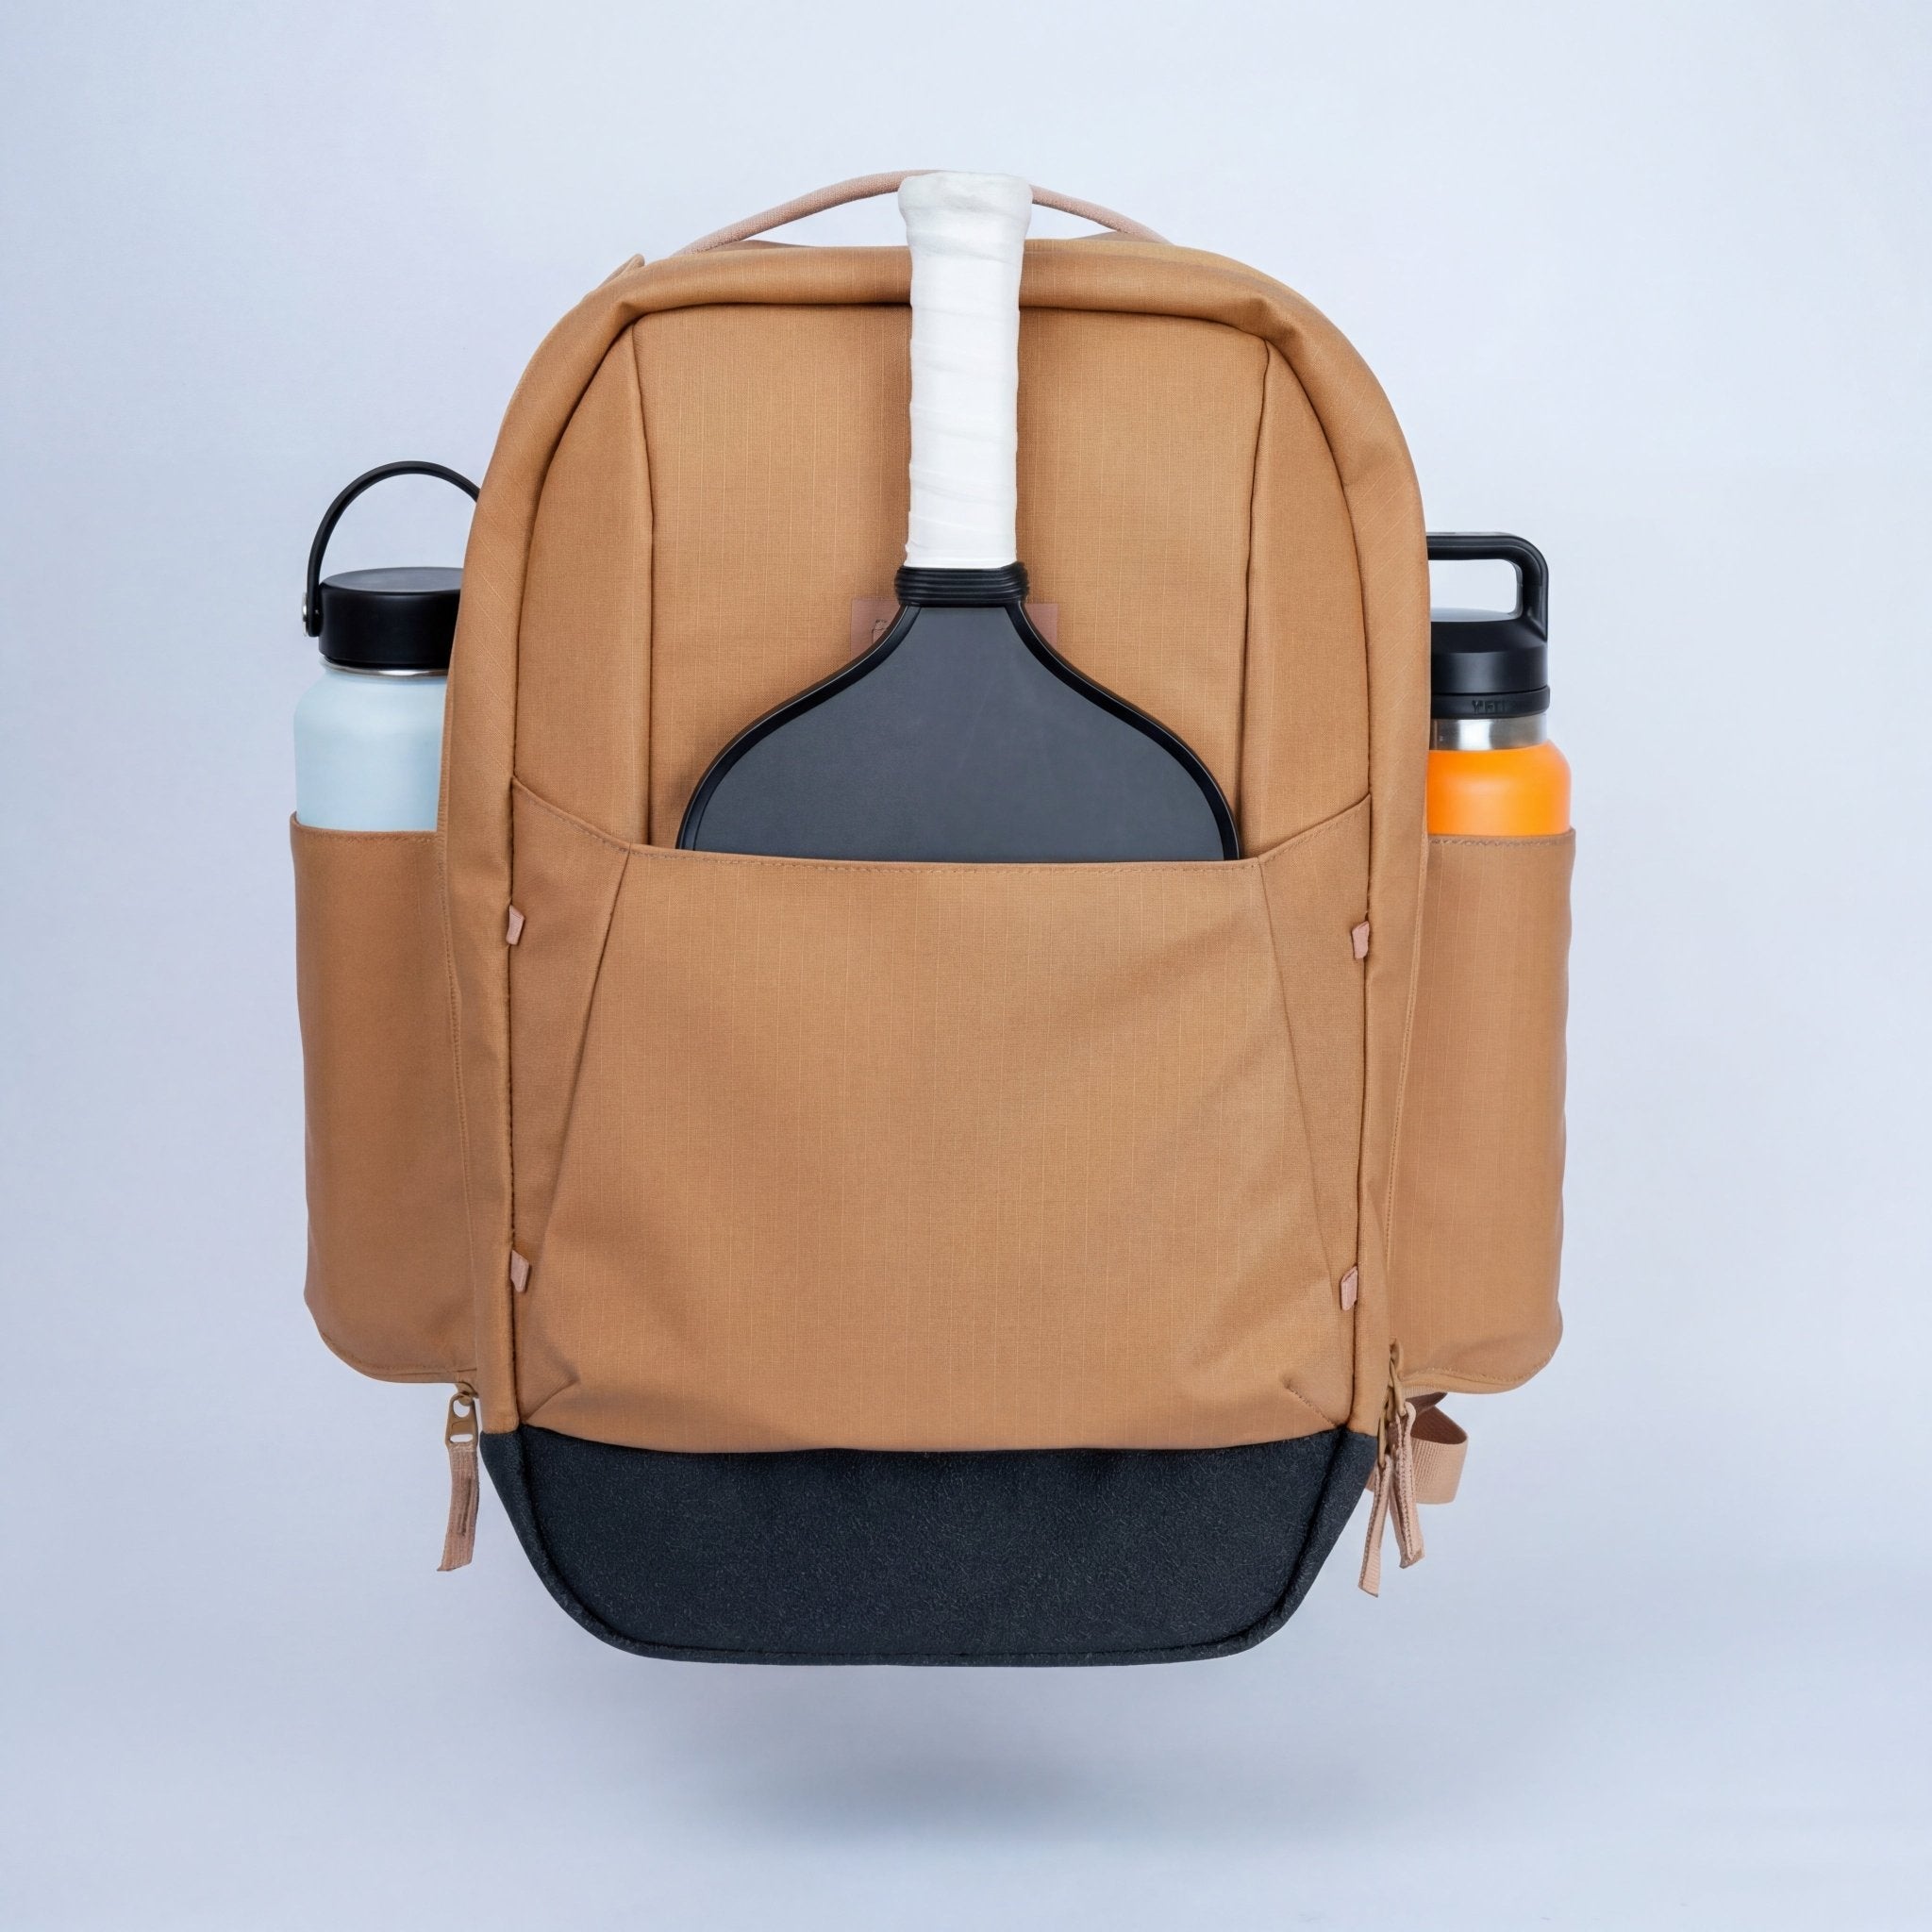
Once the Court Is Built, You Need a Bag That Lives There
Most backyard court players end up keeping a dedicated bag at the court — paddles ready, balls sorted, grips fresh. The Court Ranger V2 ($195) works well here: separate ball pocket, modular paddle sleeve for 2–4 paddles, and durable enough to sit in a garage or patio storage between sessions. Court Caddy ($325) if you're also hauling a laptop or running league nights with multiple paddle setups.


Leave a comment
This site is protected by hCaptcha and the hCaptcha Privacy Policy and Terms of Service apply.