
Last updated: June 2026
The transition zone — that 7 feet of court between the baseline and the non-volley zone line — is where more points end at the 3.0–4.0 level than anywhere else. Not because of bad technique. Because players freeze up when they get there. The fix isn't a new drill or a better third shot drop. It's recognizing that the transition zone shows up in two completely different situations — and those two situations require two completely different responses. No other guide makes that distinction. This one does.
What the Transition Zone Is (And Why It Scares Most Players)
The transition zone starts roughly 7 feet behind the non-volley zone line and extends back toward the baseline. It's the no-man's-land between two clearly defined court positions — not deep enough to take groundstrokes comfortably, not close enough to control the net. Opponents at the kitchen line have the angle advantage on you. Balls that land near your feet arrive on a trajectory that makes clean contact genuinely difficult.
The situation gets worse because most players don't recognize they're facing two different versions of the same problem. The transition zone appears in two distinct scenarios:
Scenario 1 — The planned approach. You've hit a solid return of serve and you're advancing toward the NVZ deliberately. The transition zone is a passage you move through on the way to the kitchen. You control when you're there and roughly how long.
Scenario 2 — The scramble recovery. You were at the kitchen line, your opponents lobbed you or drove you back with a hard ball, and now you're retreating and trying to fight your way back into position. You're in the transition zone against your will, under pressure, with your opponents at the net.
Same physical location on the court. Completely different strategic situation. The #1 error we see at club level isn't a bad punch volley or a missed drop — it's a player applying Scenario 1 thinking to a Scenario 2 situation and trying to advance immediately when they should be resetting first. Get that distinction clear and the rest of transition zone play becomes much more manageable.
Transition zone mastery is one chapter in the larger game — for the full tactical framework, see our complete pickleball strategy & tactics guide.
The Golden Rule: Move Through It, Don't Live In It
The most important principle about the transition zone: it's a passthrough, not a position. Your goal is always to be moving through the zone toward the kitchen line. Players who get punished are the ones who stop moving to hit a shot and then can't recover position before the next ball arrives.
In the planned approach — advancing after a return of serve — the play is straightforward. Hit a solid return, start moving forward immediately, and keep moving. Don't stop to see where your return lands. If the next ball comes while you're in transition, take it as a volley on the move. Pull up only when the ball is at your feet and you genuinely have no other option.
The moment you stop moving in the transition zone is the moment your opponents have you. A stationary player in midcourt is a ball attack waiting to happen. A moving player is a harder target and is one shot away from the kitchen line.
"The players who hate the transition zone are the ones who try to WIN from it. You don't win from the transition zone — you survive it and advance."
— Grub, FORWRD
In the scramble recovery — being pushed back from the kitchen — the rules change. You're retreating while your opponents hold the net with the angle advantage. Here, the goal isn't to immediately re-advance. It's to reset the rally first, get your feet set, then close the distance again.
Scramble recovery requires at least one soft reset shot — often two — before you start advancing again. Players who try to move forward immediately after being scrambled back get caught mid-step when the next ball arrives. Reset, stabilize, then advance. Two separate steps, not one continuous motion.
How to Handle Balls at Your Feet: The Split-Step and Punch Volley
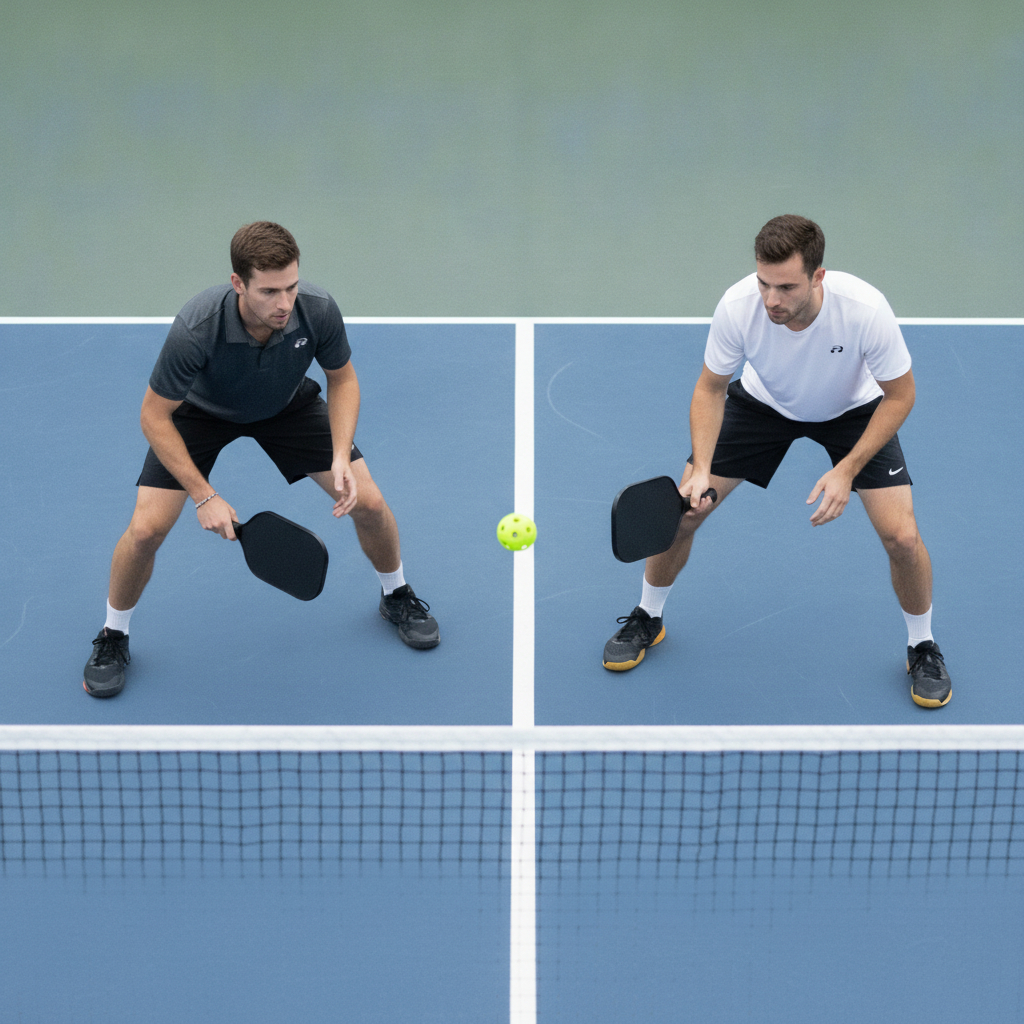
The ball at your feet in the transition zone is the defining moment. Get it right and you stay in the point. Get it wrong and you float up an easy put-away.
The split step is the foundation. It's a small controlled hop — you land just as your opponent makes contact with the ball, feet slightly wider than shoulder-width, weight on the balls of your feet, knees bent. Done right, it gives you a half-second of balance before the ball arrives. Timing is critical: split step as your opponent contacts the ball, not after you see ball direction. By the time you see the direction, it's too late.
Without the split step, you're likely mid-stride when the ball reaches you — the worst possible contact moment. That's what produces the flailing, arm-only reach that turns a manageable transition ball into a pop-up.
The punch volley from the transition zone is not a swing. Three cues:
One — compact backswing. The paddle starts in front of your body, not behind your shoulder. There's no time for a full swing in the transition zone.
Two — contact out in front. Meet the ball before it gets beside you or past you.
Three — opposite-foot step. As you contact, your foot opposite to your paddle hand steps into the ball. This is the cue most players skip, and it's the one that creates the stability needed for a controlled punch. Without it, you're hitting with arm only and losing the weight transfer that drives a clean shot.
One hard rule: if the ball is below the net line at contact, don't punch. Switch to an open paddle face and absorb it softly — a reset rather than an attack. The punch volley only applies to balls at net height or above. Below net height going for pace almost always produces a floated return.
The Drop From Transition: Your Exit Route When You're Pinned
Sometimes you can't advance. The ball is too low, you're off-balance, or your opponents are hitting you with a rapid exchange that pins you in the middle of the court. In those situations, the transition drop is your exit route.
The transition drop is mechanically similar to a third shot drop — a soft arcing shot designed to land in the kitchen and prevent an attack. The difference is context: you're hitting from midcourt, not the baseline, which means less margin for height (the kitchen is closer) and less recovery time before you need to be moving again.
Three keys to a clean transition drop:
Take the ball early. Contact it while it's still rising or at its apex, not while it's dropping past your knees. Late contact forces a scooping motion that adds unpredictable topspin — exactly what causes the ball to float up instead of drop.
Use your non-paddle hand. Extending your non-dominant hand toward the ball as you line up the shot pulls your shoulder into alignment and naturally promotes an in-front contact point. Sounds odd, but players who build this habit see measurable drop consistency improvement within a few sessions.
Start moving forward at contact. Don't wait to see the drop land. If you've hit it with the right soft touch, it's going in the kitchen — begin your advance immediately so you're closing the distance while your opponents are reacting to the shot.
The transition drop and the reset share the same underlying contact principle — absorb-and-soften rather than redirect with pace. Our pickleball reset strategy guide covers those mechanics in detail if you want to build both shots at the same time.
When It's OK to Stay in the Transition Zone (Advanced Situations)
There is one legitimate exception to the "move through it" rule. It's the most overlooked concept in transition zone coaching — and it's where points are being left on the table by even 4.0 players who haven't been taught it explicitly.
When your opponent puts up a high, slow ball — a short lob or a soft ball that floats above shoulder height — staying in the transition zone and driving through it creates a better attack angle than advancing to the NVZ first.
Here's the geometry: if you advance to the NVZ while the ball is traveling downward, you're hitting below shoulder height with a more restricted angle. But if you hold your ground in the transition zone and intercept the ball at its peak — shoulder height or above, in front of your body — you can drive downward into the court at an angle that's nearly unreturnable. The extra distance from the net actually works in your favor because there's more court to attack into.
The decision rule: if the incoming ball will be above shoulder height when you intercept it, stay back and drive. If the ball is going to arrive at or below shoulder height, advance and put it away from the NVZ.
This is a 4.0+ read. At 3.5 and below, your default should be to advance — you likely don't yet have the ball-trajectory reads to make this decision reliably under pressure. Build the advance-to-kitchen habit first, then layer in the exception once your transition zone reads are automatic. According to USA Pickleball's rating framework, the ability to make situational decisions from midcourt is a defining marker of the 4.0+ player.
Building the Approach into Your Practice
The transition zone fails in matches for one reason: players understand the concept but haven't drilled the two-scenario distinction into muscle memory. Here's how to fix that specifically.
Planned approach drill. Start at the baseline, partner at the NVZ. Hit a deep return, then advance without stopping. Partner hits back — take it as a volley from wherever you are, then keep advancing. Repeat until you're at the kitchen. The rule: never stop between shots. Most players break this within two or three ball exchanges. Do it until three clean exchanges in a row without a full stop feels automatic.
Scramble recovery drill. Start at the kitchen line. Partner lobs you back to the transition zone. You reset with one soft shot into the kitchen, then re-advance to the NVZ. Partner alternates kitchen exchanges with lobs. This trains the mindset switch: identify when you've been scrambled back, reset before advancing, then close the distance again. The reset-before-re-advancing sequence is what most players skip under match pressure.
Ball-at-feet drill. Have a partner feed directly at your feet from across the net while you stand in the transition zone. Practice split step timing and the punch volley — don't try to win the point, just absorb and return safely. Ten minutes of this before any dedicated transition zone session. After a week, the split step starts to happen automatically under pressure.
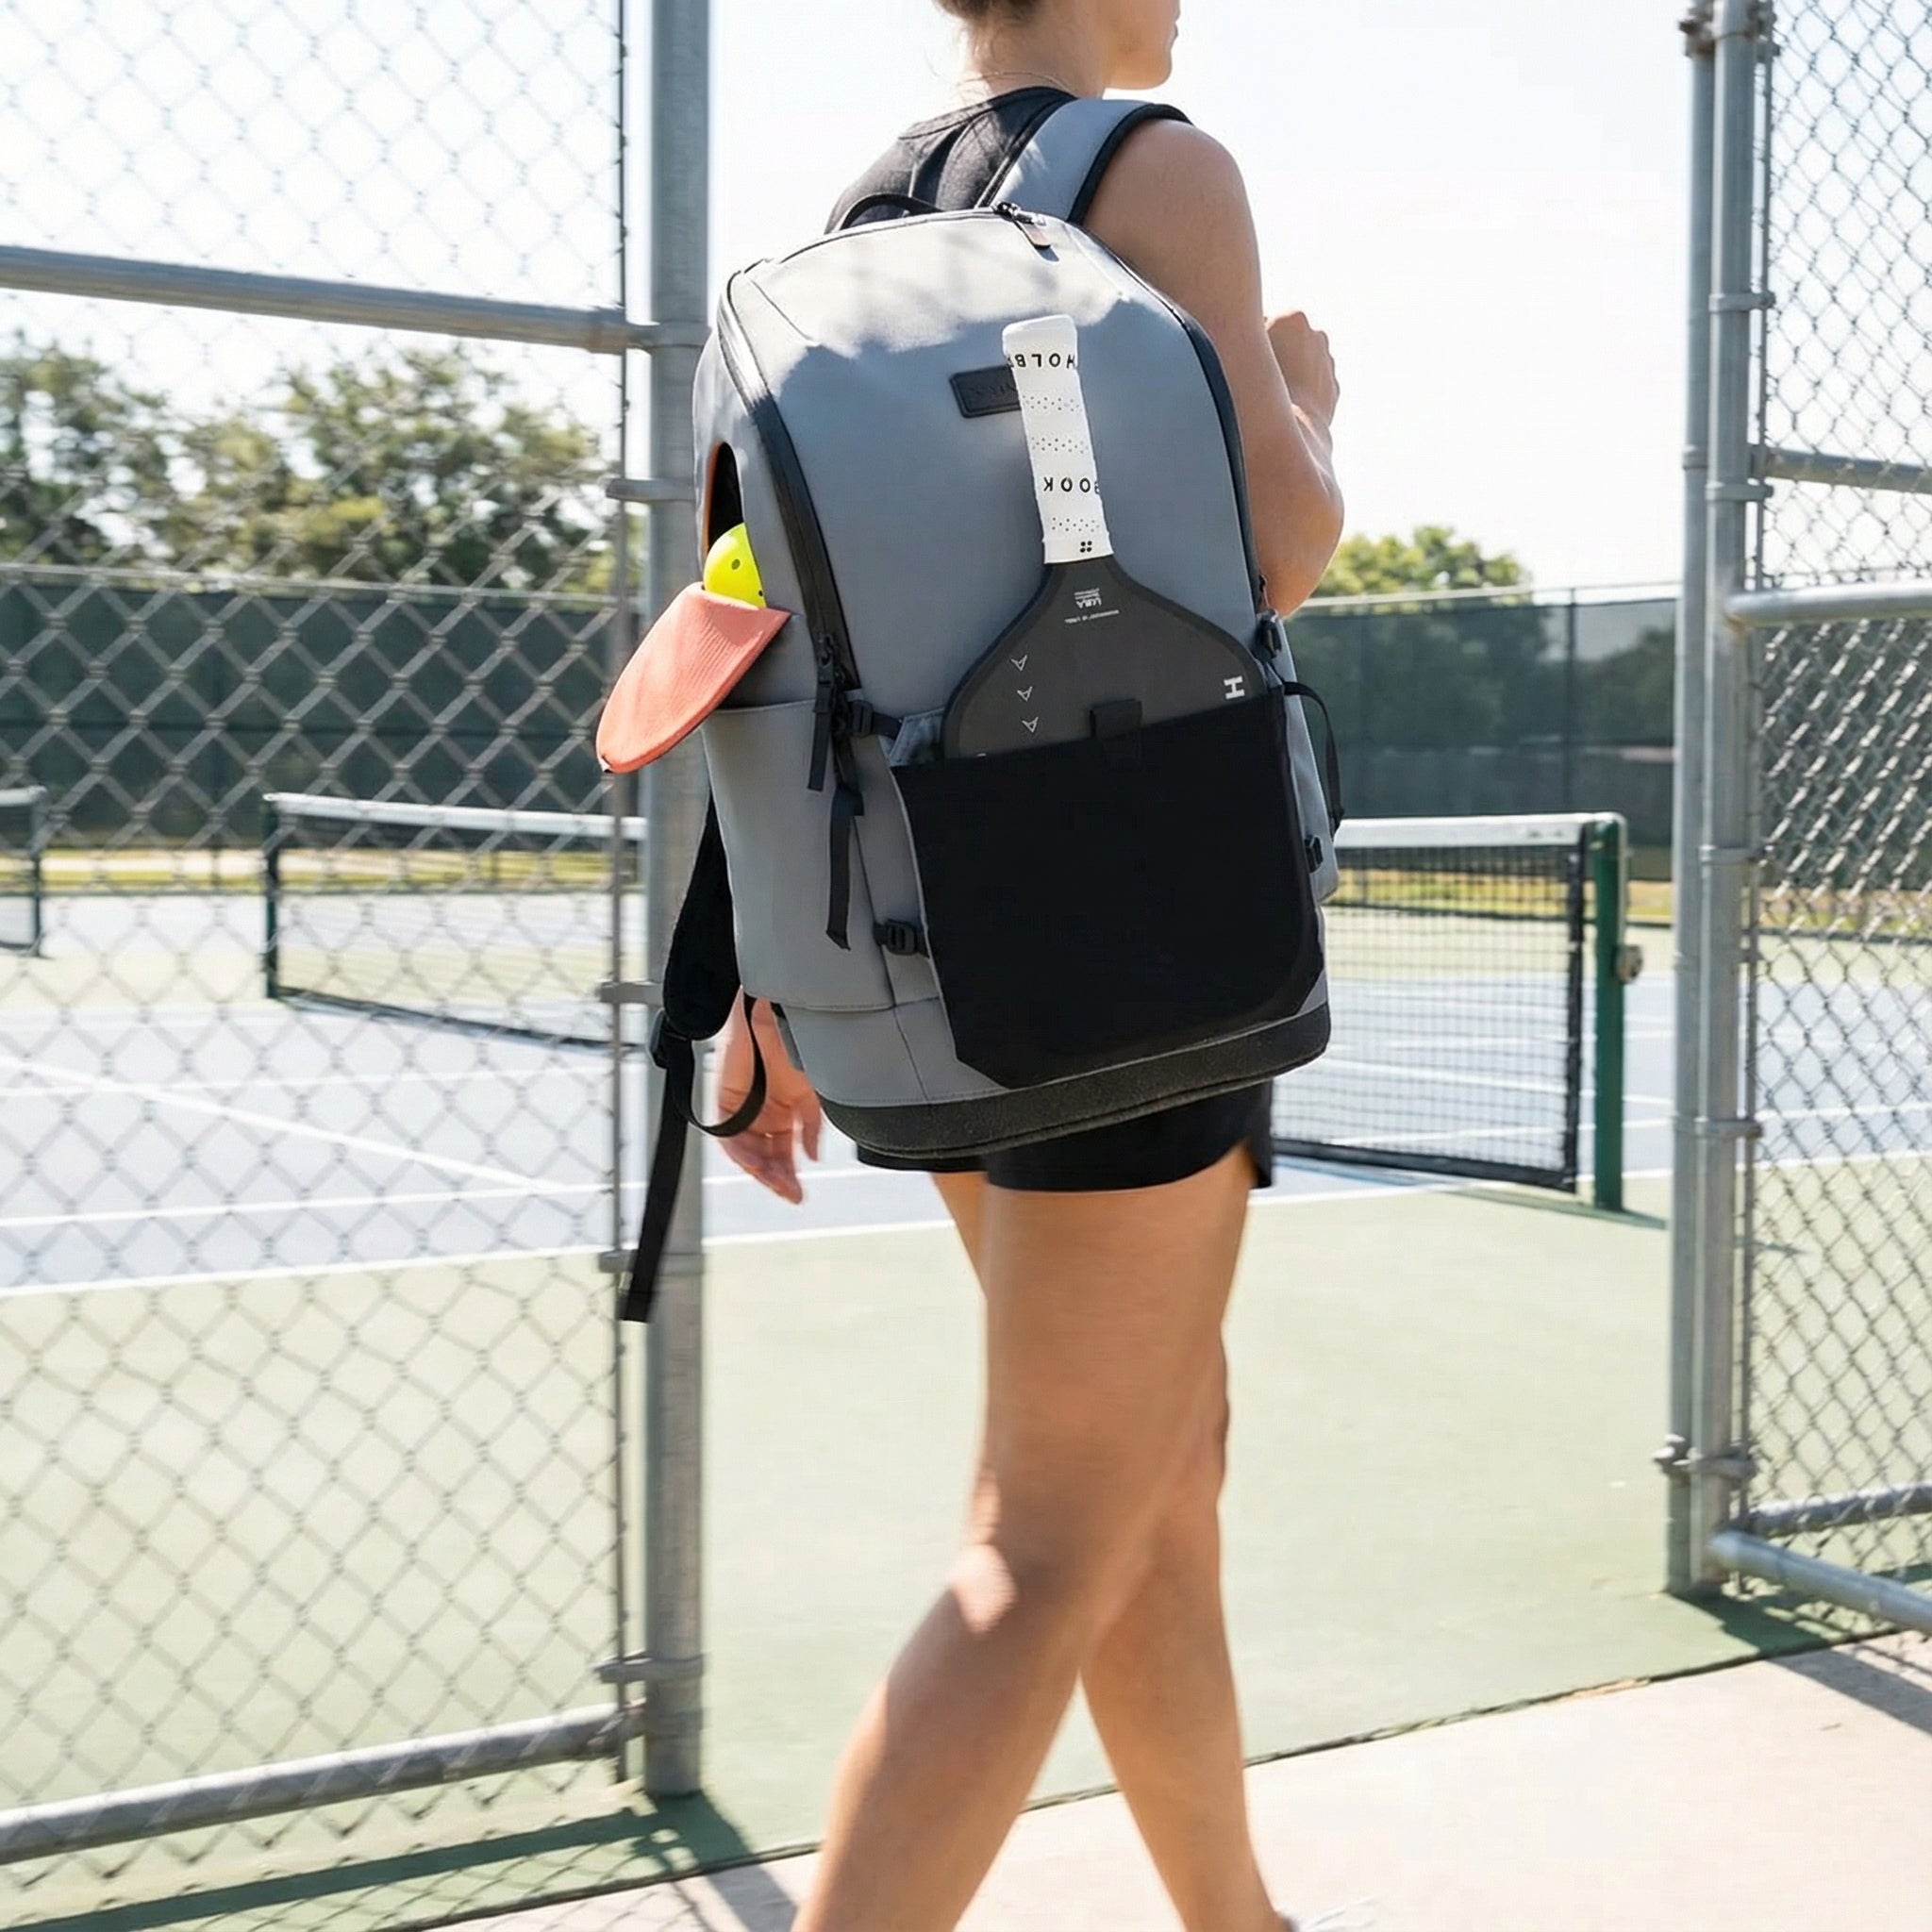
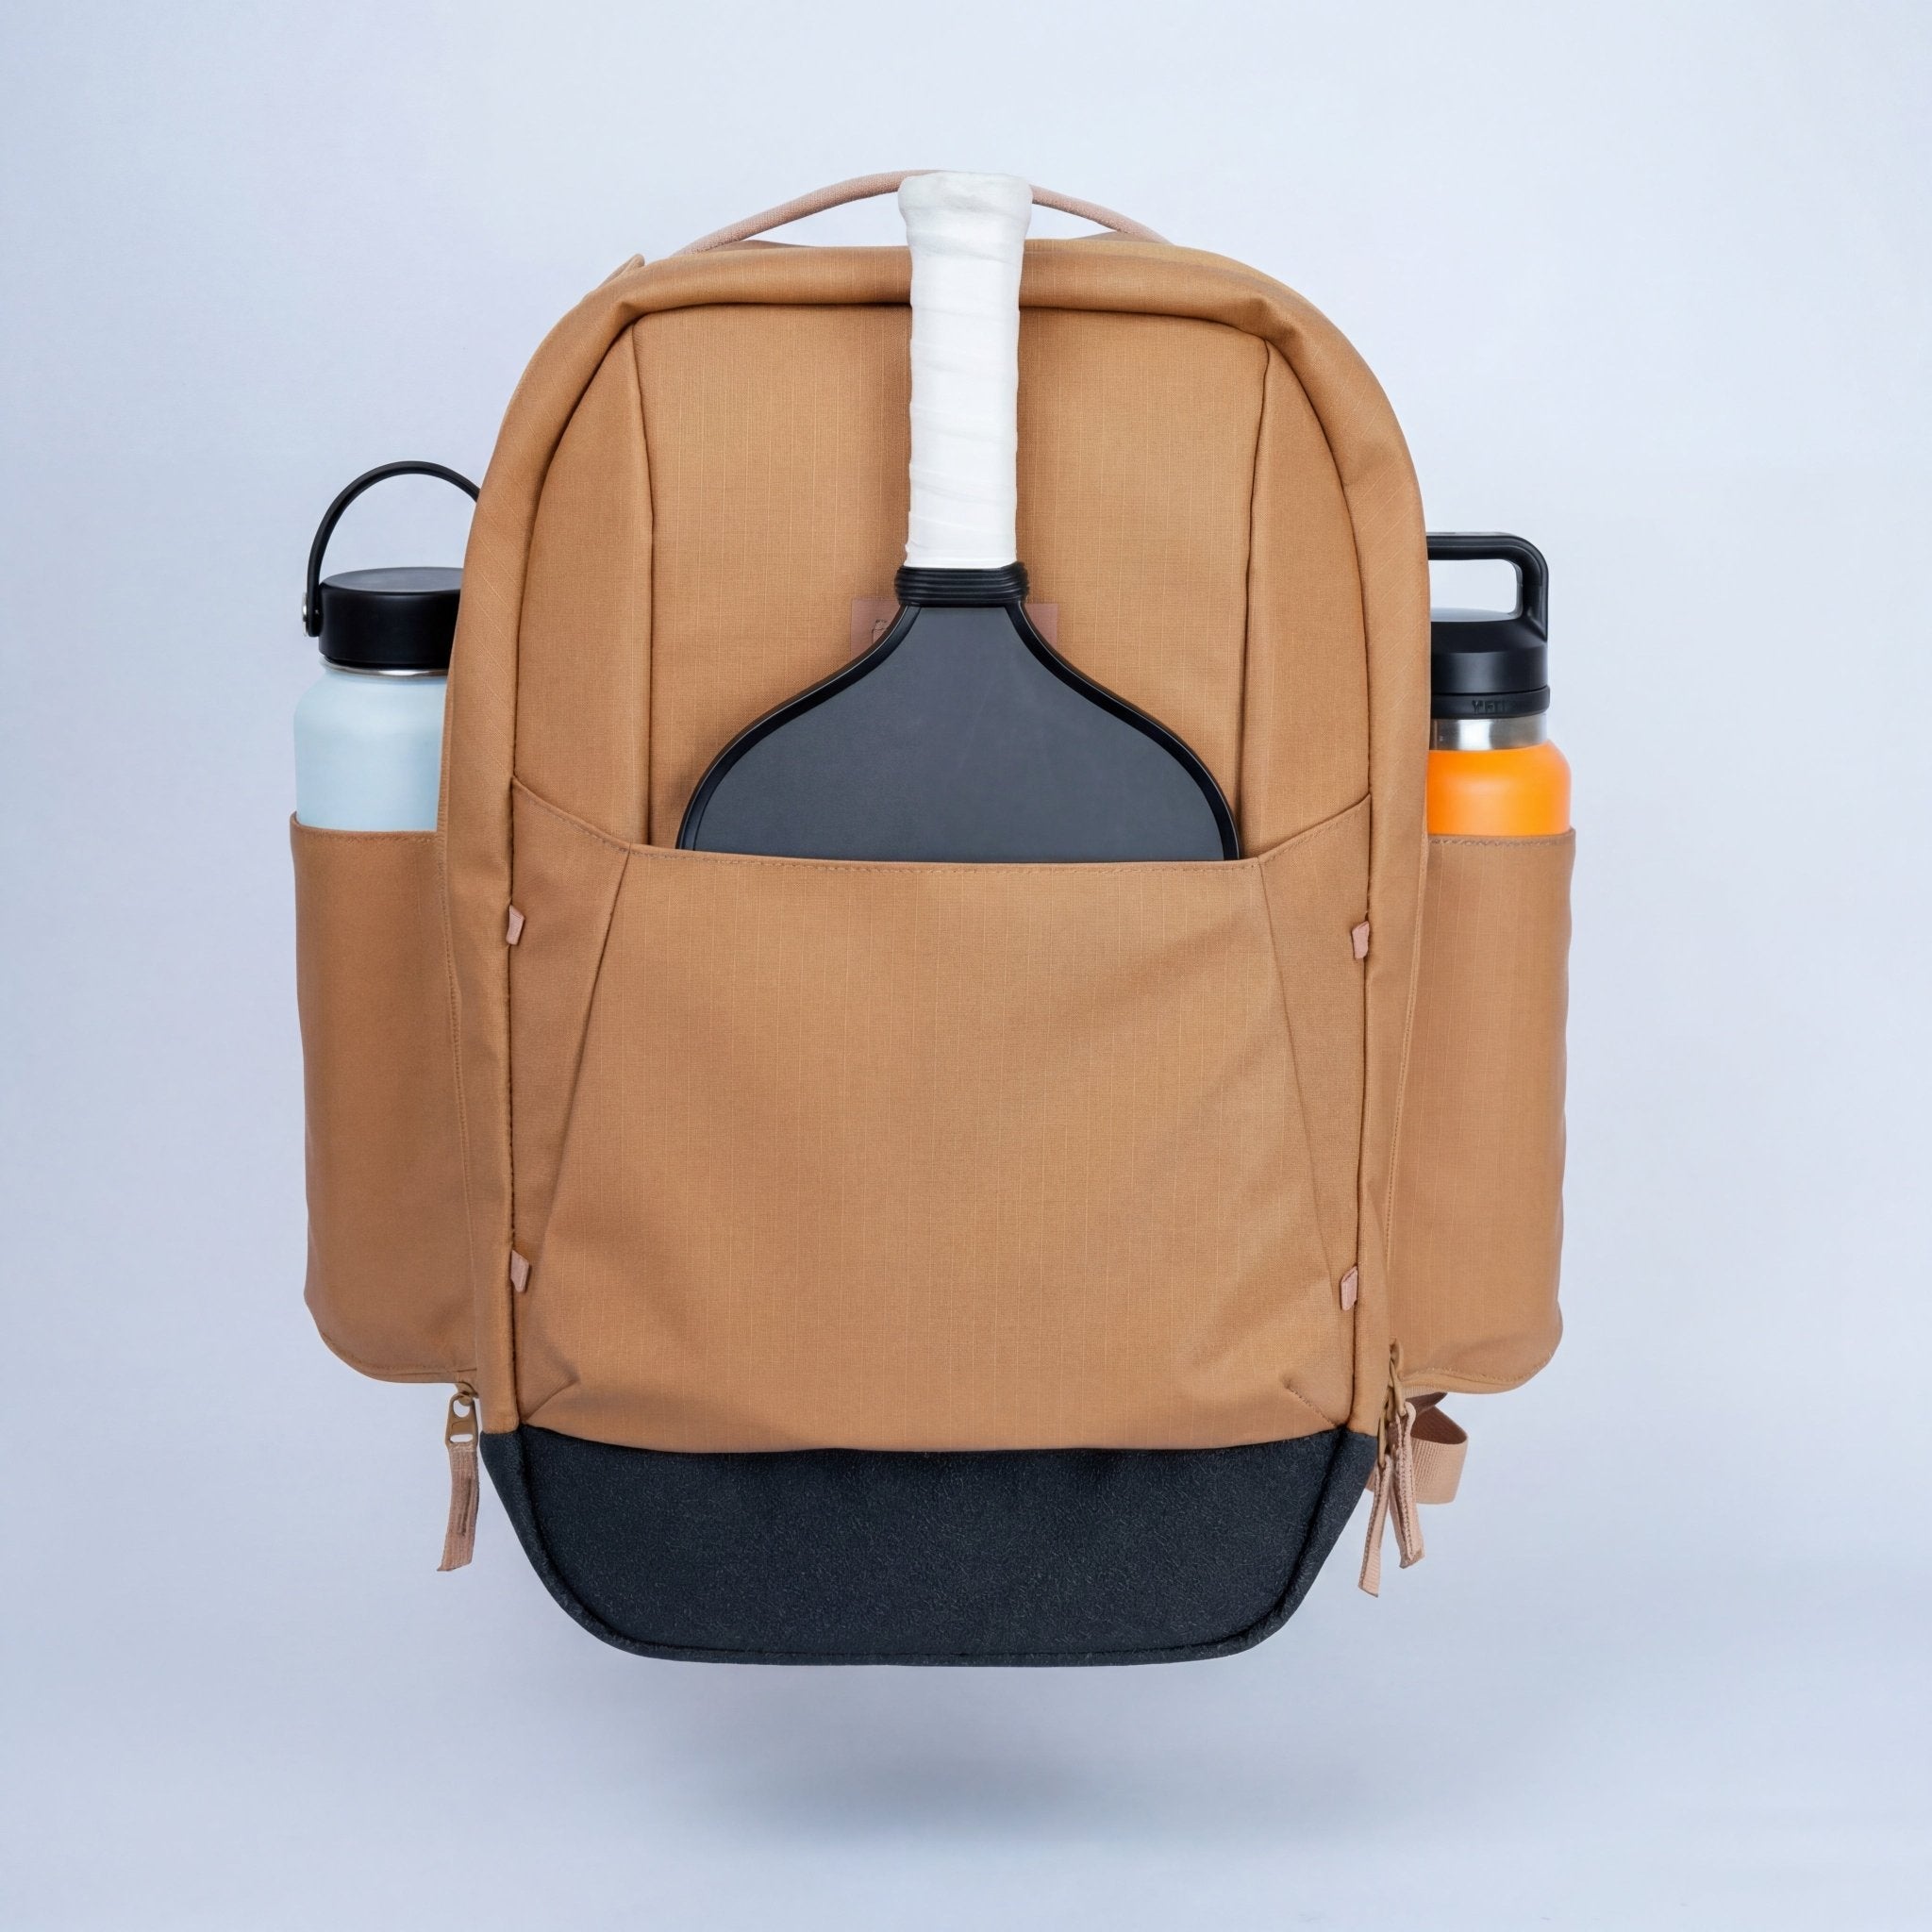
If you're running structured drilling sessions with extra balls, the Court Ranger V2 keeps multiple balls in the exterior side pockets — useful for high-volume transition drilling where you want balls within reach between reps instead of chasing them down every set.

Shop the Court Ranger V2 — $195 →
FAQ: Pickleball Transition Zone Questions
What is the transition zone in pickleball?
The transition zone is the midcourt area between the baseline and the non-volley zone (NVZ) line — roughly 7–14 feet behind the NVZ. It's called "no man's land" because it's the most vulnerable position on the court: you're too far from the net to control the kitchen, and too close to hit groundstrokes cleanly. The goal is to move through this zone toward the NVZ, not linger in it.
Why is the transition zone called no man's land?
Opponents at the kitchen line have the angle advantage on you when you're in midcourt — balls hit at your feet from that position are among the hardest to handle in pickleball. You're too close to the net to use full baseline mechanics, too far back to dominate the NVZ. The name reflects that it's a tactical no-win if you stay there — the goal is always to pass through it.
How do you handle balls hit at your feet in the transition zone?
Split step as your opponent contacts the ball to get balanced, then use a punch volley — compact stroke, paddle out in front, opposite-foot step for stability. If the ball is below net height, switch to an open paddle face and absorb it softly (a reset). Contact early, before the ball drops past your knees. Late contact below the knees produces a scooping motion that almost always results in a floated pop-up.
Should you stop in the transition zone or keep moving?
Keep moving. A stationary player in midcourt is an easy target. The goal is to take balls as volleys on the move, advancing toward the NVZ with each shot. Stop only to split step for a ball directly at your feet — then immediately restart your advance. Stopping and waiting in the transition zone is one of the most common ways club-level points end prematurely.
What shot should you hit from the transition zone in pickleball?
If the ball is at or above net height and you're balanced: punch volley, keep advancing. If the ball is below net height or you're off-balance: soft drop into the kitchen to neutralize the exchange. Never attempt an attack from below the net line — the resulting upward swing path almost always produces a floated ball your opponents can put away easily.
When is it OK to stay in the transition zone?
One legitimate scenario: when your opponent puts up a high, slow ball that will arrive above shoulder height. Driving that ball from the transition zone creates a steeper downward attack angle than advancing to the NVZ would. This is a 4.0+ read — at 3.5 and below, default to advancing and develop the situational exception later.
Leave a comment
This site is protected by hCaptcha and the hCaptcha Privacy Policy and Terms of Service apply.