Last updated: June 2026
The pickleball overhead smash ends more points than any other shot in the game — not because it's the hardest to hit, but because you're attacking from above the net with a downward angle that simply doesn't exist anywhere else in a rally. The overhead wins when you smash from the right position at the right ball height. It loses when you try to overhead a ball you should've let bounce, or when you're caught in the transition zone mid-movement. This guide is about knowing the difference.
The mechanics matter, but they're not what separates 3.5 from 4.0 on this shot. Decision-making does. The overhead is one chapter in the full tactical game — for the complete strategic framework, see our complete pickleball strategy & tactics guide.
Table of Contents
- What Makes the Overhead Different From Every Other Shot
- Reading the Lob: How to Get Into Position Before the Ball Peaks
- The Mechanics: Contact Point, Swing Path, and Follow-Through
- When to Smash, When to Drop, When to Reset (The Decision Matrix)
- Setting Up the Overhead: How to Force a Ball You Can Attack
- Defending the Overhead: What to Do When You're on the Wrong Side
- FAQ: Pickleball Overhead Smash Questions
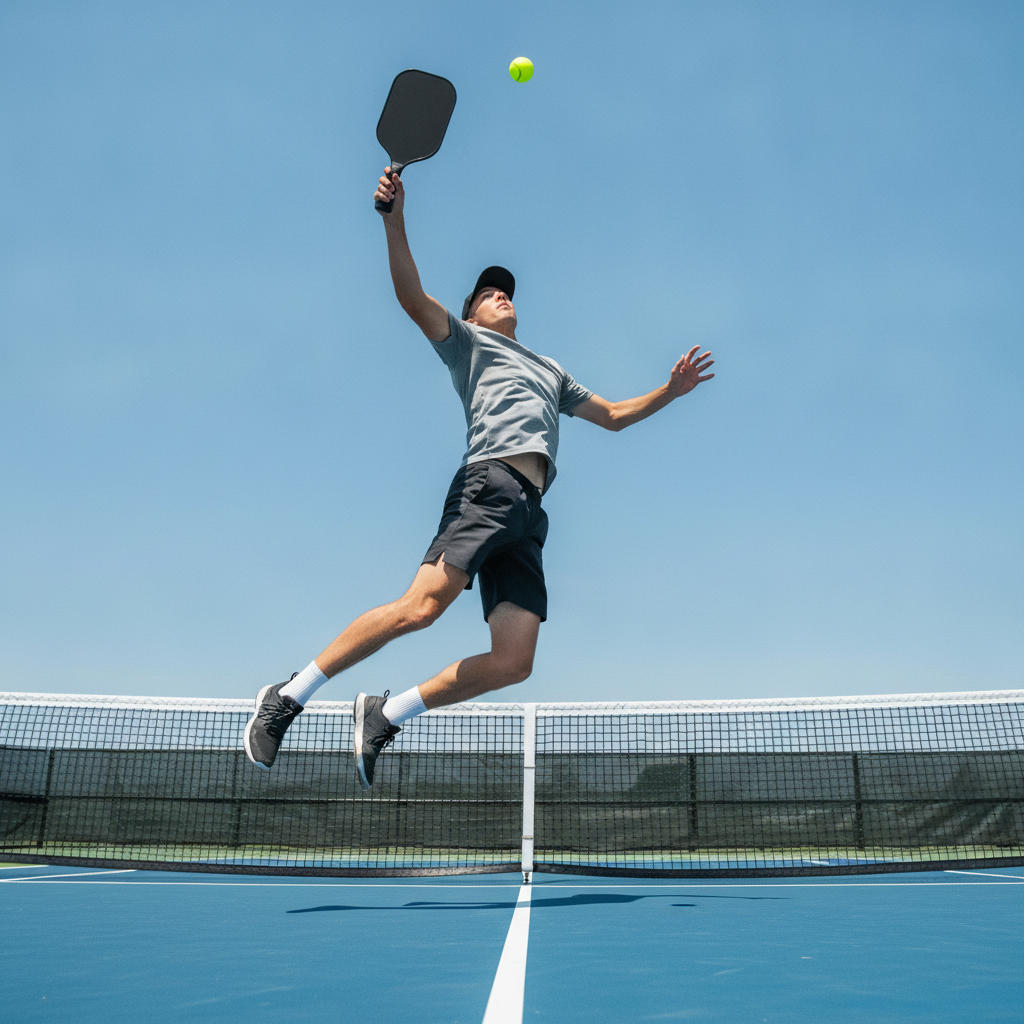
What Makes the Overhead Different From Every Other Shot
Every other shot in pickleball is hit with the ball at or below net height. The dink, the third shot drop, the drive — you're always fighting upward geometry. The overhead is the only shot where you have height advantage: the ball is above your shoulder, above the net, and you're swinging downward into your opponent's court.
That angle is the weapon. A ball struck from full extension with a downward trajectory has almost no defensive answer if it's placed well. That's why top PPA Tour players end overhead exchanges in one shot far more often than drive exchanges in five — the geometry does the work.
But that angle also creates the overhead's biggest failure mode: if you make contact from too low a point, or from too deep in the court without time to set up, the downward trajectory disappears. Now you're hitting a flat shot from mid-air with no power advantage — and the ball sails long.
The overhead isn't a power shot. It's an angle shot. It wins because of geometry, not because you swung harder. Once you internalize that, the decision-making becomes much clearer.
"The overhead doesn't end points because it's powerful — it ends points because it's angled downward from above the net. That angle isn't available on any other shot. Players who understand that use the overhead to close rallies; players who don't try to power it past their opponents and pop it long."
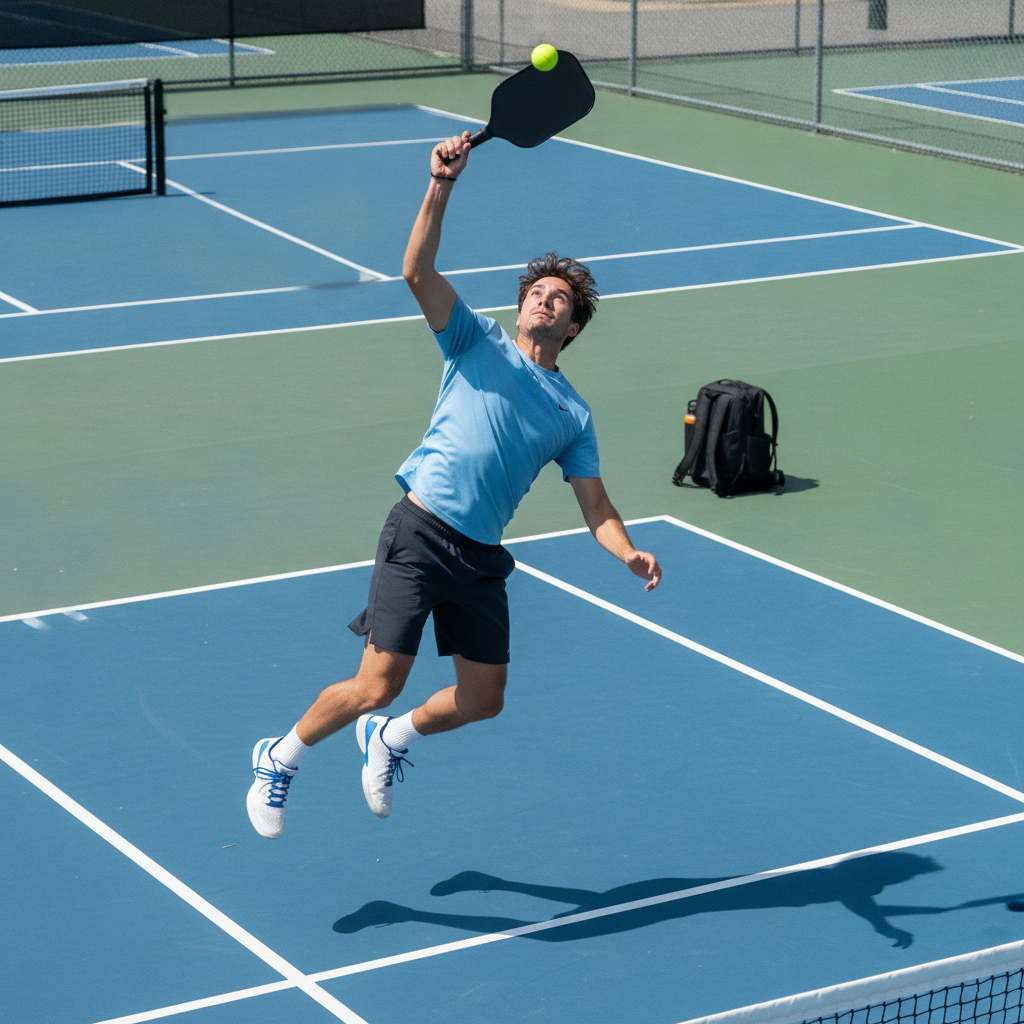
Reading the Lob: How to Get Into Position Before the Ball Peaks
The most common overhead error at 3.0–4.0 level isn't a bad swing. It's late footwork.
The player reacts to the lob after it's already falling, tries to hit a retreating overhead with their weight going backward, and produces a weak pop that sails long or dies into the tape. The fix starts before you swing — it starts the moment you read the lob off your opponent's paddle.
When you see that upward trajectory leave their paddle, turn your shoulders, shuffle back (don't backpedal — turn your body so you can see the arc), and get underneath the ball before it peaks. Your non-paddle hand should point up at the ball. This keeps your head up, your body oriented, and gives you a tracking reference.
The goal is to arrive with time to spare. If you're still moving when you make contact, the overhead is going long. The shot only works when your weight is set or moving forward into the swing. The early players who get there first have the shot. The late ones guess and pop it.
One specific timing cue: hit the ball at its peak, not as it's falling. At the peak of its arc, the ball is momentarily still — easiest to time, and it gives you the highest possible contact point. Waiting until it drops costs you 2–3 feet of height, and that's the difference between a sharp downward winner and a ball that clears the net without a useful angle.
The Mechanics: Contact Point, Swing Path, and Follow-Through
Contact point: 1–2 feet in front of your body at full arm extension. Not directly above your shoulder, and definitely not behind it. Think of it as the 1 o'clock position if you're right-handed — that's where the paddle connects.
Swing path: high-to-low arc, similar to a tennis overhead without topspin. Not a baseball swing. The paddle starts high and finishes near your opposite hip, with the wrist snapping at contact. That wrist snap is where the pace comes from — not the arm, not the shoulder.
Weight transfer: start with most of your weight on your back foot as you prep, then shift forward as you swing through. Your shoulder rotates in the same motion — back shoulder drops as the front shoulder comes through. It's the same kinetic chain as a tennis serve or a volleyball spike.
The most common mechanical error at 3.5 level: swinging from a stationary arm instead of rotating through the shot. Players who miss long are usually stopping the shoulder rotation and trying to generate pace with just their arm. Rotate through. Let the follow-through happen naturally.
When to Smash, When to Drop, When to Reset (The Decision Matrix)
Here's what no other guide will tell you clearly. Most articles say "smash when you get a lob." That's not a decision framework — that's a prompt to guess wrong in the situations that actually matter.
Three variables determine whether you smash, drop, or reset on any given ball above your shoulder:
- Ball height at contact — can you reach full arm extension above your shoulder when you make contact?
- Court position — are you at the NVZ, or in the transition zone (7–14 feet behind the kitchen line)?
- Your body's momentum — are you set and stationary, or still moving backward?
| Ball Height | Your Position | Your Momentum | Right Call |
|---|---|---|---|
| Above shoulder — full extension | NVZ or baseline — good setup | Set or moving forward | SMASH |
| Above shoulder | Transition zone (mid-court) | Still moving backward | LET IT BOUNCE → drive |
| Shoulder height or below | Any | Any | DROP or RESET |
| Above shoulder — high and slow | NVZ, fully set | Stationary | SMASH — aim center seam or backhand side |
The transition zone overhead is the most expensive mistake in recreational pickleball. A lob that doesn't fully clear the kitchen line gives you a tempting target in mid-court — the ball is high, you want to smash it. Don't. The right answer is almost always to let it bounce and hit a controlled drive from a stable position. Jumping smashes from the transition zone go long because your contact point is falling, your weight is moving backward, and you've lost the downward angle that makes the shot work.
For more on reading position decisions in mid-court, see our full guide on pickleball transition zone strategy — the smash decision there is covered in the context of the full approach game.
Setting Up the Overhead: How to Force a Ball You Can Attack
The overhead is reactive — but you can engineer it. The setup pattern that creates the most overhead opportunities in rec play: pull your opponent wide with a short cross-court dink.
Here's the sequence: dink cross-court to their backhand corner. They have to move and reach to get it back. A player who's stretched and off-balance can't respond with an aggressive, tight dink — they pop it up. That popup is your overhead. You've manufactured the opportunity rather than waiting for your opponent to gift you a bad lob.
A second pattern: sustained kitchen exchanges that target one player's backhand until they either make an unforced error or float a defensive reply above net height. Patience creates overheads. The temptation is to go for the overhead on the first mediocre ball — don't. One more well-placed dink often creates a cleaner, higher opportunity that's easier to put away.
After you hit the ball that sets up the overhead, take one step forward. You want to be at or inside the NVZ so when the lob comes back, you have the full-court overhead available — not the cramped mid-court version. For the lob mechanics that underpin this pattern, see our breakdown of pickleball lob strategy.
Defending the Overhead: What to Do When You're on the Wrong Side
You're going to face overheads. At 3.5+, you'll face well-placed ones. Here's the honest reality: if the overhead is hit well from a good position, you're not blocking it back for a winner. You're in survival mode — your job is to stay in the rally and force a second shot.
As soon as you see your opponent prepping for an overhead, take two steps back from the NVZ. A ball coming at your body from above is harder to defend than one you have space to read. Get low, paddle in front, wrists firm — compact block position, not a full swing.
Two scenarios:
- Hard smash to the body: absorb it with a compact block. There's no time to swing. Let the pace do the work and redirect crosscourt — the widest defensive target.
- Angled smash to the sideline: commit to one side based on their swing direction. Better to cover one side well than to be caught undecided in the middle.
The smash that goes into the net from your opponent is a gift — don't rush. Use that extra second to reset your position before the next rally starts. USA Pickleball's guide to overhead shots has solid defensive lob positioning worth reading alongside this.
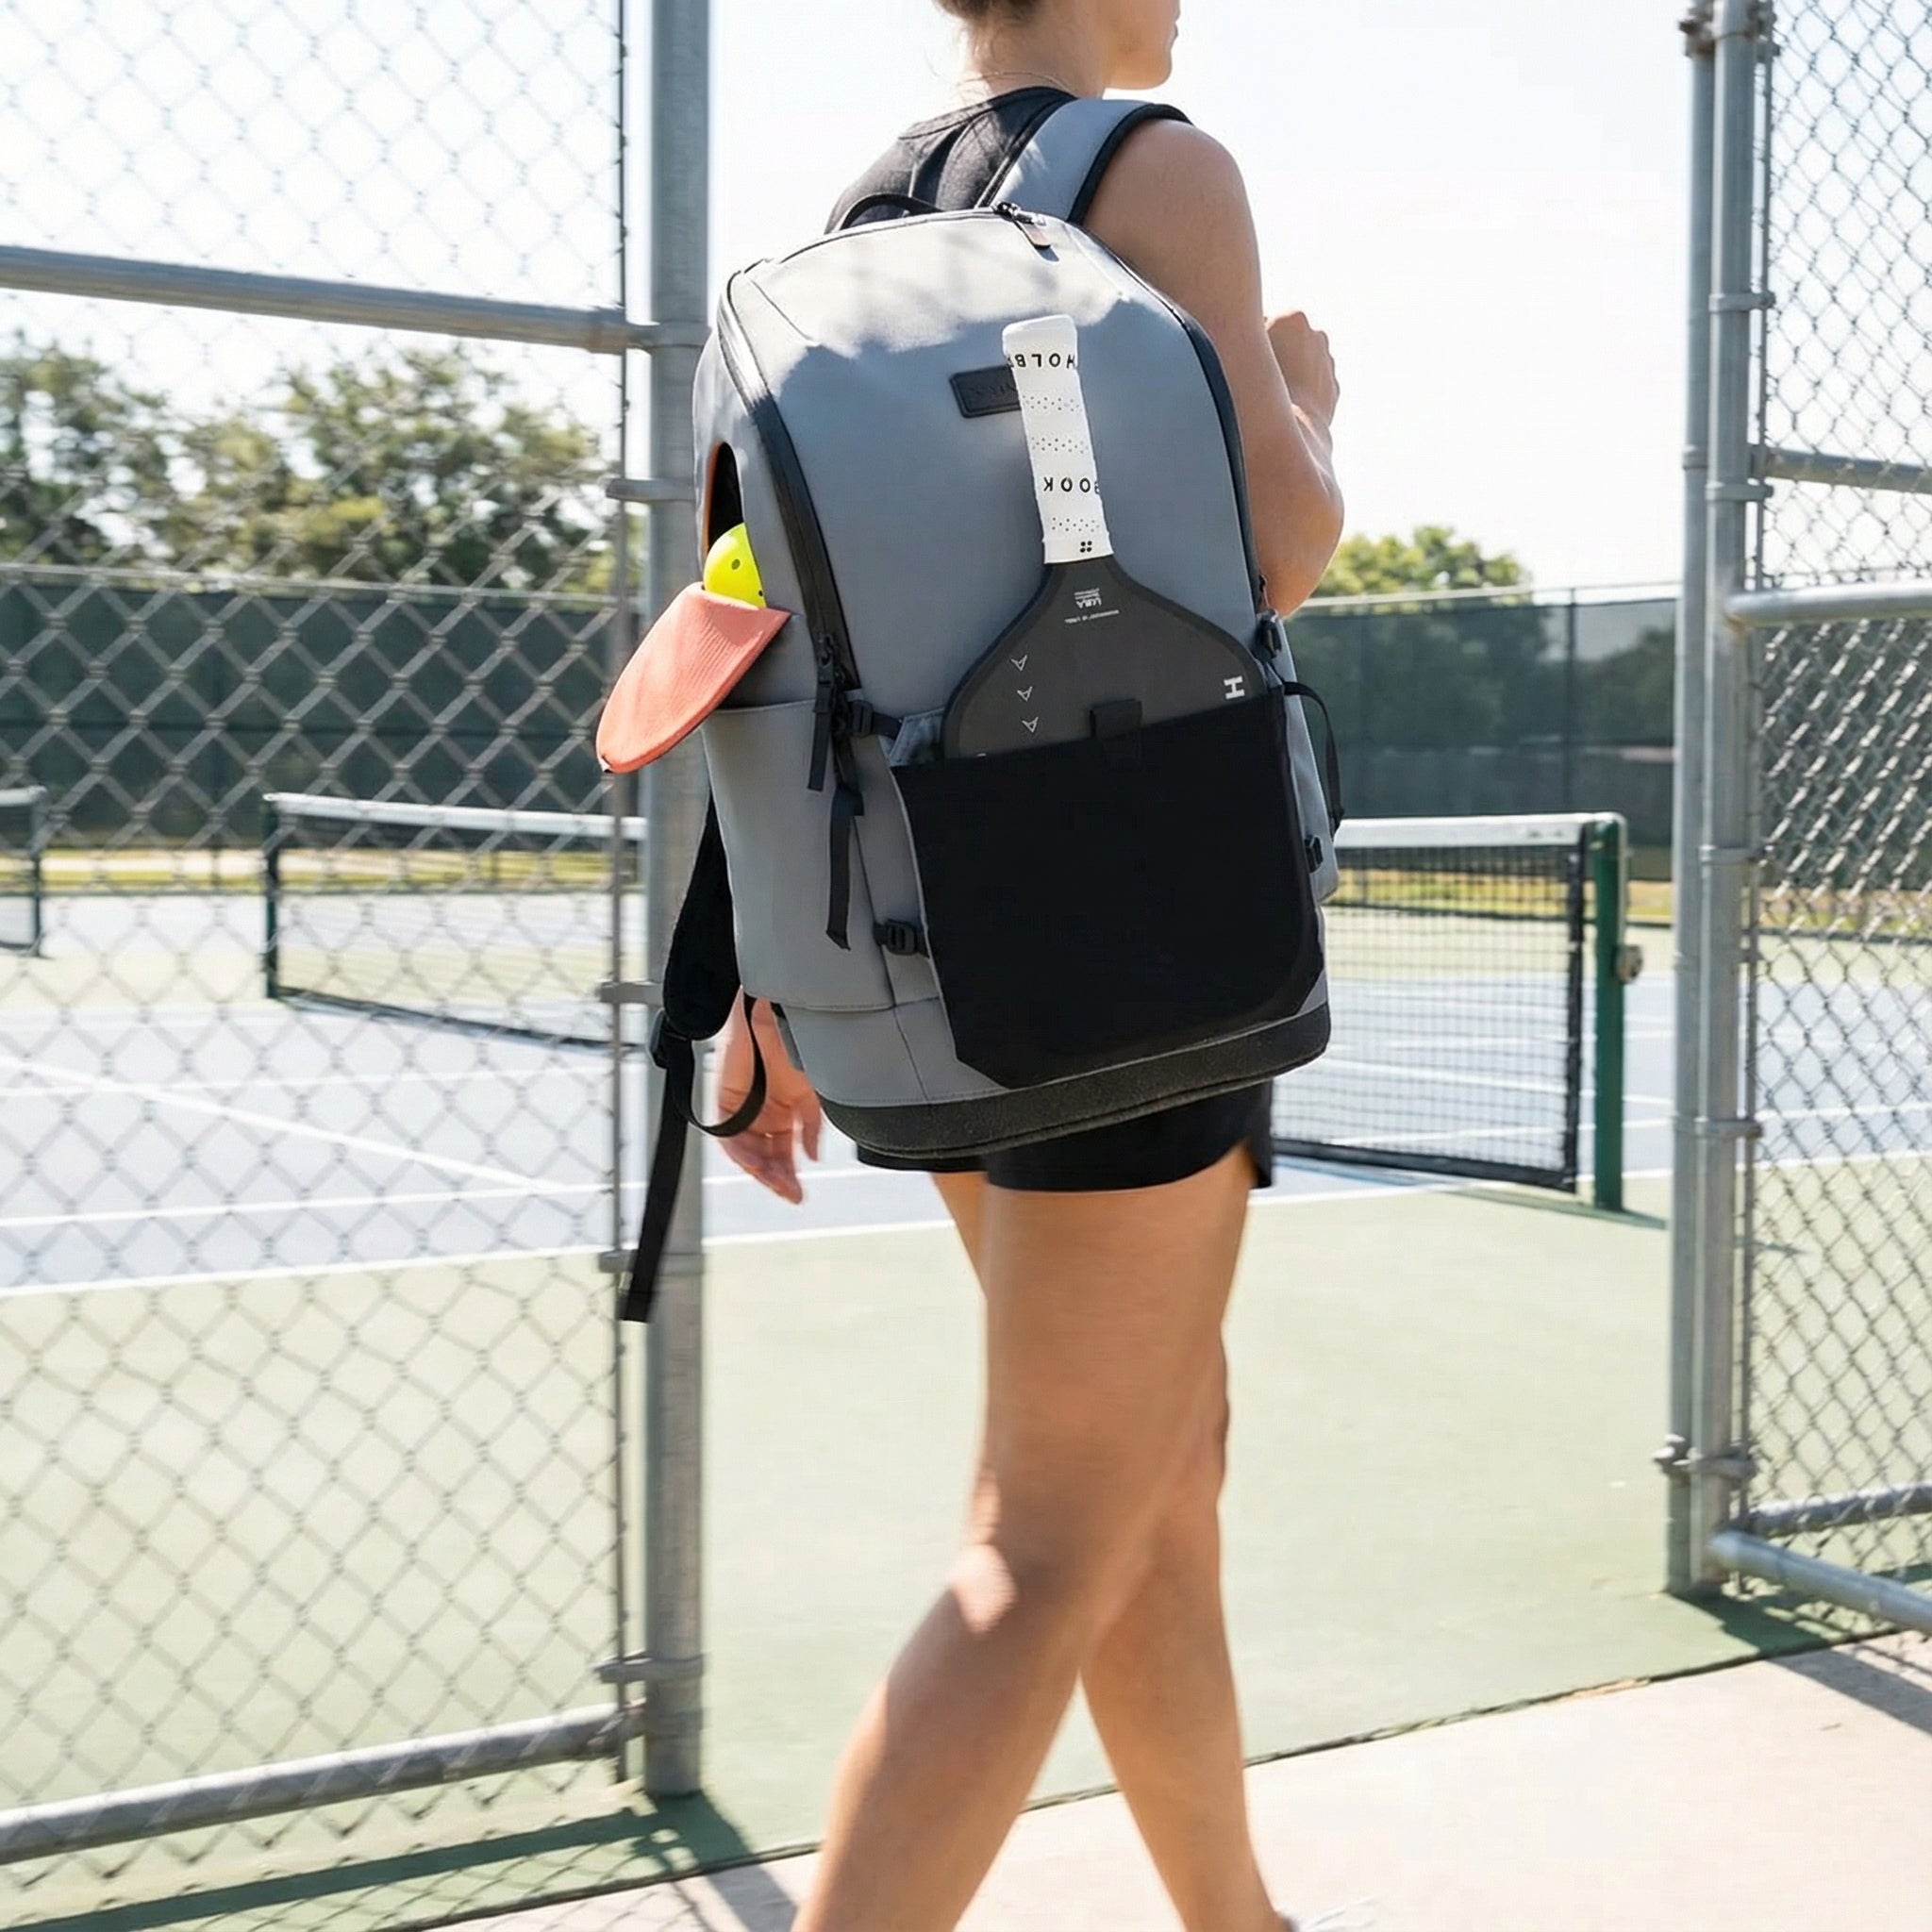
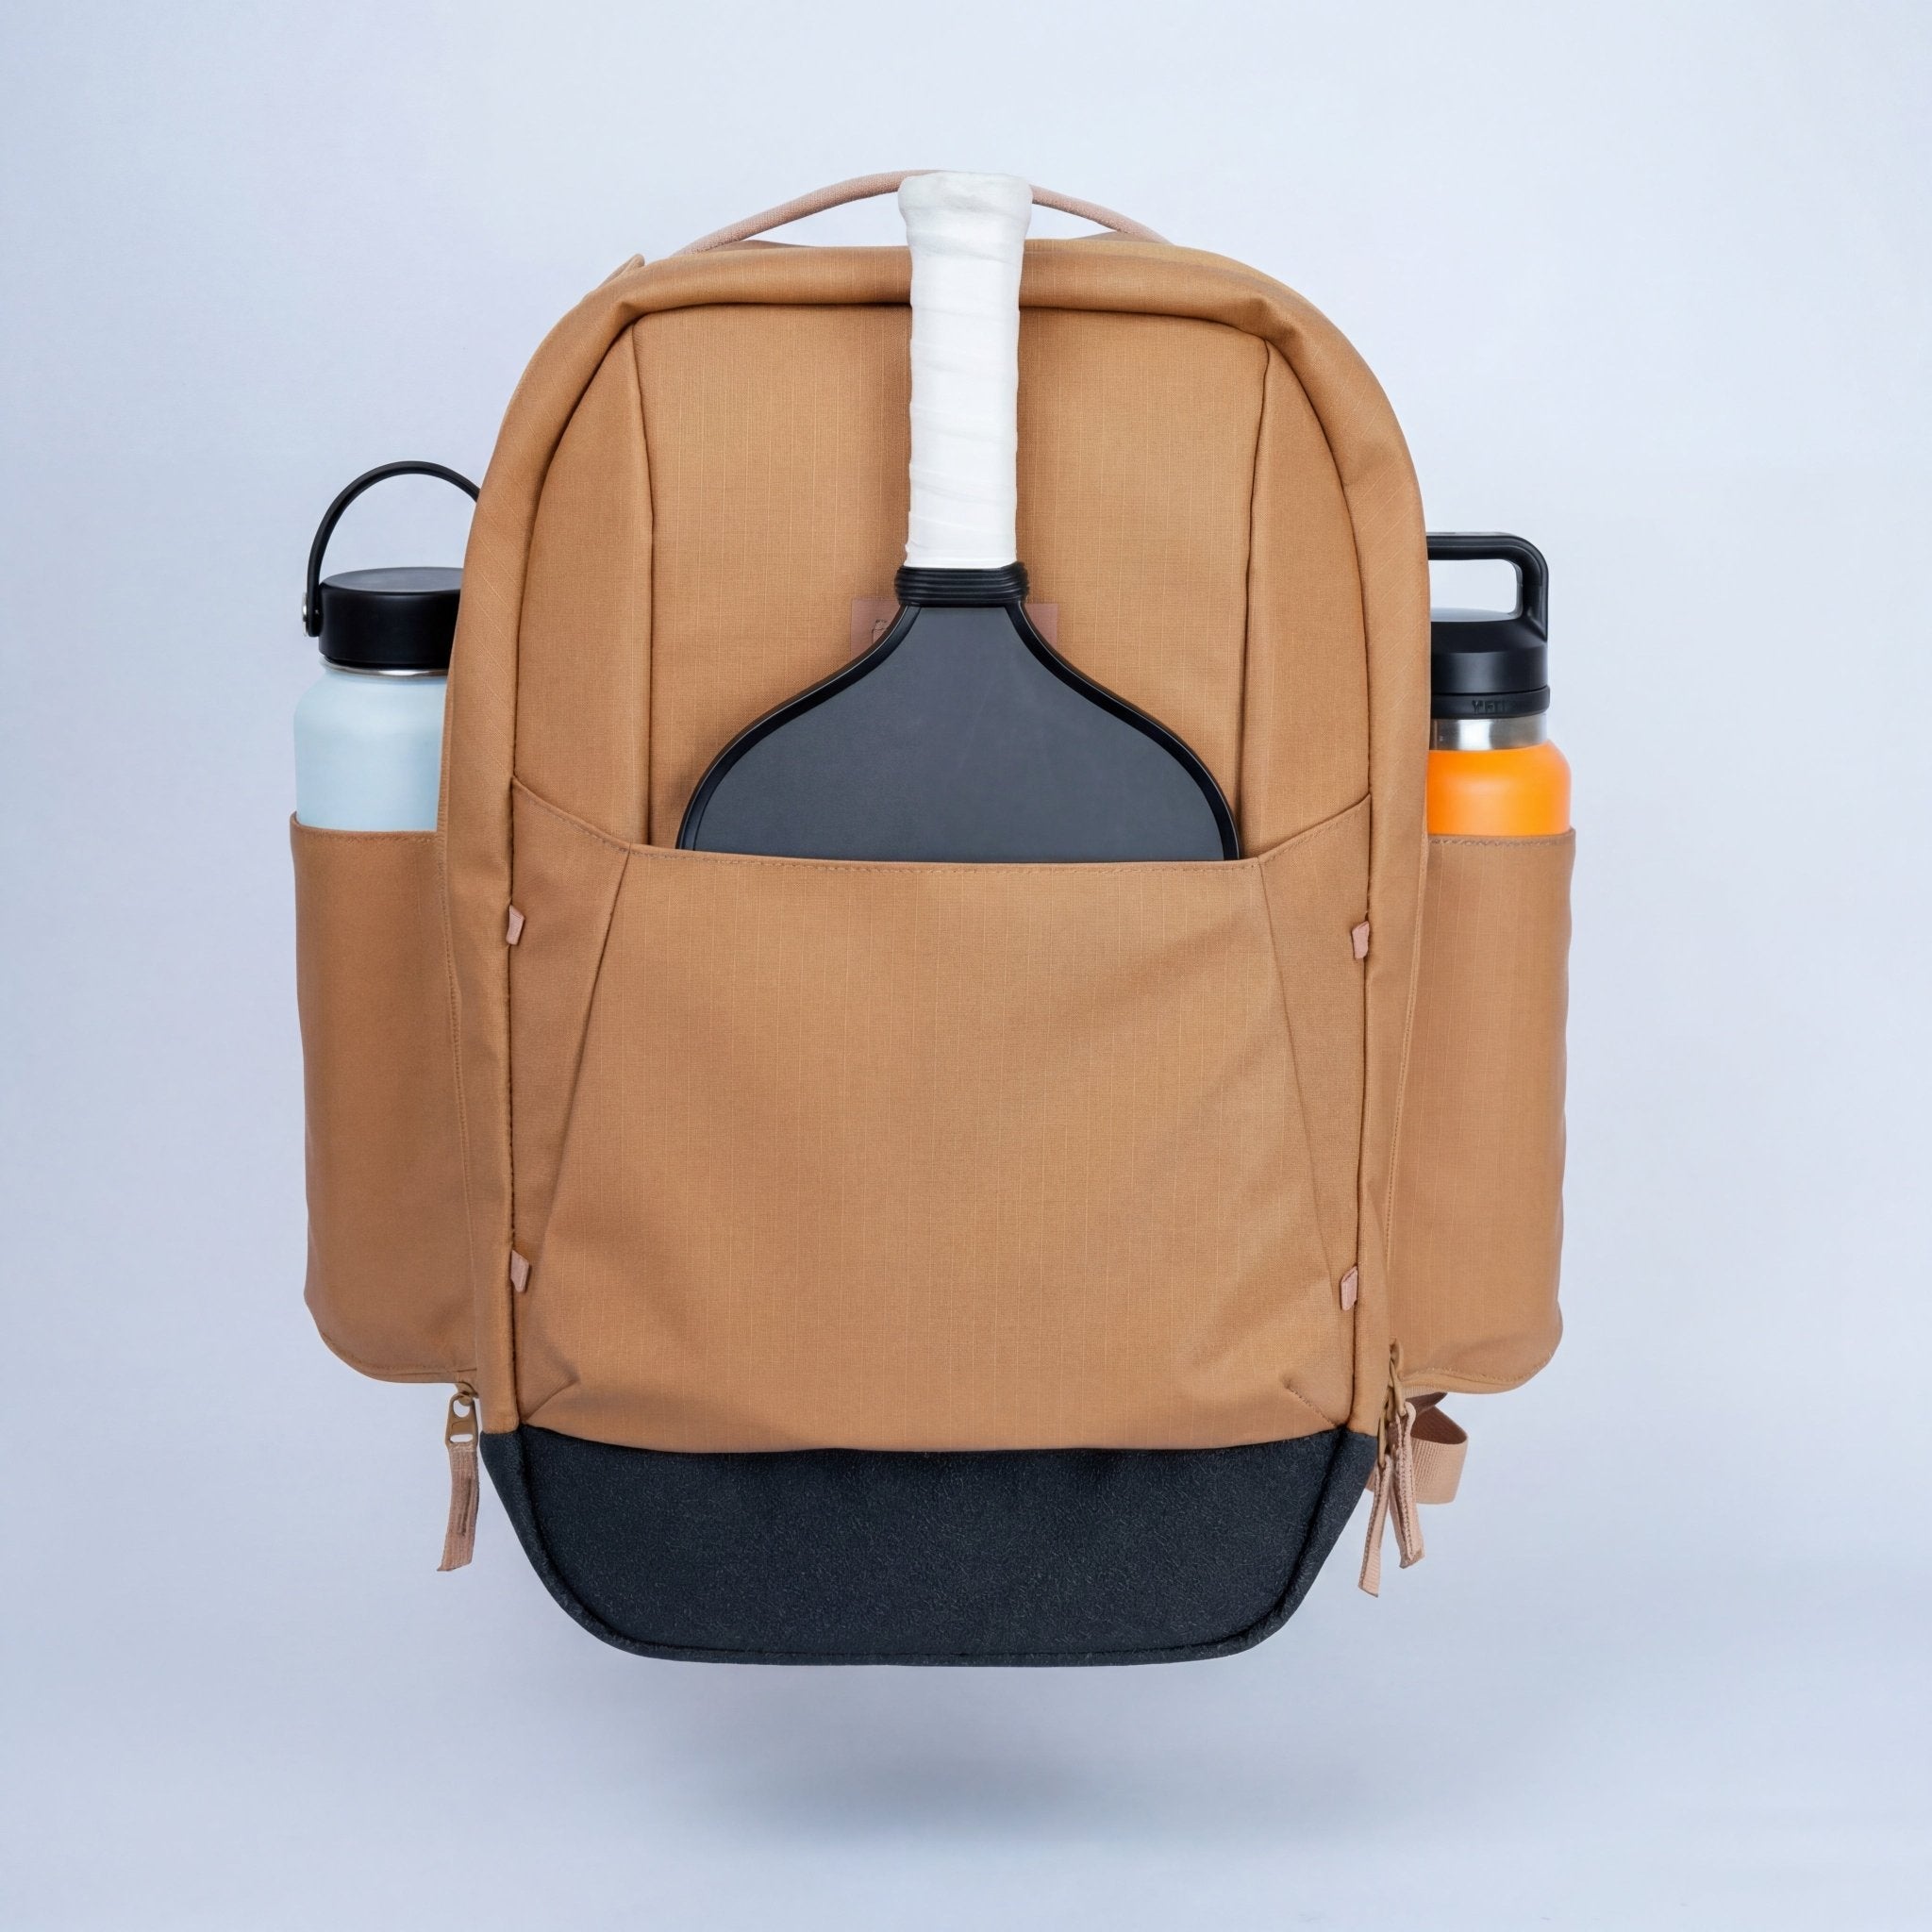
Complete Your Setup
The overhead smash is the shot that ends rallies. A bag that ends your car-to-court scramble is the one that doesn't slow you down before you even get there.
Our Pick: FORWRD Court Ranger V2 ($195)
Modular paddle sleeve keeps your two paddles separate, 16" laptop sleeve handles the desk-to-court commute, and YKK AquaGuard zippers mean a rain shower doesn't end your morning session.

FAQ: Pickleball Overhead Smash Questions
How do you hit an overhead smash in pickleball?
Position yourself underneath the ball before it peaks, non-paddle arm pointing up to track it. Contact 1–2 feet in front of your body at full arm extension, swinging high-to-low with a wrist snap at contact. Transfer weight from back foot to front foot through the swing — the power comes from rotation, not from the arm.
When should you smash in pickleball?
Smash when the ball is above your shoulder at full extension and you're in a stable position — at or near the NVZ. If you're still moving backward or stuck in the transition zone when the ball peaks, let it bounce and drive instead. A grounded drive beats a moving overhead almost every time at recreational level.
How do you defend against an overhead smash in pickleball?
Step back from the NVZ the moment you see your opponent prepping for an overhead. Hold a compact, low paddle position and block rather than swinging. Your goal is to stay in the rally, not win the point on the block. Aim crosscourt for the widest defensive angle and reset your position after the block.
What is the difference between an overhead and a drive in pickleball?
A drive is hit at or below net height with a horizontal or slightly upward trajectory. An overhead is hit above shoulder height with a downward angle into the opponent's court. The overhead has a geometric advantage a drive can't match — but only when contact point is high and positioning is right. From a bad position, the drive is usually the smarter choice.
Why do overhead smashes go out of bounds in pickleball?
Usually one of three reasons: contact point is too low (losing the downward angle), the player is still moving backward at contact (swing goes long), or they're hitting from the transition zone without proper setup. Fix your position first. If your contact is high and you're set, the smash almost always stays in with proper follow-through.
How do you set up an overhead smash in pickleball?
Pull your opponent wide with a short cross-court dink to their backhand. A stretched, off-balance player can't respond with a tight dink — they'll pop it up. Step inside the NVZ after your dink so you have room to take a full overhead. Patience and positioning manufacture more overhead opportunities than trying to create them through pace alone.
Leave a comment
This site is protected by hCaptcha and the hCaptcha Privacy Policy and Terms of Service apply.